
Magnetic Field Demonstration: 3 Science Experiments Wow
Magnetic Field Demonstration: 3 Simple Experiments for the Classroom
Magnetic forces are invisible, yet they influence everything from compass navigation to electric motors. A well-designed magnetic field demonstration helps students visualize these unseen forces in a simple, hands-on way. When iron filings suddenly arrange themselves into curved patterns or compass needles rotate around a magnet, students can literally see magnetic field lines appear.
These classroom experiments transform abstract physics concepts into something observable and memorable. Teachers, homeschool educators, and STEM instructors often use simple materials such as bar magnets, iron filings, and compasses to reveal how magnetic fields form and interact.
In this guide, you’ll learn three easy classroom demonstrations that show how magnetic field lines behave. Each experiment includes a materials list, step-by-step procedure, student observation prompts, and a clear explanation of the science behind what students see.
What Is a Magnetic Field Demonstration?
A magnetic field demonstration is a classroom experiment that visually reveals how magnetic forces exist and interact in space. Because magnetic fields cannot normally be seen directly, demonstrations use materials that respond to magnetism—such as iron filings or compass needles—to trace the structure of the field.
These demonstrations help students observe how magnetic forces extend outward from a magnet and form distinctive patterns around its poles.
What Are Magnetic Field Lines?
Magnetic field lines represent the direction and strength of magnetic forces around a magnet. Scientists use these imaginary lines to describe how a magnetic field behaves.
Field lines follow several important rules:
- They emerge from the north pole of a magnet.
- They curve through space and return to the south pole.
- They form continuous loops around the magnet.
- The lines are denser where the magnetic field is stronger.
Experiments like iron filings demonstrations allow students to see these patterns because small particles naturally align along the field direction.
Why Magnetic Field Demonstrations Work So Well in the Classroom
Physics concepts such as electromagnetism can feel abstract when explained only through textbooks or diagrams. Demonstrations provide immediate visual feedback, helping students connect theory with real-world observation.
Hands-on experiments also encourage inquiry-based learning. Students can move magnets, reposition compasses, and compare different configurations to discover how magnetic forces behave.
For educators exploring more interactive STEM learning ideas, classroom resources within the Baby Growth & Learning Tips section offer additional activity-based educational approaches.
Materials Needed for a Classroom Magnetic Field Experiment
Most magnetic field demonstrations require only a few basic materials that are inexpensive and easy to prepare before class.
Basic Magnetic Field Demonstration Materials
- Bar magnets or horseshoe magnets
- Iron filings
- White paper or transparent plastic sheet
- Small compasses
- Clear tape or ruler
- Worksheet or notebook for observations
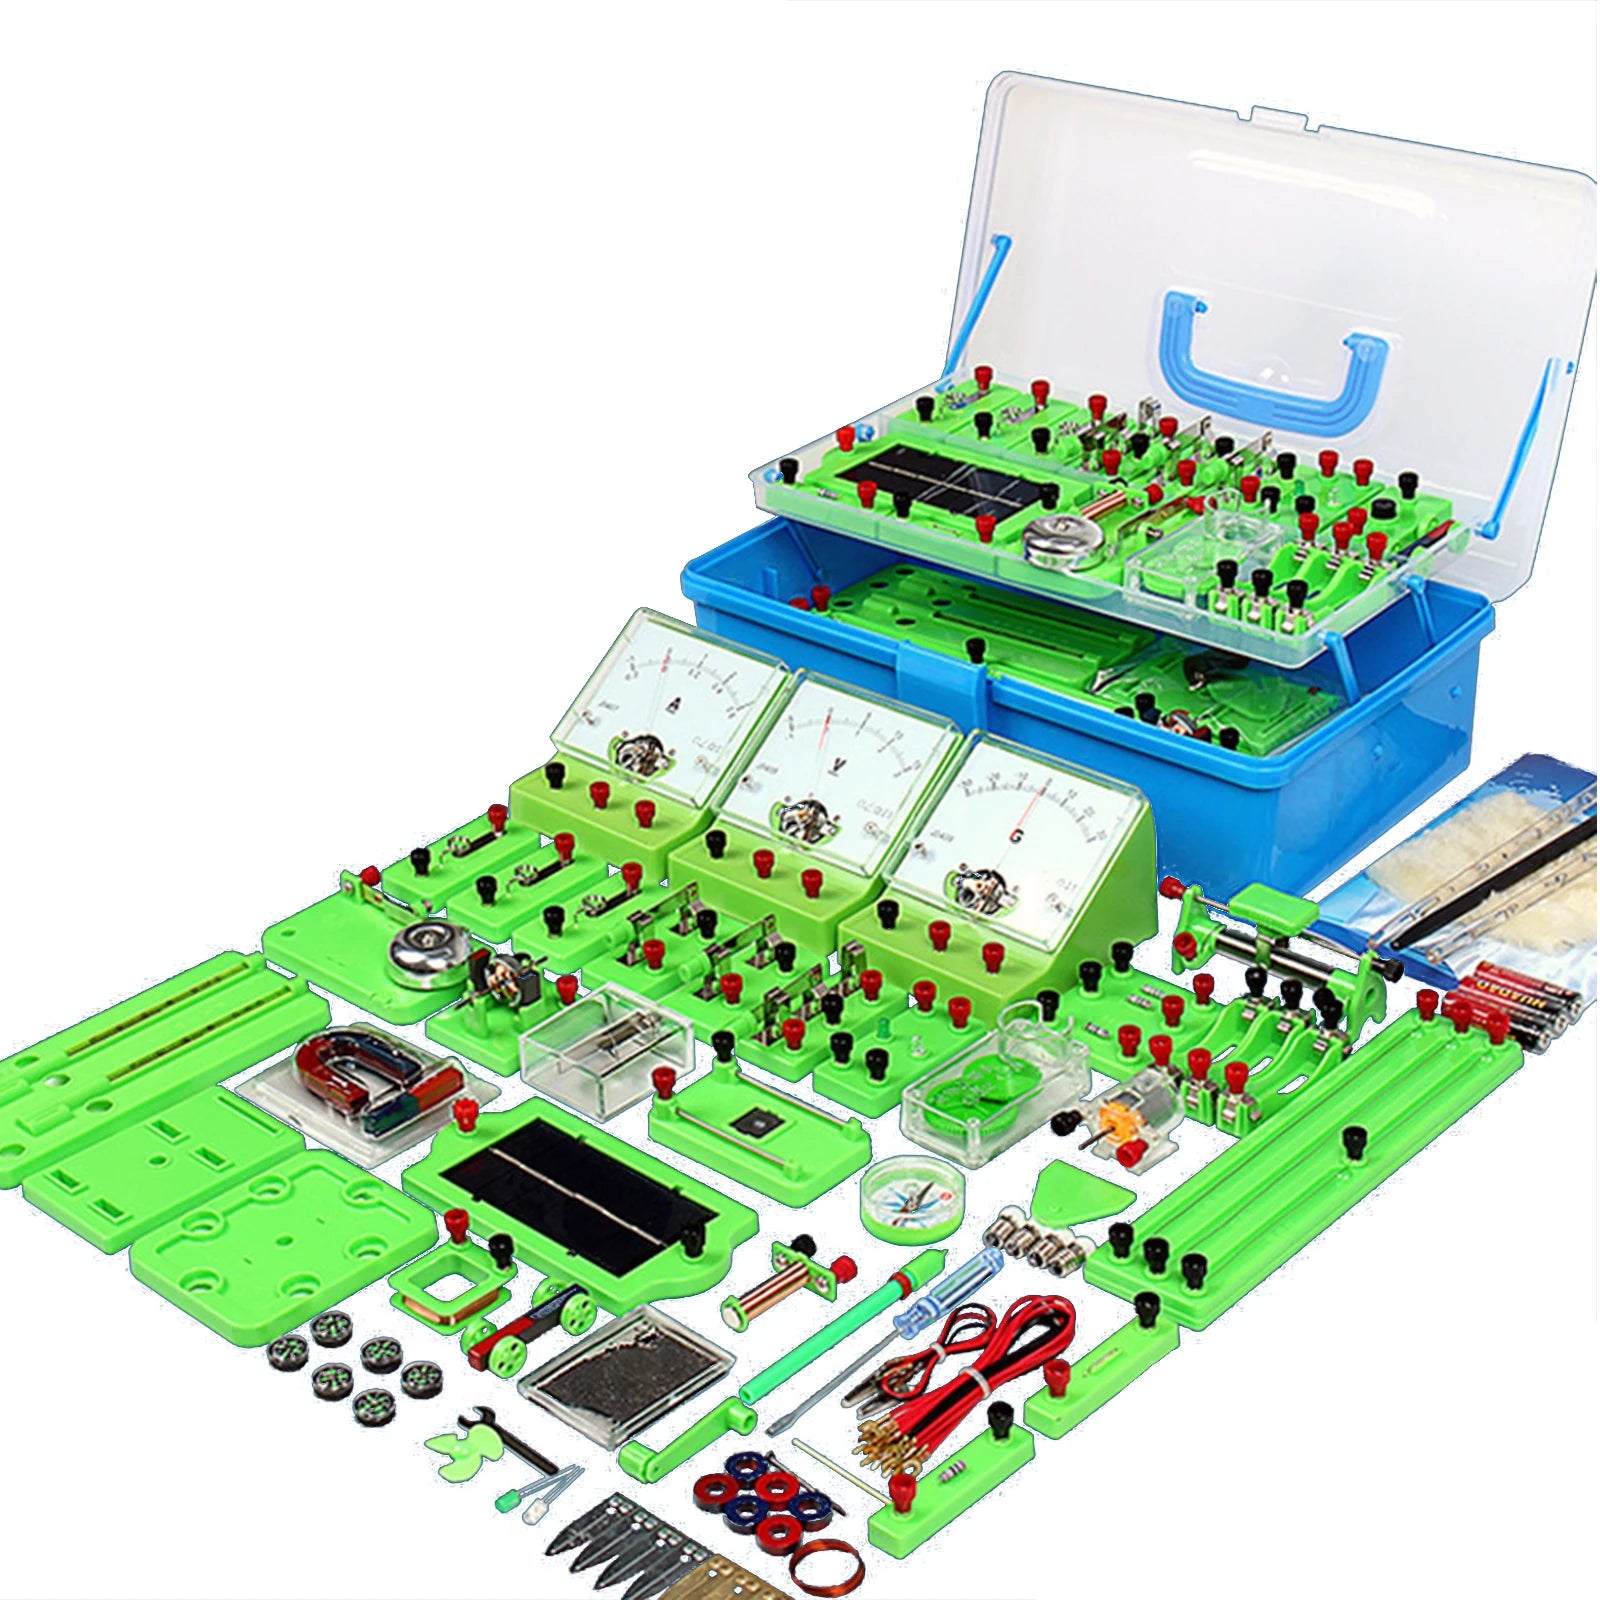
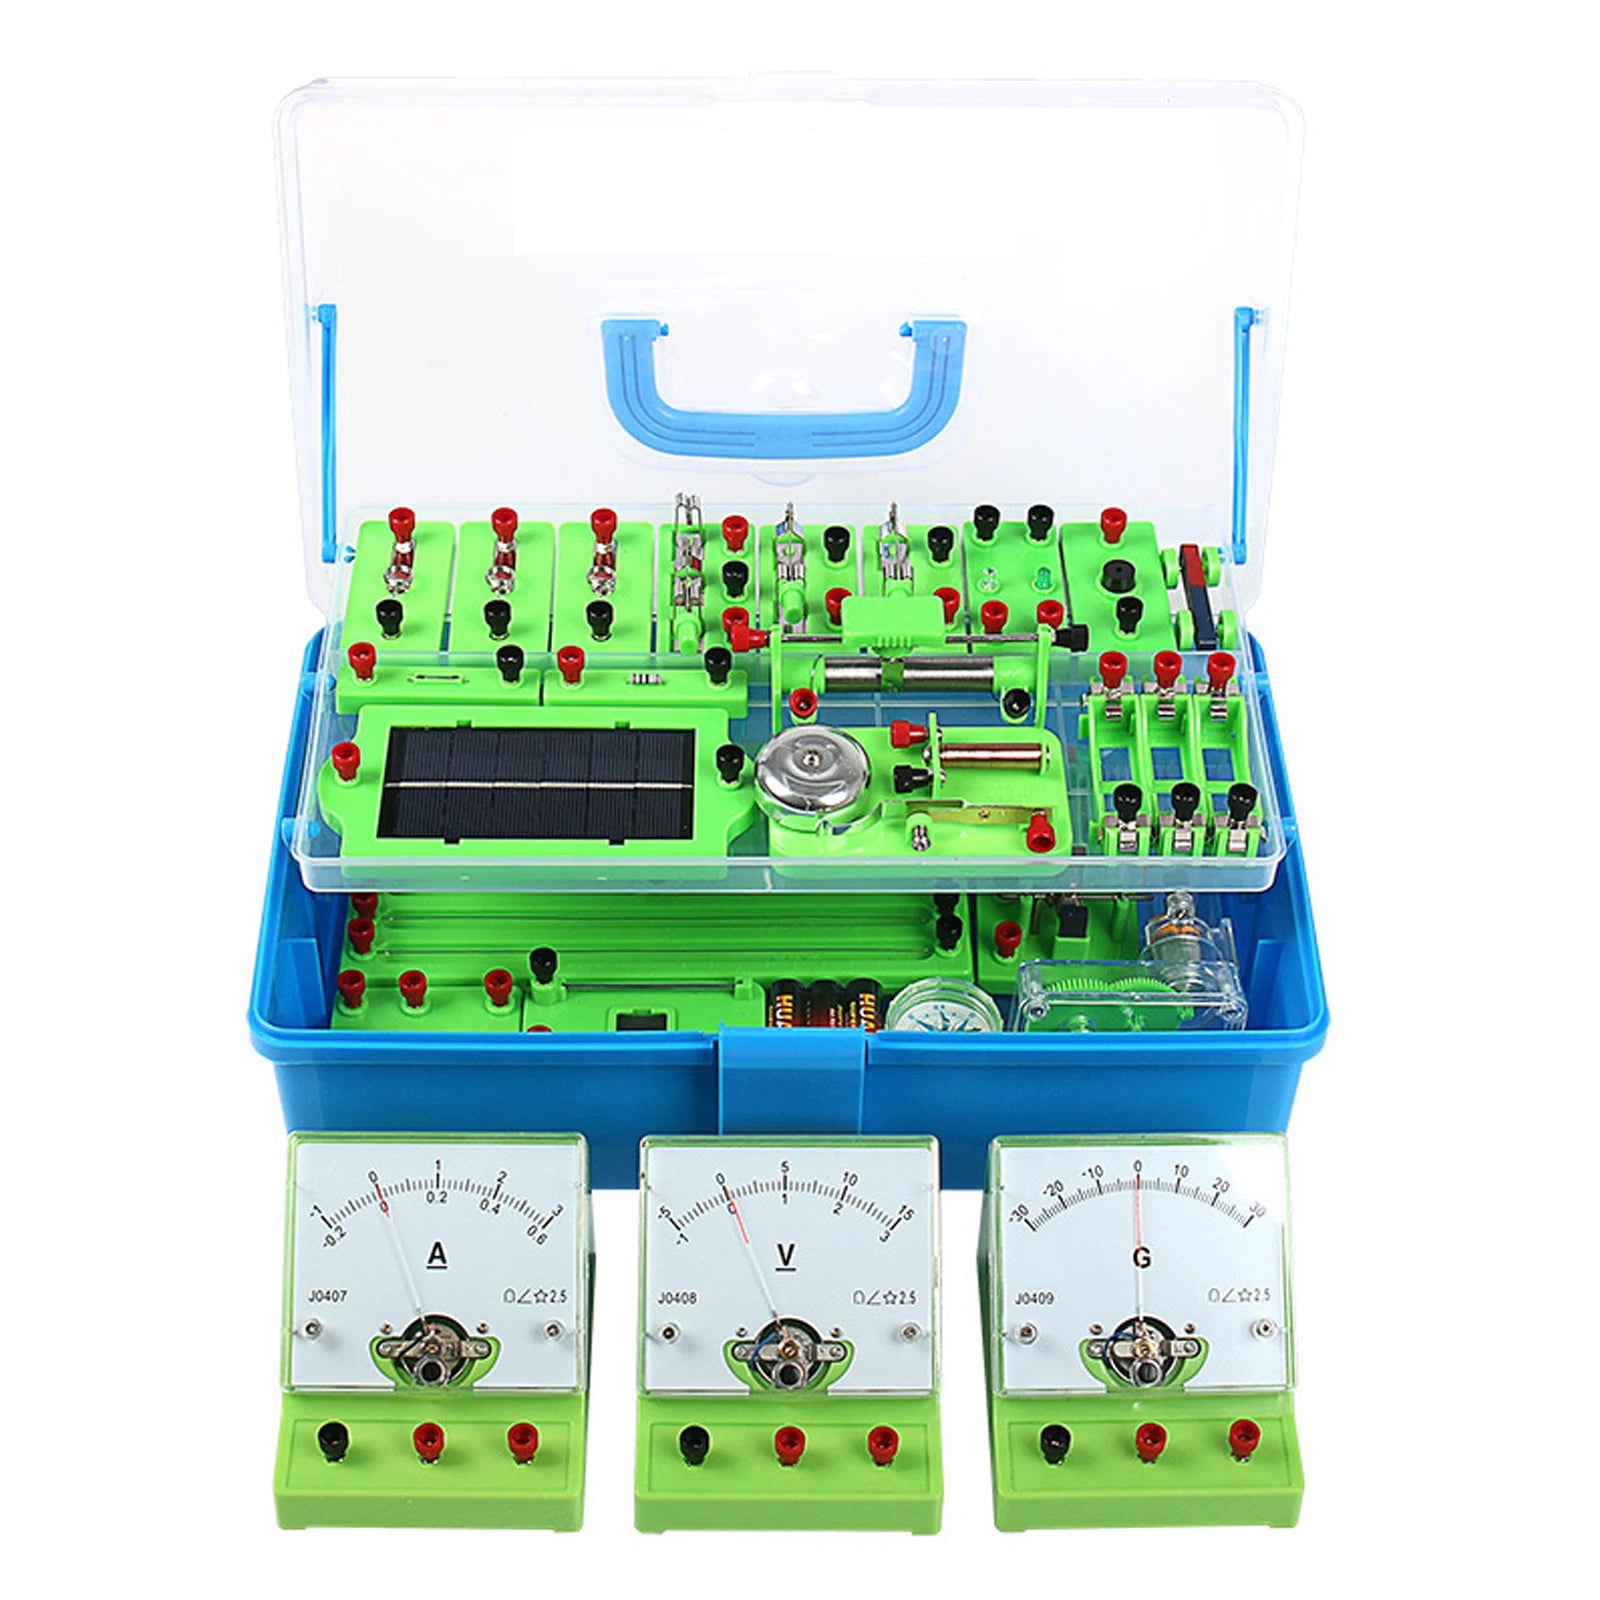
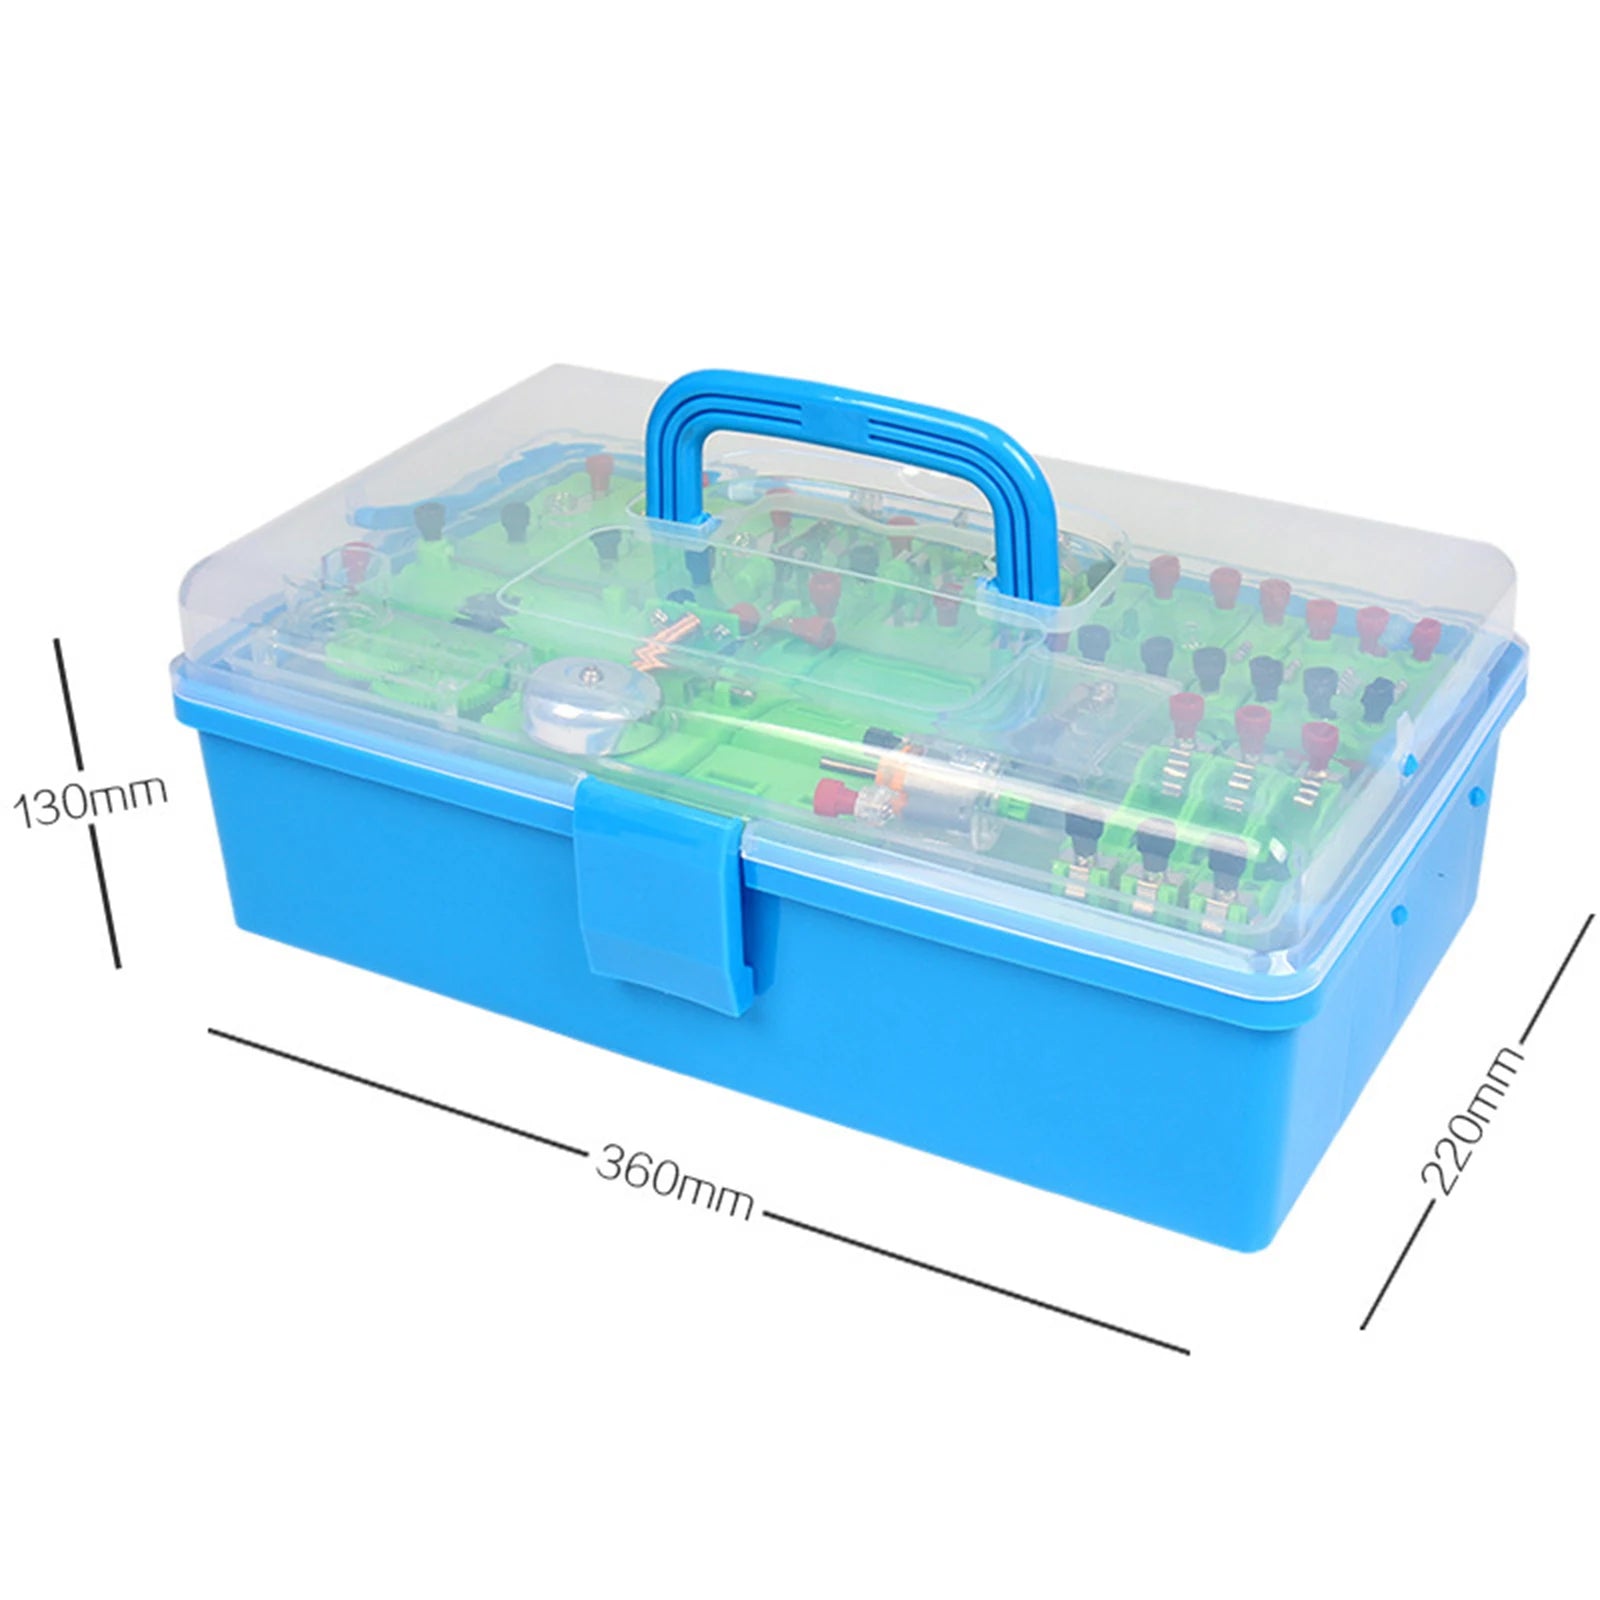
Teachers often prefer organized kits that contain magnets, coils, meters, and other demonstration tools. For example, the Electromagnetism Experiment Kit for Students includes over 40 physics components designed for classroom demonstrations and student experiments. The larger instruments make it easier for an entire class to observe measurements and experiment results.
The kit supports activities related to circuits, magnetic forces, Joule’s law, and magnetic field demonstrations—helping students explore multiple physics topics through hands-on experiments.
Optional Materials for Advanced Visualization
- Ferrofluid for advanced magnetic visualization
- Transparent containers or petri dishes
- Graph paper for mapping field directions
- Digital camera or projector for demonstration viewing
Combining these tools with structured classroom experiments can significantly improve student engagement and conceptual understanding.
Experiment 1: Iron Filings Magnetic Field Demonstration
This classic experiment visually reveals magnetic field patterns using tiny pieces of iron. It is one of the simplest and most effective magnetic field demonstrations for students.
Materials
- Bar magnet
- Sheet of paper or transparent plastic
- Iron filings
- Tray or surface to catch filings
Step-by-Step Procedure
- Place the bar magnet on a table.
- Lay a sheet of paper over the magnet.
- Sprinkle iron filings gently across the surface.
- Tap the paper lightly to allow filings to move.
- Observe the pattern formed by the filings.
What Students Should Observe
Students will see iron filings arrange themselves in curved patterns around the magnet. The filings concentrate near the poles, revealing areas where the magnetic field is strongest.
The resulting pattern shows magnetic field lines forming loops around the magnet.
Why Iron Filings Reveal Magnetic Fields
Iron is a ferromagnetic material, meaning it easily becomes magnetized in the presence of a magnetic field. Each tiny filing behaves like a miniature magnet and rotates until it aligns with the surrounding magnetic field.
When thousands of filings align simultaneously, they collectively trace the shape of the field.
Experiment 2: Mapping Magnetic Fields with Compasses
Compass mapping demonstrates how magnetic field direction changes around a magnet. This activity helps students understand that magnetic fields have both direction and strength.
Materials
- Bar magnet
- 5–10 small compasses
- Large sheet of paper
- Pencil for marking compass direction
Step-by-Step Procedure
- Place the magnet at the center of the paper.
- Arrange several compasses around the magnet.
- Allow the needles to settle and align.
- Mark the direction each needle points.
- Connect the arrows to trace magnetic field lines.
Observation Prompts for Students
- How does the compass needle direction change near each pole?
- Where are the arrows closest together?
- What pattern do the arrows create around the magnet?
How Compasses Detect Magnetic Fields
A compass needle is itself a tiny magnet. When placed in a magnetic field, it rotates so that its north-seeking end points along the direction of the field.
By placing multiple compasses around a magnet, students can map the magnetic field structure in two dimensions.
Experiment 3: Visualizing Magnetic Fields with Ferrofluid
Ferrofluid demonstrations provide one of the most visually striking ways to observe magnetic fields. Ferrofluid contains microscopic magnetic particles suspended in liquid.
Materials
- Ferrofluid
- Clear container
- Strong magnet
- Protective gloves
Step-by-Step Procedure
- Pour ferrofluid into a transparent container.
- Place a magnet underneath or beside the container.
- Observe how the ferrofluid reacts.
- Move the magnet slowly to change the pattern.
Why Ferrofluid Shows Magnetic Field Patterns
The tiny particles inside ferrofluid become magnetized when exposed to a magnetic field. These particles align along field lines, forming spiky structures that mirror the shape of the magnetic field.
This demonstration is especially useful for showing how field strength varies across space.
Comparison of the Three Magnetic Field Demonstrations
| Experiment | Best For | Key Concept Demonstrated | Difficulty Level |
| Iron Filings | Quick classroom visualization | Shape of magnetic field lines | Very Easy |
| Compass Mapping | Understanding field direction | Magnetic field orientation | Easy |
| Ferrofluid Visualization | Advanced visual demonstration | Field strength and structure | Moderate |
Why Magnetic Field Lines Form Loops Around a Magnet
Magnetic fields originate from moving electric charges and the internal alignment of magnetic domains within materials. A bar magnet behaves like a magnetic dipole with two poles: north and south.
Magnetic Poles and Field Direction
Outside the magnet, field lines travel from the north pole to the south pole. Inside the magnet, they return from south to north. This continuous loop explains why magnetic field lines never begin or end—they form closed paths.
Connection to Earth's Magnetic Field
Earth itself behaves like a giant magnet generated by electric currents in its liquid outer core. Compasses work because their needles align with Earth's magnetic field in the same way they align with the field around a bar magnet.
This connection allows classroom demonstrations to illustrate real-world applications such as navigation and satellite orientation.
Classroom Safety Tips for Magnetic Experiments
Although magnetic demonstrations are generally safe, educators should follow a few basic precautions.
- Keep strong magnets away from electronic devices.
- Prevent students from touching ferrofluid directly.
- Avoid inhaling iron filings.
- Clean surfaces carefully after experiments.
- Store magnets safely to prevent pinching injuries.
Additional classroom safety practices can be found in the Health & Safety Tips resource library.
Printable Magnetic Field Observation Worksheet for Students
Encouraging students to record observations reinforces scientific thinking. Teachers can provide worksheets where students draw magnetic field lines, describe patterns, and explain their results.
Suggested worksheet prompts include:
- Draw the pattern formed by iron filings.
- Label the north and south poles of the magnet.
- Explain why compass needles point in different directions.
- Describe how ferrofluid changes when the magnet moves.
Hands-on activities like these support early STEM learning and help students connect physics concepts with real-world applications. Additional learning tools can be found within the Baby Growth & Learning collection.
Conclusion
A well-designed magnetic field demonstration transforms an invisible physical phenomenon into something students can observe and analyze. Iron filings reveal the shape of magnetic field lines, compass mapping shows their direction, and ferrofluid creates dramatic three-dimensional visualizations.
By combining multiple demonstrations, teachers can help students build a deeper understanding of magnetism and electromagnetism. These hands-on activities encourage curiosity, critical thinking, and engagement with core physics concepts.
For classrooms seeking a structured approach to these experiments, hands-on STEM kits containing magnets, meters, coils, and other physics components can make demonstrations easier to organize while giving students more opportunities to explore.
Pillar Article: Beginner Physics Experiment Kit Electricity: Best STEM Kits for Easy Circuits


