

How to Do a Mini Loop Band Hip Thrust Without Back Strain
Does a mini loop band hip thrust really improve glute activation?
Yes. A resistance band for hip thrust increases outward tension around the knees, encouraging stronger hip abduction and greater glute engagement throughout every repetition. Unlike a standard hip thrust that mainly challenges hip extension, a hip thrust resistance band also activates the gluteus medius and other stabilizing muscles to help maintain proper knee alignment. The result is improved movement quality, better mind-muscle connection, and often stronger glute activation without relying solely on heavier weights.
Resistance Band for Hip Thrust Step-by-Step Form Guide
Resistance band for hip thrust training fixes common form leaks that stall glute growth and strain the lower back. By learning precise cues, you'll turn hip resistance bands exercises into targeted resistance band hips work that boosts stability, tempo control, and lower body muscle activation without heavier loads. This guide covers proper equipment, band placement, coaching cues, progression strategies, and troubleshooting tips so every rep feels more effective.
⏱ 7 min read
Ever feel hip thrusts mostly in your lower back or quads instead of your glutes? You're not alone. Many people—especially busy parents squeezing workouts in at home—struggle to achieve consistent glute engagement. The good news is that a simple mini loop band can provide the feedback needed to improve technique from the very first workout.
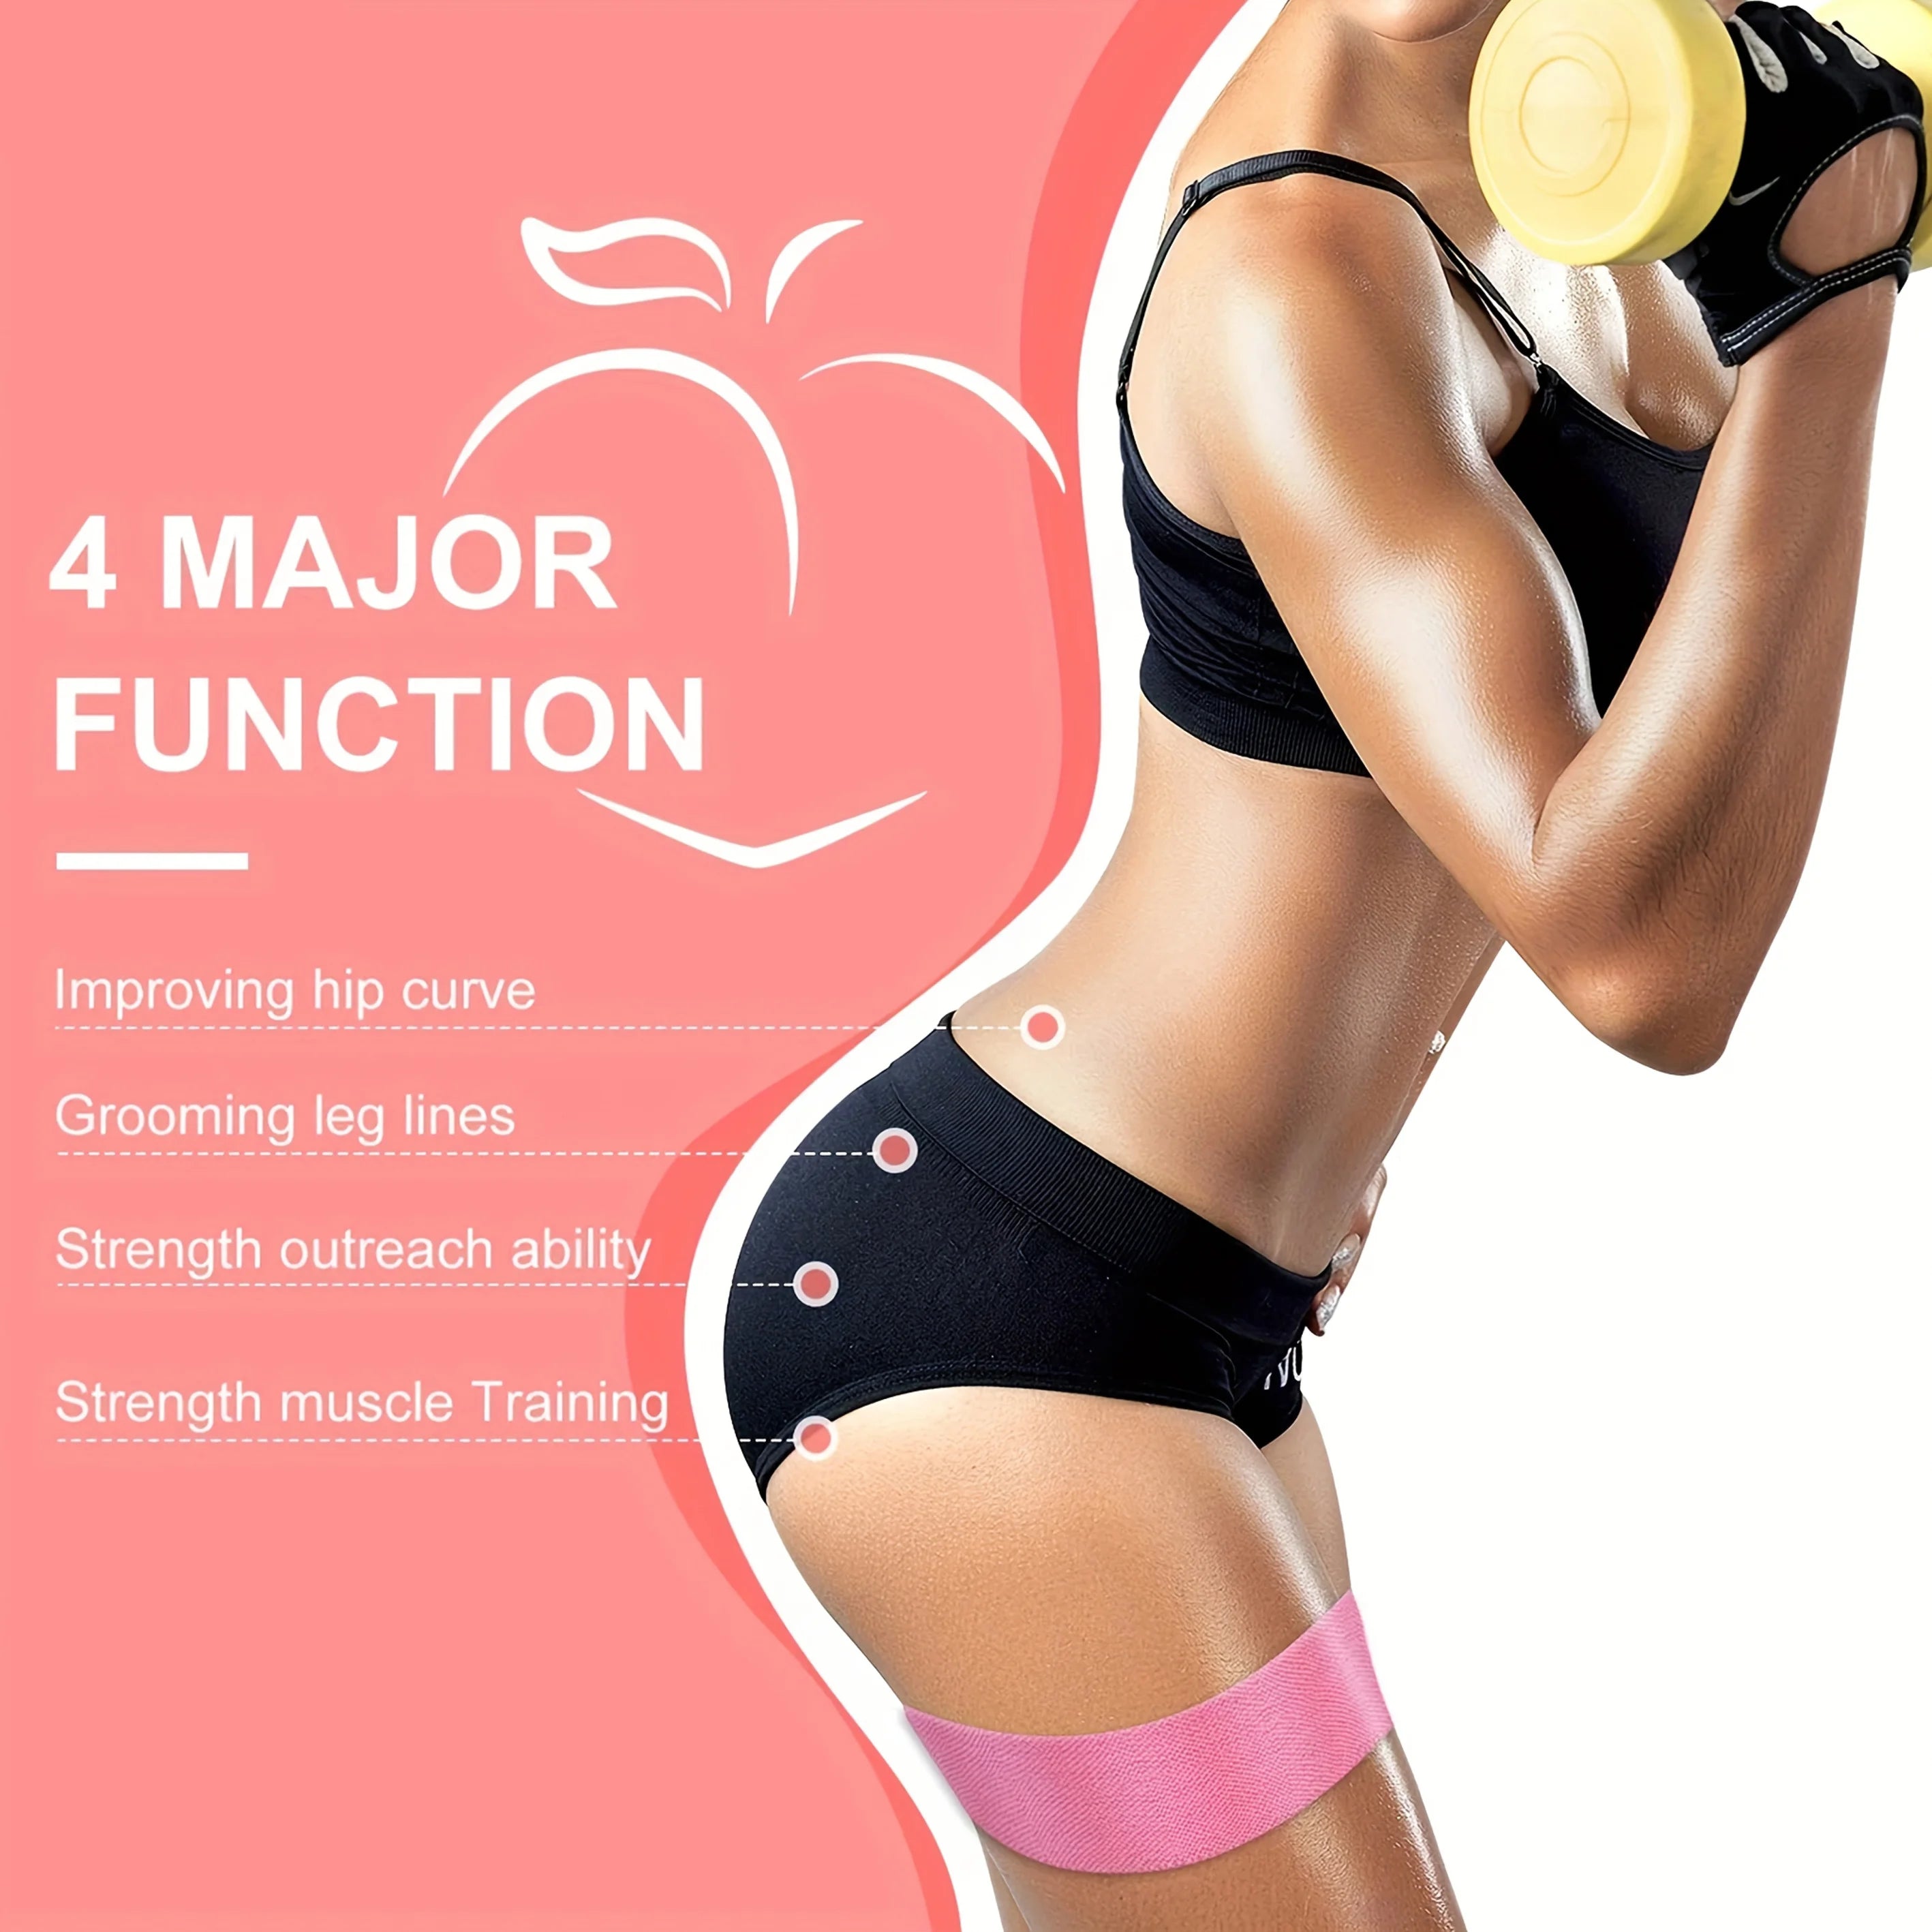
Resistance band for hip thrust setup improves hip resistance bands exercises — See it in action
Equipment Needed and Choosing the Right Mini Loop Band
Using the correct hip thrust band makes learning proper technique much easier. Your setup doesn't need to be complicated, but choosing the right resistance helps you maintain consistent tension without compromising form.
- Mini loop band: Fabric bands typically stay in place better, while latex bands offer more stretch and are easy to pack.
- Bench, couch, or sturdy platform: Position your shoulder blades comfortably against the edge.
- Flat training surface: Prevents slipping during the movement.
Choose your resistance based on experience:
- Light: Beginners, warm-ups, rehabilitation, or activation drills.
- Medium: Most lifters performing regular resistance band for hip thrust workouts.
- Heavy: Experienced athletes who can maintain knee position throughout every repetition.
If you're unsure, start lighter and prioritize perfect technique before progressing.
Why Resistance Bands Make Hip Thrusts More Effective
A resistance band for hip thrust adds lateral tension that barbells and dumbbells cannot provide. As the band continuously pulls your knees inward, your hips must actively resist that force, creating greater stability and improving overall movement quality.
- Encourages proper knee tracking
- Improves glute medius engagement
- Reduces compensation from the lower back
- Enhances mind-muscle connection
- Promotes more consistent hip alignment throughout the lift
This is especially helpful for parents training at home who want effective results without heavy equipment. Pairing bands with simple movements fits perfectly into a Mobility & Training focused routine.
Target Muscles and How the Band Changes the Movement
Although hip thrusts primarily target the gluteus maximus, adding a hip thrust resistance band recruits additional muscles that stabilize the hips and knees.
- Primary: Gluteus maximus
- Secondary: Gluteus medius, gluteus minimus, hamstrings, and core
- Supporting: Hip external rotators and stabilizers
The outward pressure created by the band encourages active hip abduction throughout the lift. Instead of allowing the knees to collapse inward, you continuously push outward, improving movement control and helping the glutes remain engaged from start to finish.
Mini Loop Band Placement Guide
Correct placement is one of the biggest factors in successful hip thrusts with band training.
- Place the mini loop band just above your knees.
- Keep your feet approximately shoulder-width apart.
- Position your shoulder blades on the edge of the bench.
- Keep your shins nearly vertical at the top of each repetition.
- Maintain gentle outward pressure against the band during the entire set.
If the band rolls or slides excessively, switch to a fabric band or reduce the resistance until your form becomes consistent.
How to Do a Mini Loop Band Hip Thrust Step by Step
A resistance band hip thrust combines hip extension with continuous lateral tension for better glute recruitment and improved movement quality.
Setup
- Place the mini loop band just above your knees.
- Rest your upper back against a stable bench or couch.
- Position your feet slightly wider than hip-width with toes pointing naturally forward.
- Brace your core before beginning the lift.
Execution
- Drive through your heels.
- Push your knees outward into the band.
- Raise your hips until your shoulders, hips, and knees form a straight line.
Top Position
- Squeeze your glutes for one to two seconds.
- Keep your ribs down and pelvis neutral.
- Avoid excessive arching of the lower back.
Lowering Phase
Lower your hips under control for two to three seconds while maintaining outward tension on the band. Inhale as you descend and prepare for the next repetition. Controlled tempo generally produces better results than rushing through the movement.
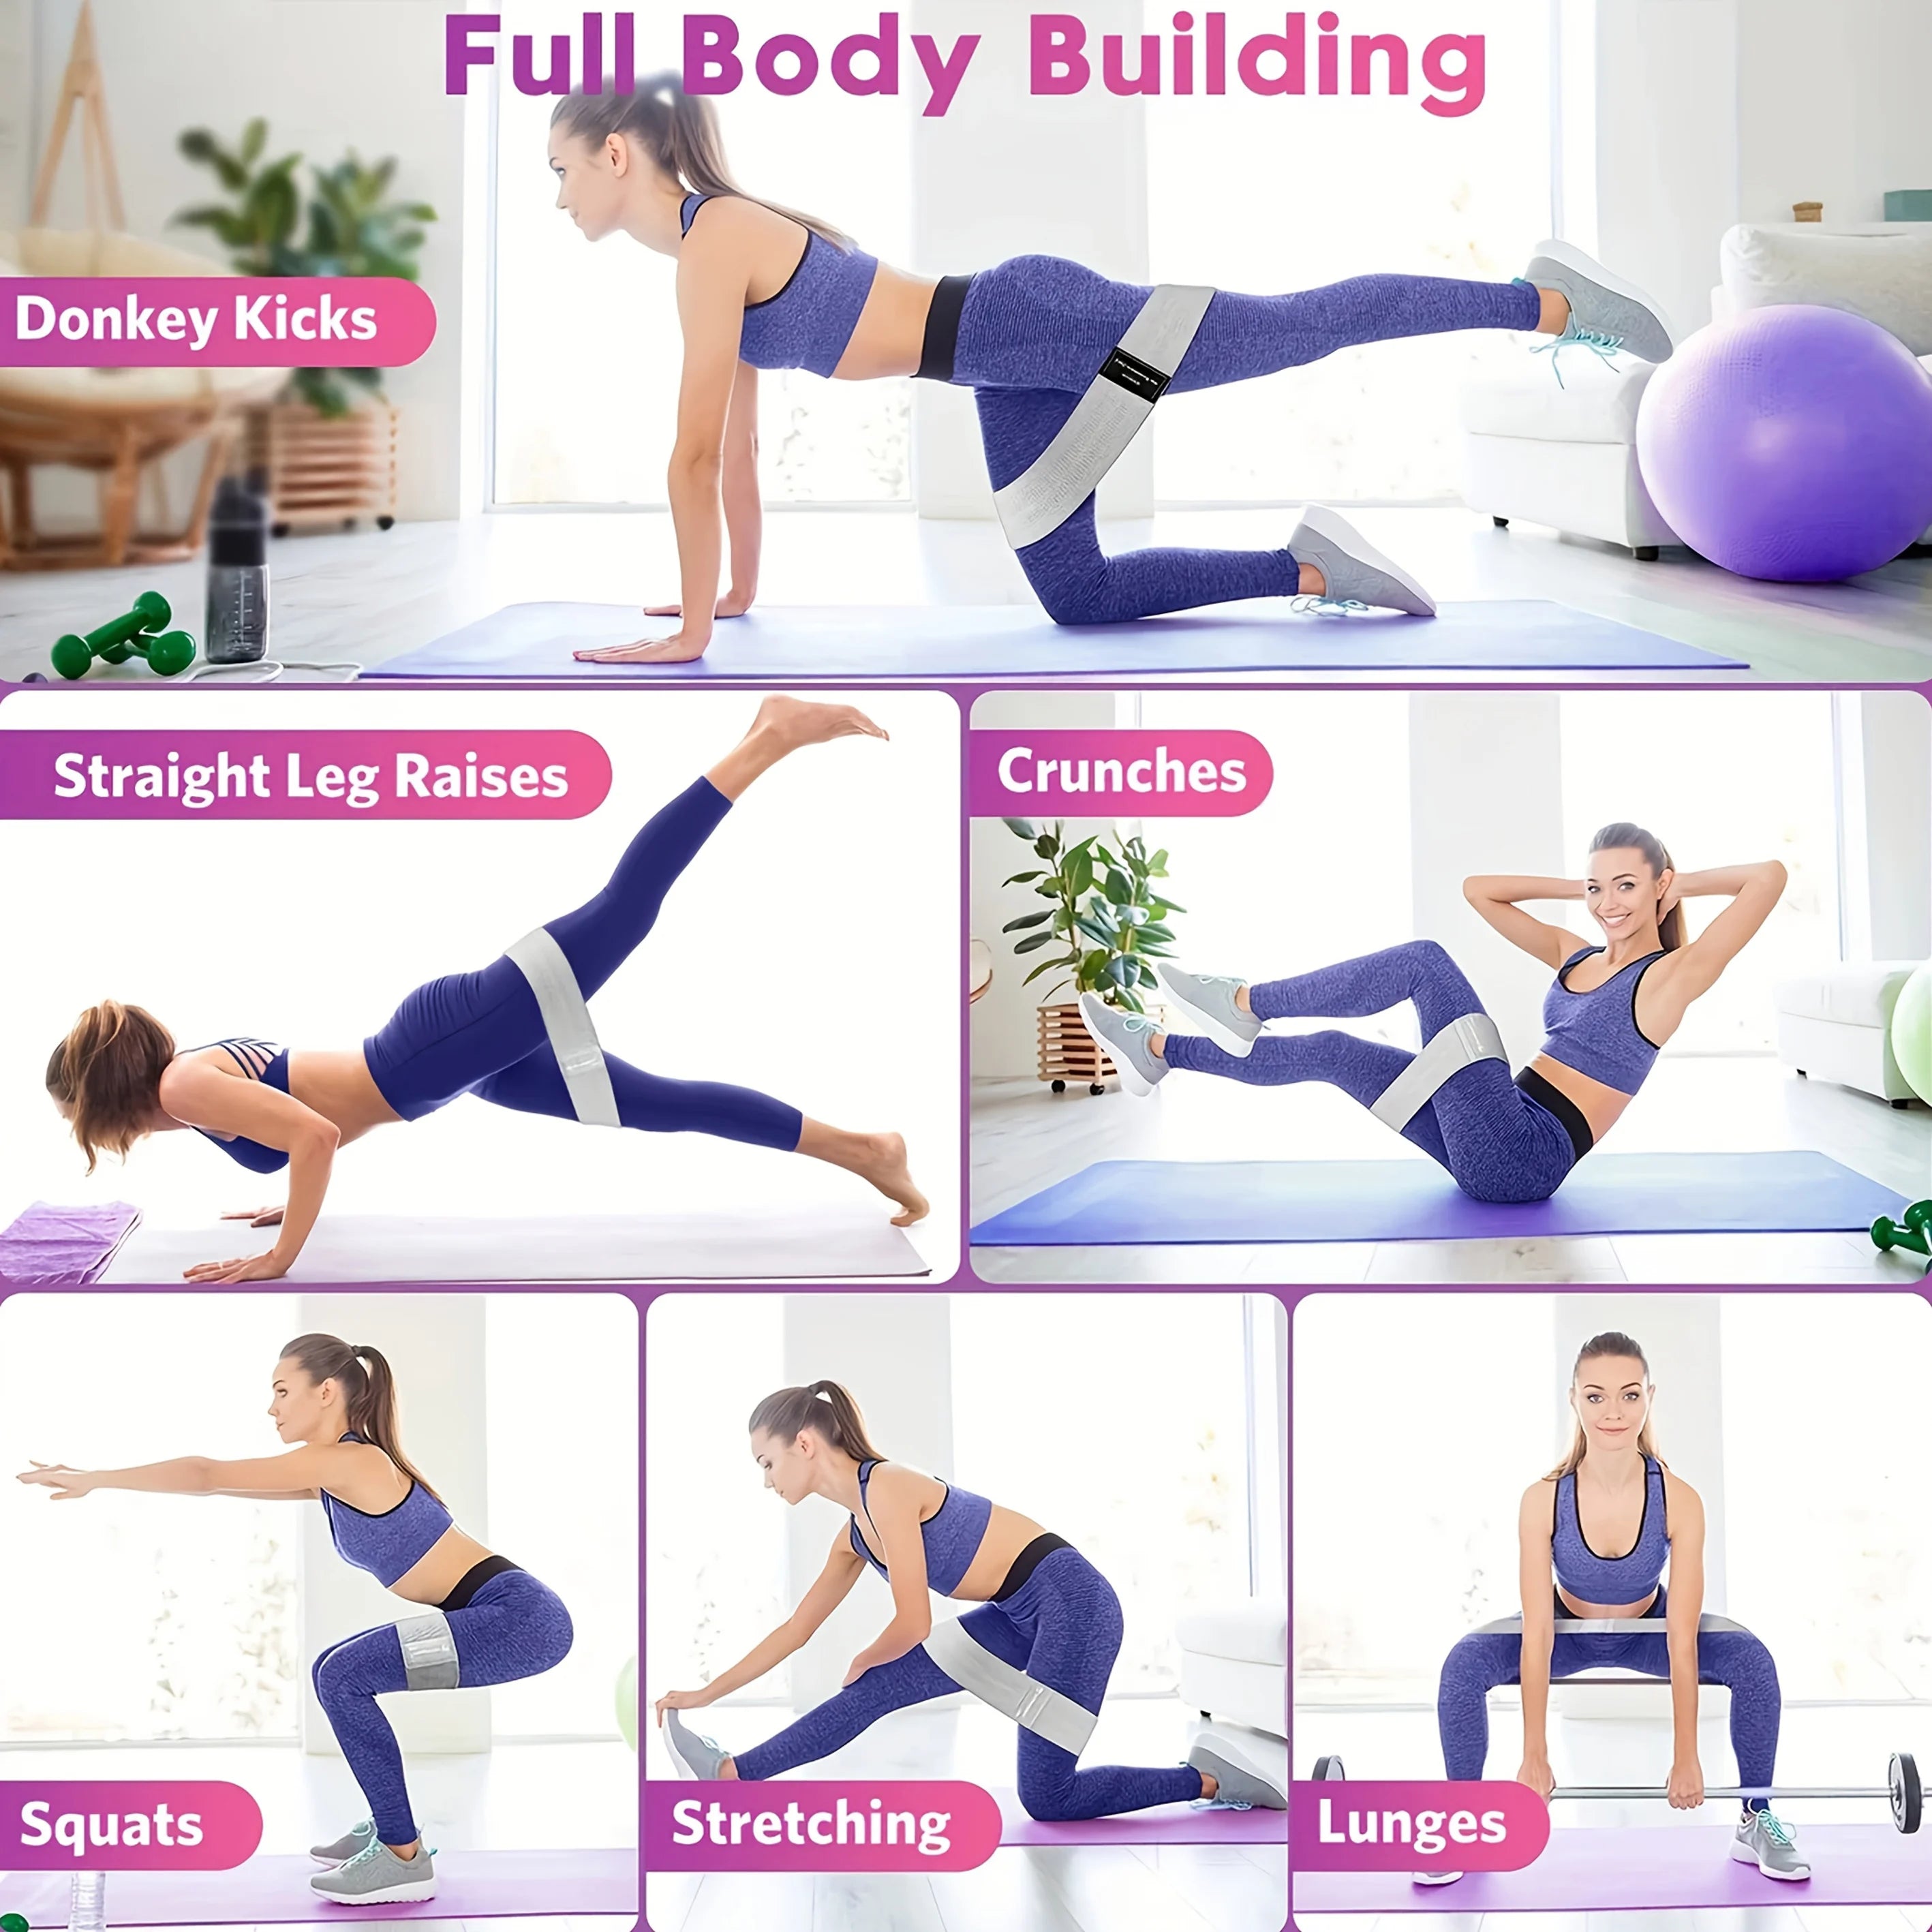
Hip resistance bands exercises for better resistance band hips control — See it in action
Common Mini Loop Band Hip Thrust Mistakes and Fixes
Even experienced lifters often repeat small technique errors that reduce glute involvement. A resistance band provides immediate feedback to help correct these issues.
| Common Mistake | Simple Fix |
|---|---|
| Knees collapse inward | Maintain steady outward pressure against the band. |
| Feet too close or too far away | Adjust until your shins are nearly vertical at lockout. |
| Lower back overextends | Brace your core and keep your ribs stacked over your pelvis. |
| Incomplete lockout | Fully extend the hips and squeeze the glutes before lowering. |
Coaching Cues for Better Glute Activation
Small coaching cues can dramatically improve your band hip thrust performance.
- Drive through your heels instead of your toes.
- Maintain constant tension on the mini loop band.
- Keep your spine neutral throughout every repetition.
- Pause for one to two seconds at the top.
- Think about pushing the floor apart with your feet.
- Exhale as you finish the lift to reinforce core stability.
Many users report stronger glute engagement within the first session when using quality bands designed for consistent tension like Hip & Booty Bands .
Consistent activation also supports recovery and relaxation, pairing well with routines from Massage & Relaxation after training.
Sets, Reps, Tempo, and Progression
Adjust your training based on your primary goal.
- Beginners: 2-3 sets of 10-12 reps.
- Muscle growth: 3-4 sets of 8-15 controlled reps.
- Endurance: 2-3 sets of 15-20 reps using lighter resistance.
Use a tempo of approximately two seconds up, a one to two second squeeze at the top, and two to three seconds lowering. Progress by increasing repetitions, slowing the tempo, using a stronger band, or eventually combining the band with external weight.
Variations and Regressions
Beginner Regression
Perform banded glute bridges on the floor before progressing to elevated hip thrusts.
Single-Leg Variation
Lift one foot off the floor to increase unilateral glute strength and improve hip stability.
Weighted Band Hip Thrust
Combine a mini loop band with a dumbbell or barbell to challenge both hip extension and lateral stability.
Glute Bridge Alternative
If a bench isn't available, perform glute bridges using the same band placement to reinforce proper glute activation.
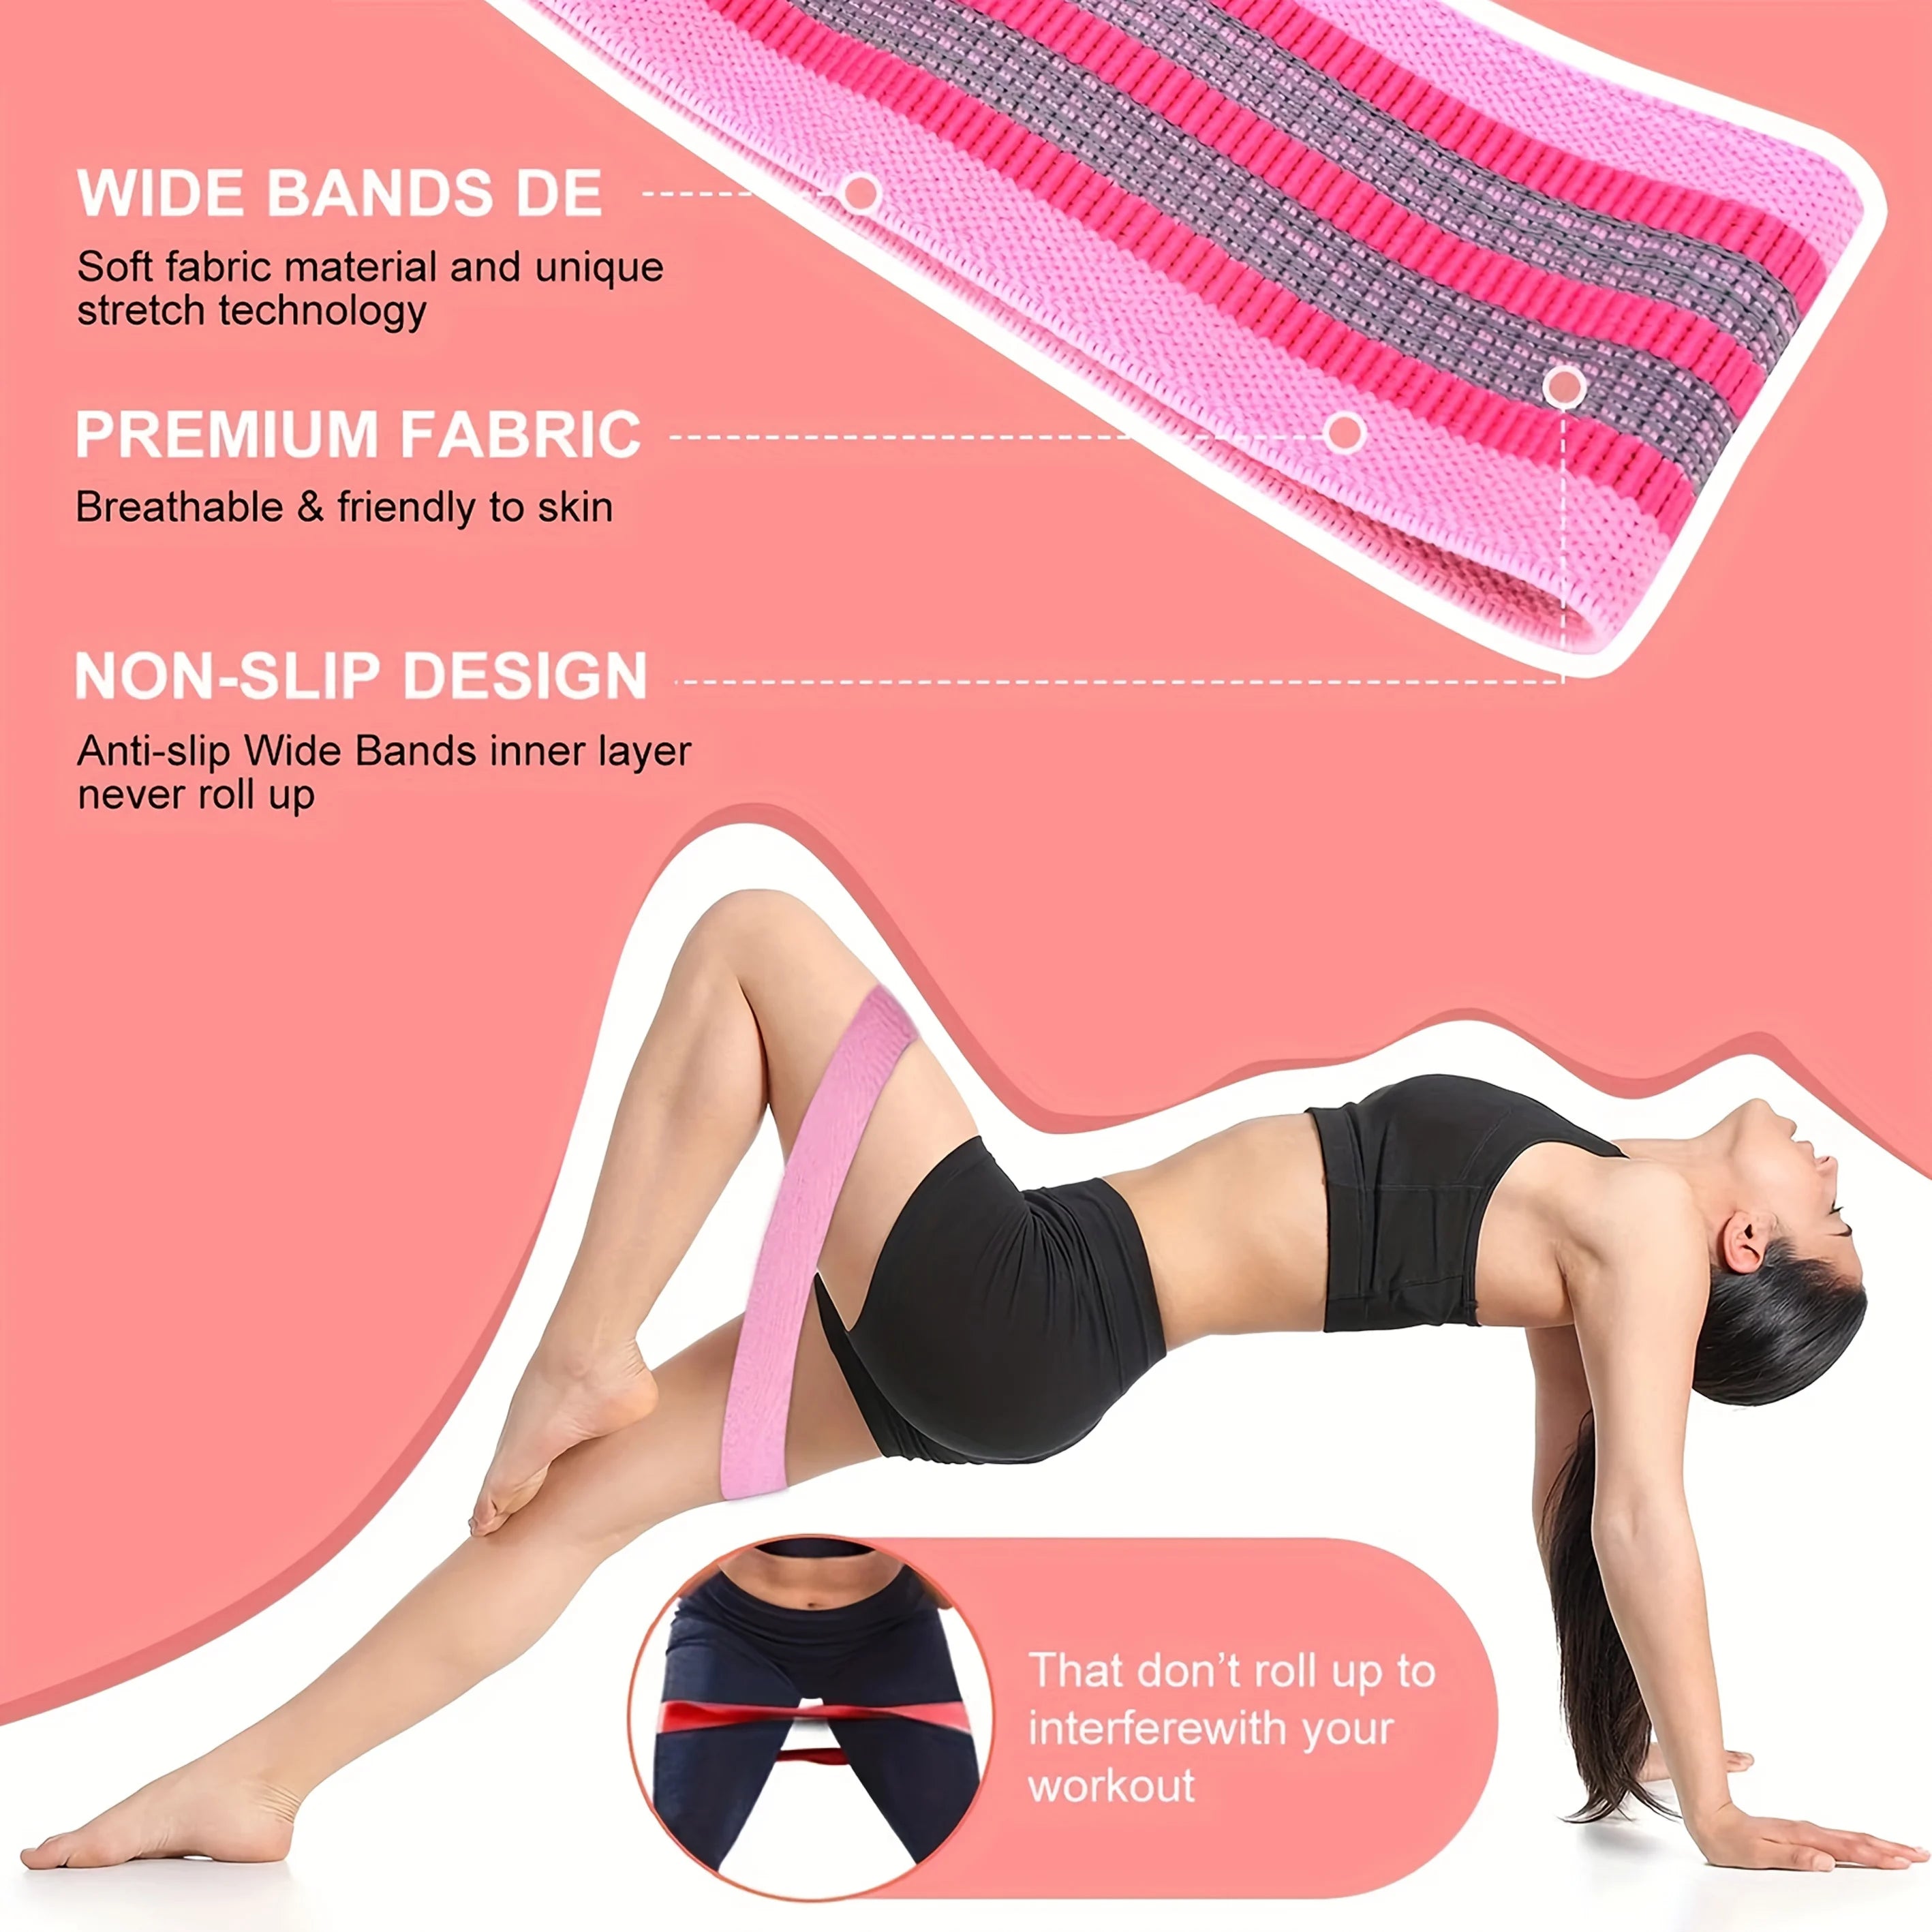
Lower body muscle activation using resistance band for hip thrust — See it in action
Quick FAQs
Can beginners use a resistance band for hip thrust?
Yes. A mini loop band helps beginners maintain better knee alignment and develop proper movement patterns before progressing to heavier resistance.
Do bands replace weights for hip thrust?
No. Bands improve glute activation and stability, but they also work exceptionally well when combined with barbells or dumbbells.
How often should I train hip thrusts?
Most people see excellent progress training two or three times each week with at least one recovery day between sessions.
Where should the mini loop band sit?
Position it just above your knees. This creates effective outward resistance while allowing comfortable movement.
Should I keep tension on the band the whole time?
Yes. Maintain gentle outward pressure from the beginning of the repetition until you finish the set to maximize glute engagement.
What if I feel my quads instead of my glutes?
Adjust your foot position, drive through your heels, slow the tempo, and pause at the top while actively squeezing your glutes.
Is a mini loop band hip thrust safe for sore knees or lower back?
When performed with proper technique and appropriate resistance, banded hip thrusts are generally well tolerated. If pain persists or worsens, stop the exercise and consult a qualified healthcare professional before continuing.
Related Guide: Resistance Band for Glutes Workout You Can Do at Home





