
Resistance Bands Glute Kickbacks Proper Setup and Form
Do resistance bands glute kickbacks really work?
Resistance bands glute kickbacks work by creating constant tension through the full range of motion, helping activate and strengthen the glutes more effectively than bodyweight alone. When performed with proper setup and form, resistance bands glute kickbacks improve resistance band hips control and make everyday exercises for glutes with resistance band training more results-driven.
Resistance Bands Glute Kickbacks Proper Setup and Form
Resistance bands glute kickbacks can transform home workouts when done correctly, especially for busy parents and wellness-focused readers who want effective lower-body training without bulky equipment. With the right setup, form cues, and simple adjustments, this move becomes one of the best glute exercises with resistance bands for building strength, stability, and confidence at home.
⏱ 7 min read
Ever feel like you’re doing glute kickbacks but not really feeling them where you should? Between family routines, limited time, and product overload, it’s frustrating to put in effort without results. The good news: a few small tweaks can turn resistance bands glute kickbacks into a powerful, glute-focused move that fits easily into home wellness routines.
Resistance bands glute kickbacks setup for stronger resistance band hips 💡 See it in action
Why Resistance Bands Glute Kickbacks Build Stronger Glutes
Resistance bands glute kickbacks stand out because bands keep tension on the muscles the entire time. Unlike weights that rely on gravity, bands challenge your glutes at the top and bottom of every rep, which improves muscle engagement and control.
- Constant tension supports better muscle activation
- Gentler on joints than heavy weights
- Easy to perform at home or while traveling
- Ideal for postpartum and wellness-focused routines
For readers balancing family life and self-care, this move pairs well with recovery-focused tools often found in Massage & Relaxation routines, helping reduce soreness while supporting consistency.
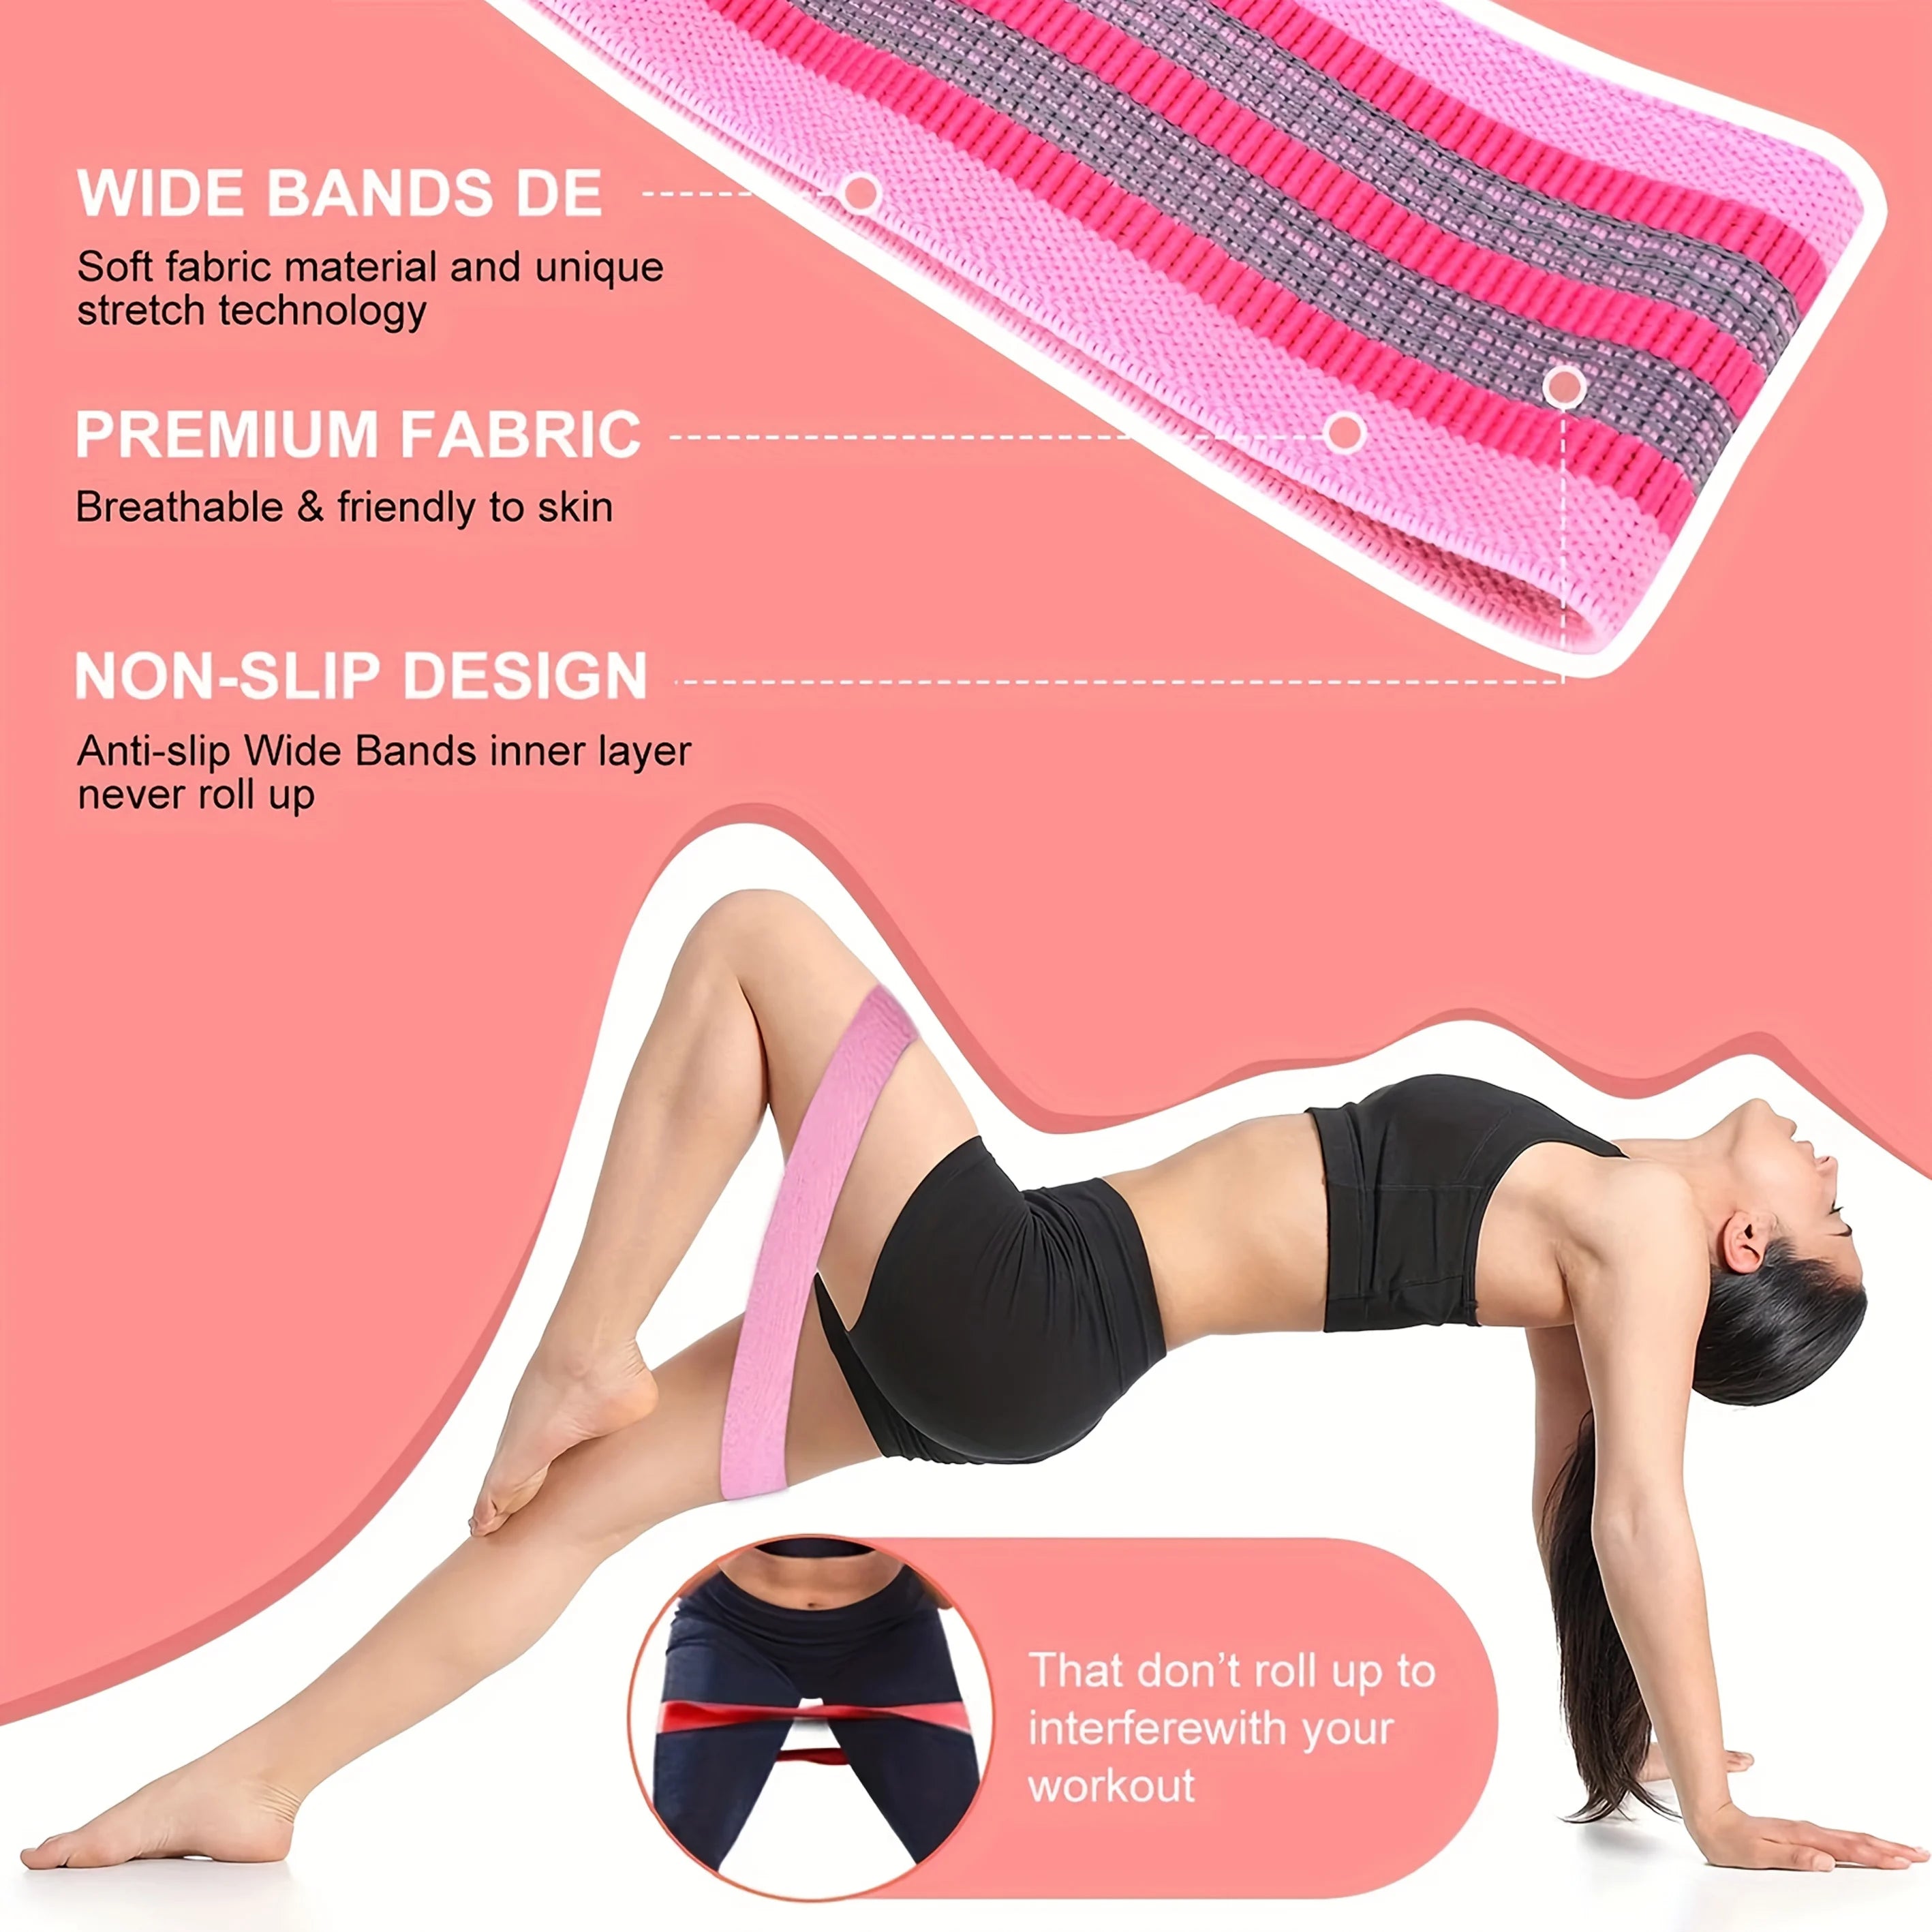
How to Set Up Resistance Bands Glute Kickbacks Correctly
Resistance bands glute kickbacks should start with a stable, comfortable setup that keeps your hips aligned and your core engaged. Proper setup ensures the work stays in the glutes—not the lower back.
- Anchor the band around one foot and loop the other end under the opposite foot or secure it low behind you.
- Position hands under shoulders and knees under hips on a mat.
- Keep your spine neutral and core lightly braced.
- Check band tension before starting—there should be resistance even at the bottom.
Using supportive floor mats or mobility aids from Mobility & Training collections can make setup more comfortable, especially for knees and wrists.
Proper Form for Safe, Effective Glute Kickbacks
Resistance bands glute kickbacks are most effective when movement is slow, controlled, and intentional. Rushing through reps often shifts the work away from the glutes.
Direct answer: Resistance bands glute kickbacks work best when you extend one leg back and slightly upward while keeping hips square, core engaged, and tension on the band throughout the movement. This controlled form maximizes glute activation, protects the lower back, and improves resistance band hips stability over time.
- Exhale as you kick back
- Pause briefly at the top
- Avoid arching the lower back
- Lower slowly to maintain tension
Proper glute kickback form using resistance band hips 💡 See it in action
Common Mistakes and Easy Fixes
Even simple exercises for glutes with resistance band setups can go wrong without feedback. These are the most common issues and how to correct them quickly.
| Common Issue | Quick Fix |
|---|---|
| Lower back arching | Engage core and limit leg height |
| Hips rotating | Slow down and square hips |
| Band too loose | Shorten band or switch resistance |
| Rushing reps | Count 2 seconds up, 3 seconds down |
Many parents find pairing workouts with calming recovery habits from Beauty & Wellness helps maintain consistency and reduces burnout.
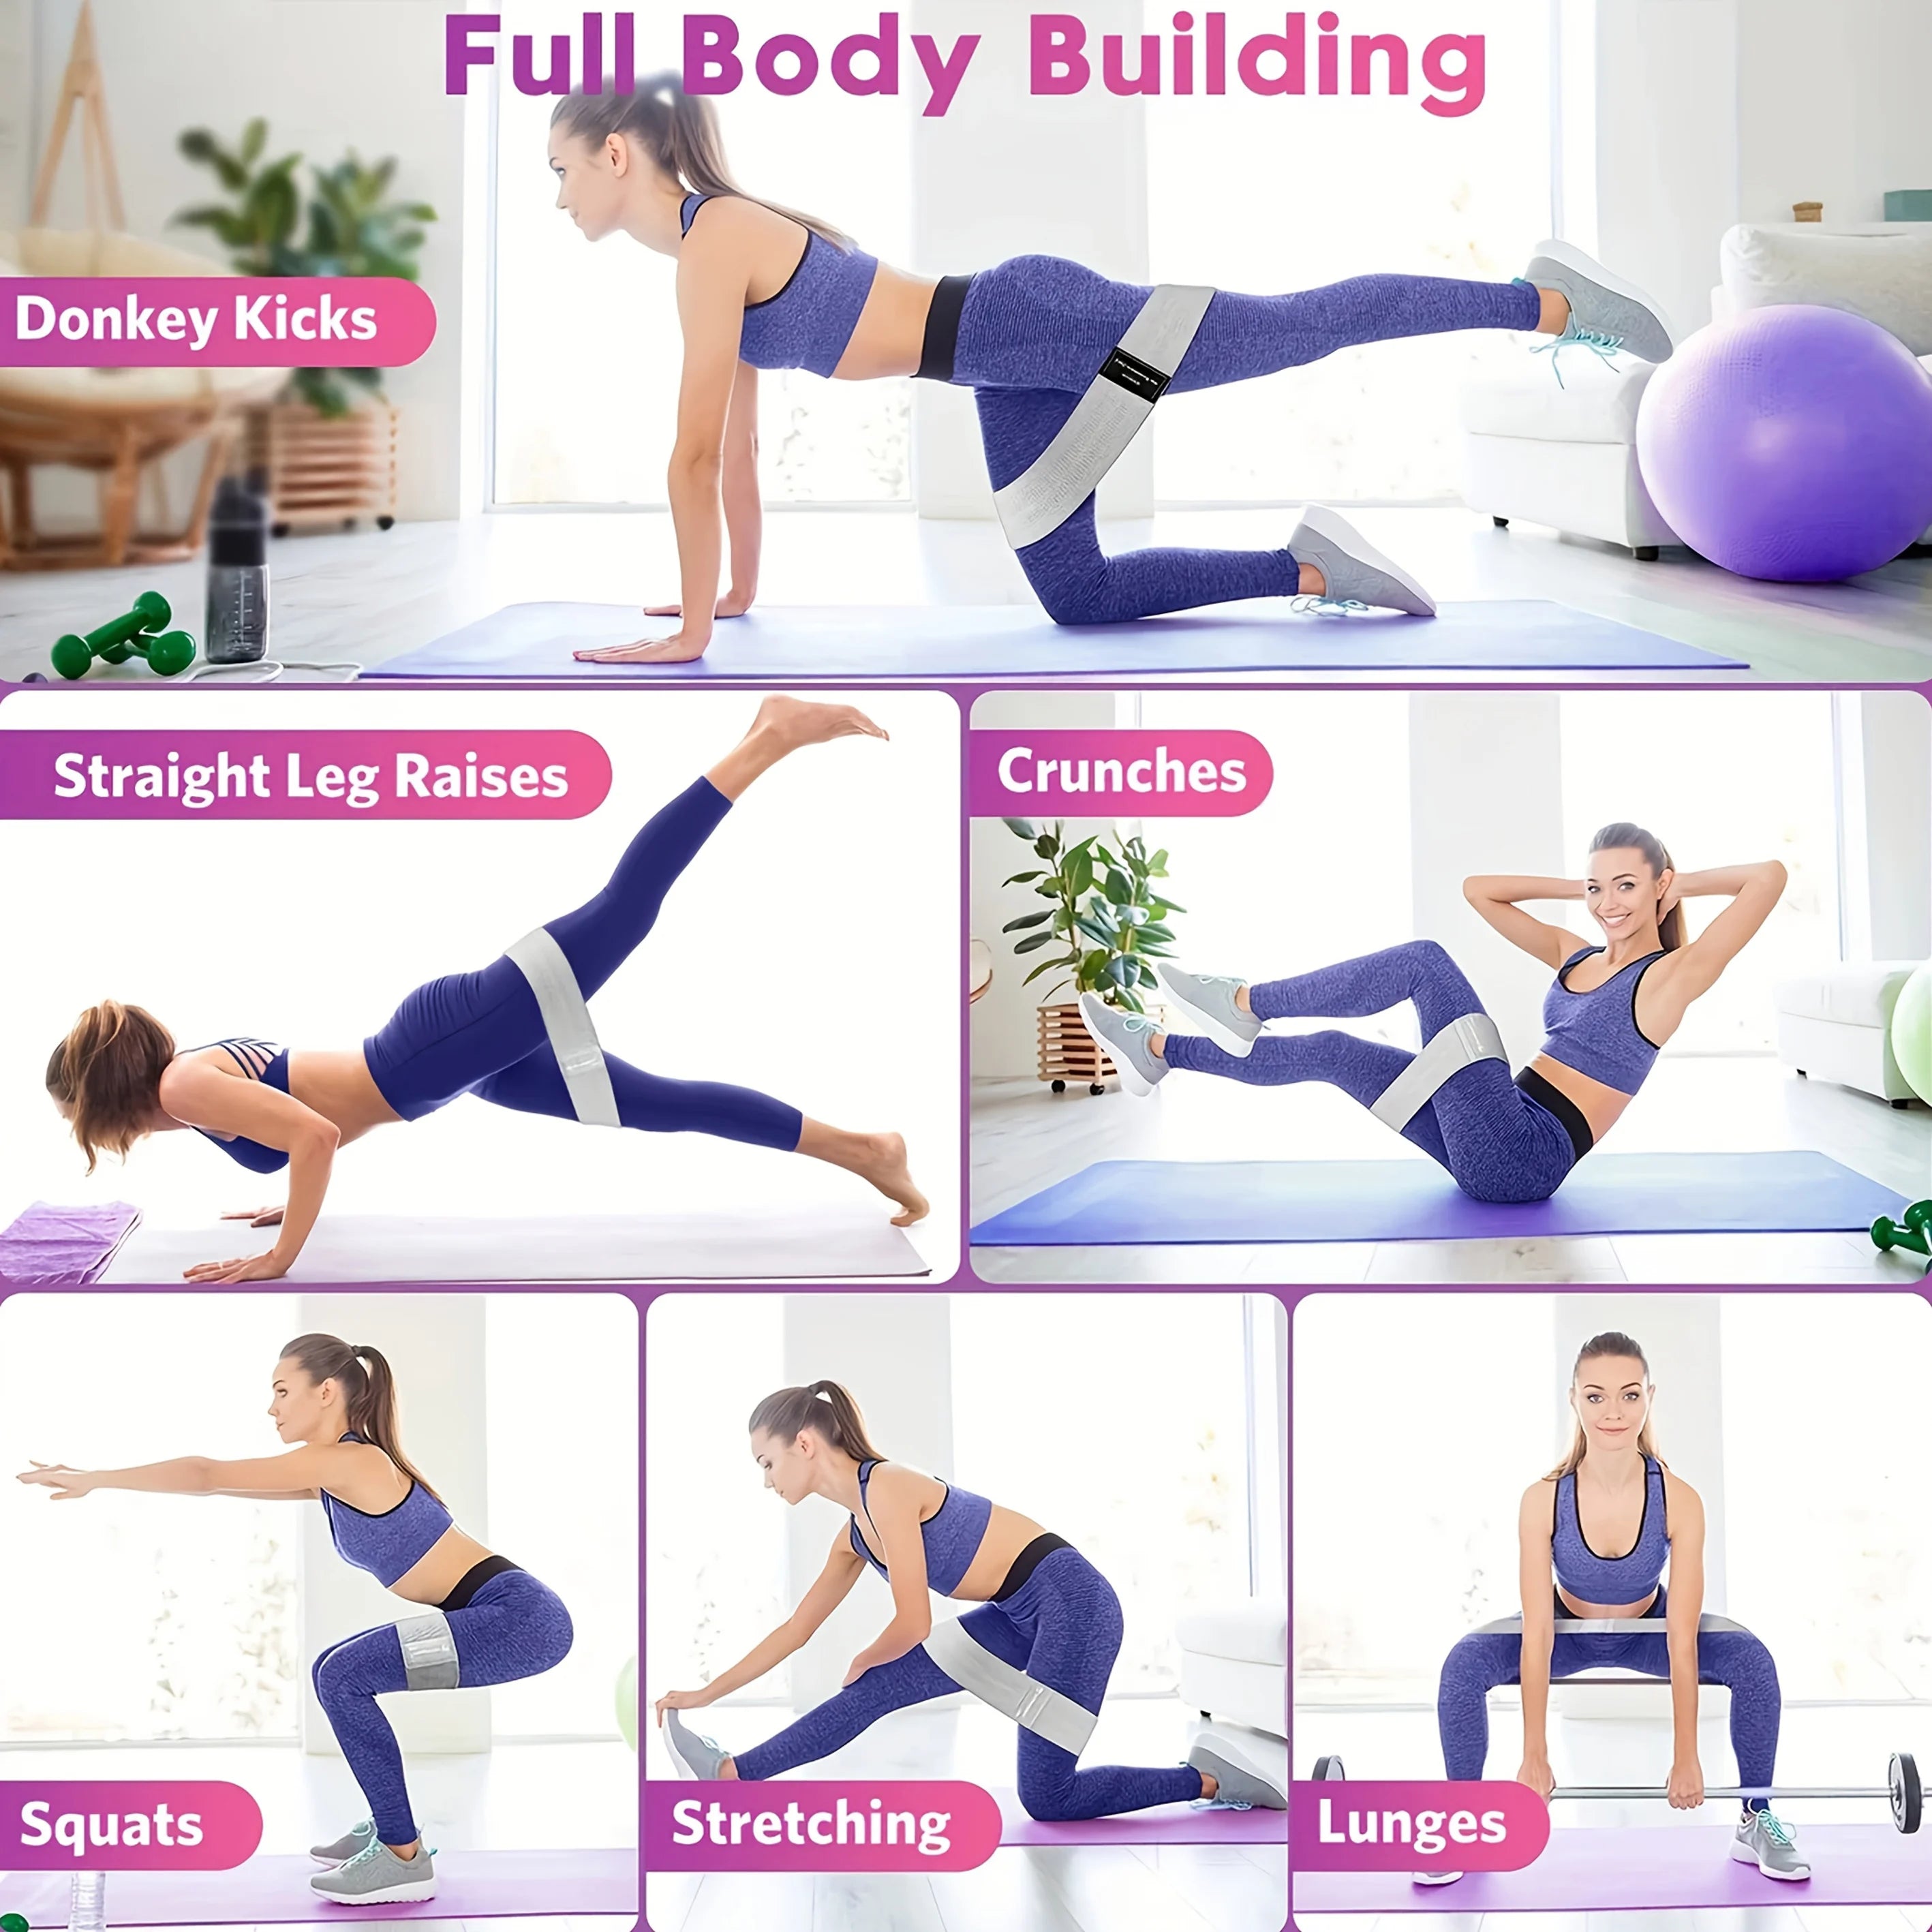
Progressions for Stronger Results Over Time
Once basic resistance bands glute kickbacks feel manageable, progression keeps muscles adapting without needing heavier equipment.
- Add pulses at the top of each rep
- Increase band resistance gradually
- Perform kickbacks from a forearm plank
- Combine with other best glute exercises with resistance bands
These progressions work well in short, efficient sessions—perfect for readers juggling home responsibilities and wellness goals.
Simple Home Routine Using Resistance Bands
This balanced routine fits into a 15–20 minute window and complements other lower-body movements.
- Glute bridges with band – 15 reps
- Resistance bands glute kickbacks – 12 reps per side
- Standing band abductions – 15 reps per side
- Bodyweight squats with band – 20 reps
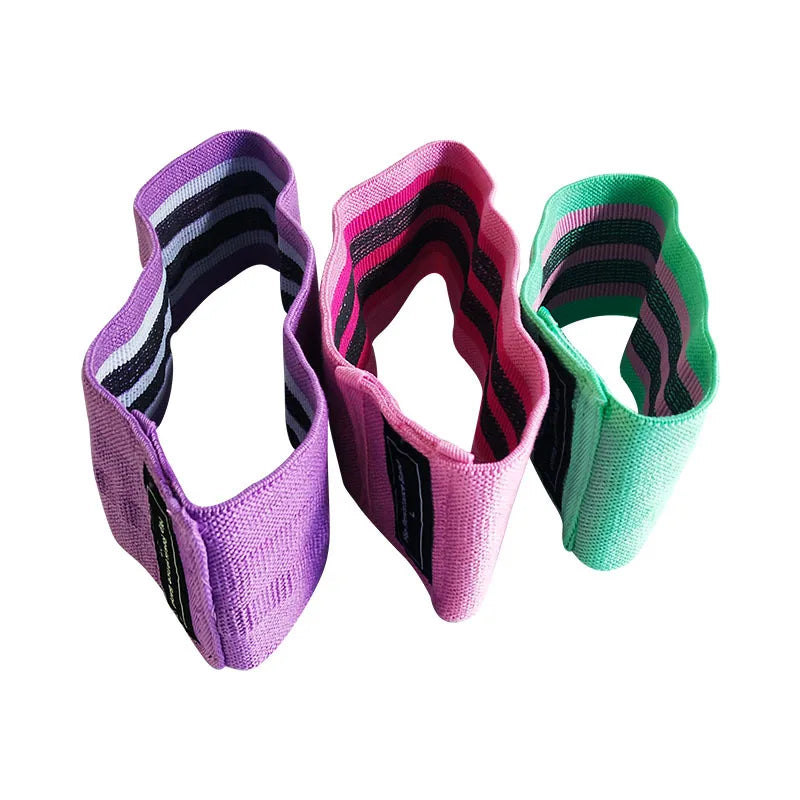
Using quality bands like those found in the Hip Booty Bands Glute Thigh Workout set ensures consistent tension and durability across sessions.
At-home banded glute workout with resistance bands glute kickbacks 💡 See it in action
Quick FAQ
How often should I do resistance bands glute kickbacks?
Two to three times per week is ideal, allowing rest days for muscle recovery while maintaining consistent activation.
Are resistance band hips exercises safe for beginners?
Yes, when performed with light resistance and proper form, they’re joint-friendly and easy to scale.
Can resistance bands replace weights for glute training?
For many home workouts, bands provide enough tension to build strength, especially when combined with controlled tempo and progressions.
Related Guide: Resistance Band for Glutes Workout You Can Do at Home


