

Does learning how to change diaper on newborn really make diapering less stressful?
Answer: Yes. Learning how to change diaper on newborn gives new parents a reliable routine that improves safety, reduces mess, and helps keep baby comfortable. Preparing supplies ahead of time, using a clean changing surface, and following simple newborn diaper changing steps can make each change faster and calmer.
⏱ 14 min read
How to Change Diaper on Newborn Step-by-Step for Stress-Free Care
Learning how to change diaper on newborn is one of the first essential skills new parents develop. In the beginning, diaper changes may feel stressful because newborns have delicate skin, frequent bowel movements, and unpredictable moments during changing. This guide explains the proper way to change a diaper with a safety-first approach, practical newborn care tips, and a simple routine you can repeat with confidence.
Why safe and calm diaper changes matter
Newborn diaper changes are about more than keeping baby clean. A consistent diapering routine supports healthy skin, improves comfort, and helps caregivers recognize what is normal for their baby. Since newborns may need many diaper changes each day, learning the correct technique reduces stress and prevents common problems caused by moisture, friction, or poor diaper fit.
A calm diaper change also creates an important safety habit. Newborns can move unexpectedly, so preparing everything before starting and keeping your attention on your baby are key parts of a safe diaper changing procedure.
How do I change a diaper on a newborn?
To change a newborn diaper, first prepare a clean changing area and gather all supplies within reach. Place your baby safely on a waterproof changing mat, remove the dirty diaper carefully, clean the diaper area gently, place a fresh diaper underneath, and fasten it securely. Always keep one hand on your baby when changing diapers and never leave a newborn unattended on an elevated surface.
how to change diaper on newborn — proper way to change a diaper + See it in action
What you need before you start (newborn diaper changing supplies checklist)
Preparing supplies before placing your newborn on the changing surface makes the process safer and prevents you from needing to step away during a diaper change.
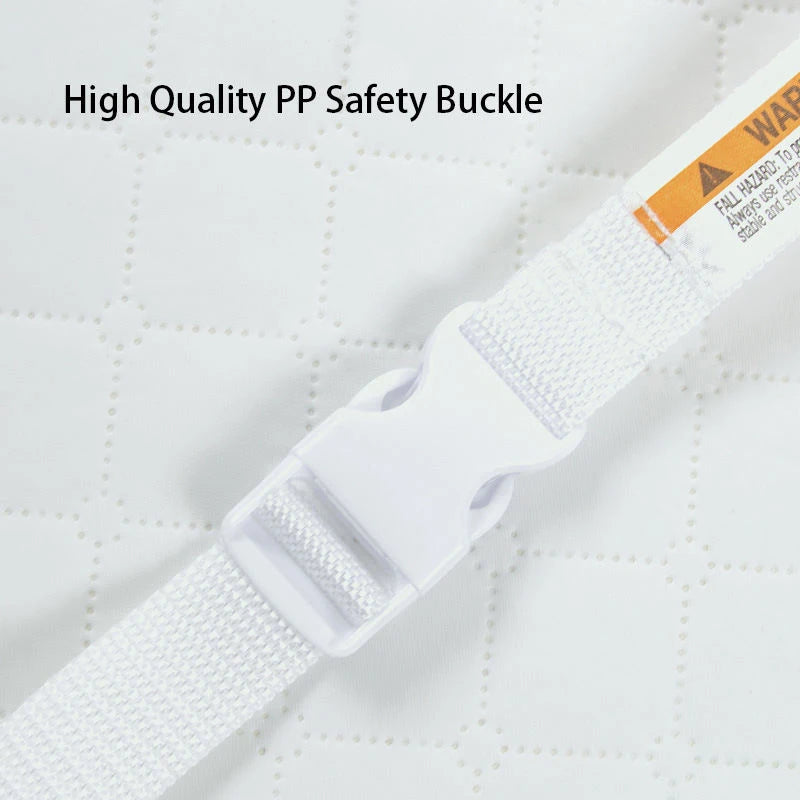
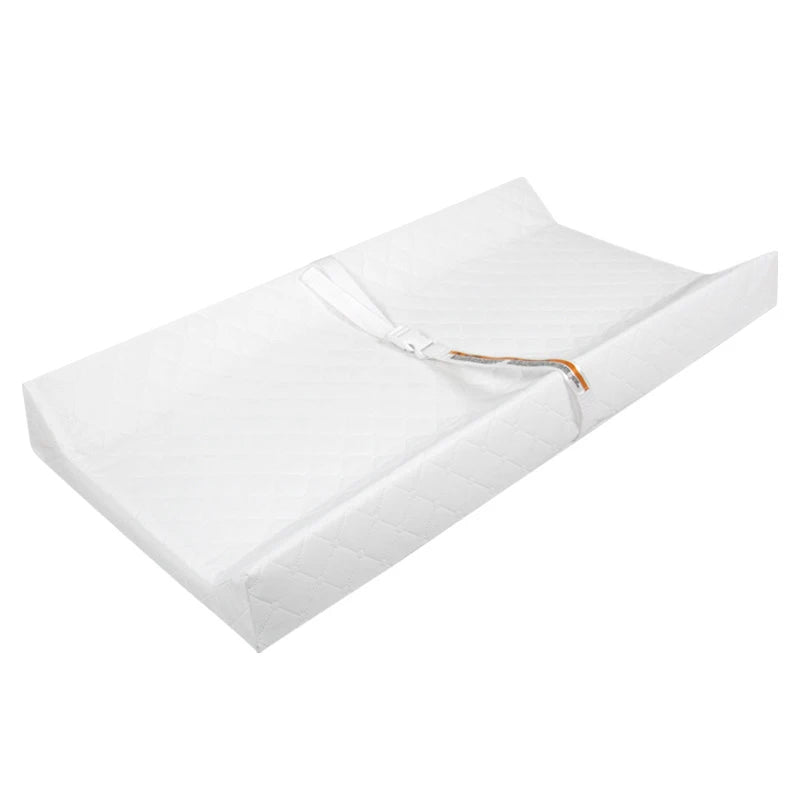
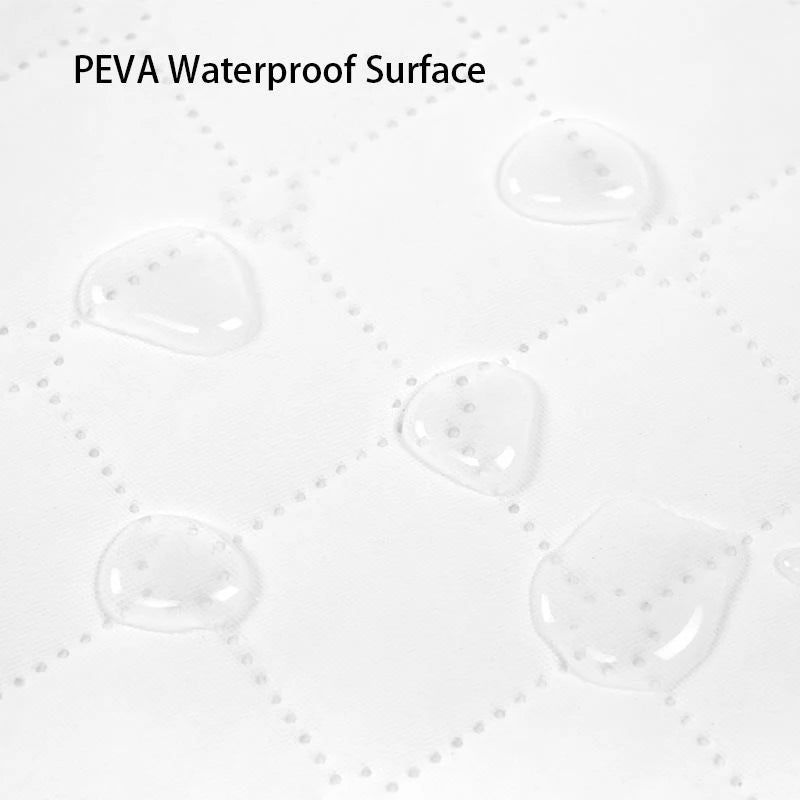
- Waterproof changing mat — creates a clean, easy-to-wipe surface and protects the area underneath.
- Clean diapers — keep one ready and have an extra nearby in case of accidents.
- Gentle wipes or cotton balls with water — useful for cleaning sensitive newborn skin.
- Barrier cream or ointment — helps protect skin when irritation appears.
- Clean clothing — useful for unexpected leaks or messy diaper changes.
- Hand sanitizer or access to a sink — supports good hygiene before and after changing.
- Diaper disposal bag or bin — keeps dirty diapers contained after use.
Store these items together in a small caddy near your changing area so every diaper change follows the same routine. For newborn care essentials, check Baby Care Essentials for trusted basics.
Step-by-step: how to change diaper on newborn
Direct answer: The safest way to change a newborn diaper is to prepare the area first, keep baby secure throughout the process, clean gently, and make sure the new diaper fits comfortably without being too tight.
-
Wash your hands and prepare supplies.
Clean hands help reduce the spread of germs and protect your newborn’s sensitive skin. Place the diaper, wipes, cream, and disposal bag within easy reach before starting.
-
Prepare a safe changing surface.
Use a waterproof changing mat on a flat, stable surface. Avoid leaving your baby alone while reaching for supplies.
-
Place your newborn safely.
Lay your baby on their back and keep one hand on them whenever you need to move or grab an item.
-
Remove the dirty diaper carefully.
Open the diaper tabs slowly. If there is a large mess, use the clean front area of the diaper to remove some waste before wiping.
-
Clean the diaper area gently.
Use soft wipes or cotton and water. Clean skin folds carefully and wipe from front to back when cleaning a baby girl.
-
Protect the umbilical cord area.
For newborns with an umbilical cord stump, keep the area clean and dry. Fold the diaper front down if needed so it does not rub against the stump.
-
Place the clean diaper underneath your baby.
Lift your baby’s legs gently, slide the fresh diaper into position, and make sure it is centered before fastening.
-
Secure the diaper comfortably.
Fasten the tabs so the diaper fits snugly but allows room for movement. You should be able to place about two fingers between the diaper and your baby’s waist.
-
Finish the change safely.
Dispose of the dirty diaper, wash your hands, and return supplies to their usual location for the next change.
Quick safety checklist (keep visible)
- Never leave a newborn unattended during a diaper change.
- Keep all supplies within arm’s reach before placing baby down.
- Use a stable changing surface and avoid unsafe elevated areas.
- Check that the diaper is comfortable and not causing pressure marks.
Small differences: boy vs girl diapering
The basic diaper changing procedure is the same for all newborns, but cleaning techniques may differ slightly depending on your baby’s anatomy.
- Girls: Wipe from front to back to help reduce the spread of bacteria toward the urinary area.
- Boys: Clean gently and be prepared for unexpected movement during changes. A cloth can help protect against accidental spraying.
- Uncircumcised boys: Clean only the outside area. Do not force the foreskin to retract.
Avoid rubbing sensitive skin too firmly. Newborn skin is delicate, so gentle cleaning and proper drying are important parts of a healthy diaper routine.
Preventing leaks, rashes, and blowouts
Many common diaper problems can be reduced with the right fit, regular changes, and gentle skin care habits.
- Choose the correct diaper size: A diaper that is too small may leak or leave marks, while one that is too large may create gaps.
- Check diaper placement: Make sure the waistband sits evenly and the diaper covers the diaper area completely.
- Protect sensitive skin: Apply a thin layer of barrier cream when recommended, especially if redness develops.
- Change diapers regularly: Newborns often need frequent changes, especially after bowel movements.
Changing a dirty diaper on the go
Changing a newborn diaper outside the home requires extra preparation, but a simple system can keep the process clean, safe, and manageable. A portable diaper setup helps you handle unexpected messes while keeping your baby comfortable in unfamiliar environments.
-
Prepare a portable changing kit.
Pack clean diapers, gentle wipes, a small amount of diaper cream, disposal bags, hand sanitizer, and a portable waterproof changing pad before leaving home.
-
Choose a safe changing surface.
Use a clean, flat surface whenever possible. A waterproof changing pad creates a barrier between your baby and public surfaces while making cleanup easier.
-
Keep baby secure during the change.
Never place your newborn unattended on a changing station, vehicle seat, or elevated surface. Keep one hand on your baby whenever you need to reach for supplies.
-
Clean up completely after changing.
Seal the dirty diaper in a disposal bag, clean your hands, and organize your supplies again so the next diaper change is easier.
For a compact option to keep in your diaper bag, note the product path: /products/portable-baby-changing-pad (product page on our store).
Choosing a safe changing surface for newborn diaper changes
A clean and secure changing surface is an important part of a hygienic baby changing station. The best option depends on your routine, available space, and whether you need a solution for home or travel.
What makes a hygienic baby changing station?
- Water-resistant or waterproof material: Helps prevent moisture from soaking through and allows quick cleaning after spills or messes.
- Easy-to-clean surface: Smooth materials are generally easier to wipe down between diaper changes.
- Stable placement: The changing area should stay secure and should never require leaving your newborn unattended.
- Convenient organization: Keeping diapers, wipes, and creams nearby reduces unnecessary movement during changes.
- Comfortable support: A padded surface can make diaper changes more comfortable while still allowing easy storage and cleaning.
A waterproof changing mat can be a practical support tool for both everyday changes and travel because it creates a dedicated clean area wherever you need one. Explore curated essentials at Mom Essentials and hygiene support products at Baby Hygiene Gadgets .
proper way to change a diaper — printable diaper changing procedures + See it in action
Visual step guide for newborn diaper changes
A simple visual routine can help first-time parents remember the correct order during busy moments, especially when changing diapers at night or away from home.
- Prepare: Gather a clean diaper, wipes, cream if needed, and a safe changing surface.
- Secure: Place your newborn safely on their back and keep supplies within reach.
- Remove: Open the dirty diaper carefully and contain any mess before cleaning.
- Clean: Wipe gently, clean skin folds, and use the correct wiping direction.
- Replace: Slide the clean diaper underneath, adjust the fit, and fasten securely.
- Finish: Dispose of waste, wash your hands, and prepare the area for the next change.
Evidence-based tips for easier newborn diaper changes
Instead of relying on complicated routines, many newborn care challenges can be reduced with consistent habits and preparation.
- Create one changing routine: Keeping supplies in the same place helps reduce mistakes and makes diaper changes more predictable.
- Protect your baby's skin: Gentle cleaning, regular diaper changes, and avoiding unnecessary friction support healthy skin.
- Prepare for unexpected messes: Keeping spare clothing and extra supplies nearby can make blowouts less stressful.
- Make nighttime changes simple: Dim lighting, quiet movements, and organized supplies can help avoid fully waking your baby.
Extra time-saving tips for calmer changes
- Organize supplies before busy times: Refill diapers, wipes, and other essentials before bedtime or leaving home.
- Use consistent cues: A calm voice, gentle movements, or the same routine can help your baby become familiar with diaper changes.
- Keep backup clothing nearby: A spare outfit near the changing area can save time after unexpected leaks or spills.
Printable diaper changing procedures (quick checklist)
Keep this simple checklist near your changing area as a reminder of the essential steps.
- Wash hands → Prepare changing surface and supplies → Place baby safely.
- Open dirty diaper carefully → Clean gently → Check skin condition.
- Place clean diaper correctly → Fasten comfortably → Check the fit.
- Dispose of diaper → Clean the area → Wash hands before the next activity.
When to Contact a Pediatrician About Diaper-Related Concerns
Most newborn diaper issues improve with gentle cleaning, frequent changes, and proper skin care. However, contact your pediatrician if you notice signs that need professional guidance, including:
- Persistent diaper rash: redness or irritation that does not improve after regular diaper changes and appropriate barrier protection.
- Skin changes that look unusual: blisters, open areas, swelling, bleeding, or signs of infection around the diaper area.
- Severe discomfort: unusual crying, fussiness, or signs that your baby seems painful during diaper changes.
- Other concerning symptoms: fever or changes in feeding, sleeping, or behavior along with diaper-area irritation.
When in doubt, ask your baby's healthcare provider for advice. Early guidance can help prevent minor skin irritation from becoming a larger concern.
Mini-FAQ
-
How do you change a newborn diaper step by step?
The proper way to change a diaper is to prepare supplies first, place your baby on a safe changing surface, remove the dirty diaper, clean gently from front to back, place a fresh diaper underneath, fasten it comfortably, and wash your hands afterward.
-
How often should you change a newborn diaper?
Many newborns need diaper changes every 2–3 hours, as well as immediately after bowel movements. Frequent changes help reduce prolonged moisture exposure and support healthy skin.
-
How do you clean a baby boy during diaper changes?
Clean the outside area gently with wipes or water and avoid pulling back the foreskin on an uncircumcised baby. A small cloth can help during changes to prevent unexpected spraying.
-
How do you clean a baby girl during diaper changes?
Always wipe from front to back to help keep bacteria away from the urinary area. Use gentle motions and avoid rubbing sensitive newborn skin.
-
How do you change a diaper with an umbilical cord stump?
Fold the front of the diaper down below the stump area if needed so it stays clean and dry. Follow your pediatrician’s instructions for umbilical cord care.
-
What mistakes should new parents avoid during diaper changes?
Common mistakes include leaving supplies out of reach, stepping away from a baby on a changing surface, fastening the diaper too tightly, or using harsh products on delicate newborn skin.
changing dirty diaper — waterproof changing mat + printable diaper changing procedures + See it in action
Printable Newborn Diaper Changing Checklist
Keep this simple diaper changing procedure near your changing station as a quick reminder for daytime and overnight changes.
- Prepare: Wash hands, gather a clean diaper, wipes or cotton and water, cream if needed, and a safe changing surface.
- Position safely: Place baby on their back and keep one hand on your baby whenever you reach for supplies.
- Change: Remove the dirty diaper, clean gently from front to back, and check the skin for redness or irritation.
- Replace: Slide the clean diaper underneath, adjust the fit so it is secure but comfortable, and check that it is not rubbing.
- Clean up: Dispose of the diaper properly, return supplies to their storage area, and wash your hands.
This step-by-step diapering newborn checklist helps first-time parents create a consistent routine while keeping safety and hygiene the priority.
Newborn Care Resources
Explore more practical guides for creating a safer, cleaner newborn care routine:
- Newborn Care Guide — essential tips for everyday baby routines.
- Baby Changing Mats — learn what features help create a more convenient changing setup.
- Portable Changing Pads — tips for cleaner diaper changes outside the home.
- Diaper Bags — organize supplies for quick access during outings.
- Diaper Rash Prevention Guide — learn how to support healthy newborn skin.
Related Articles:
- Portable Diaper Changing Tips Every Parent Needs for Smooth Outings
- Best Travel Changing Methods to Keep Baby Clean Anywhere
- How to Use Changing Pad Properly for Cleaner Daily Diaper Routines
- Portable Baby Changing Pad Review to Keep Diaper Changes Clean
Pillar Articles:





