
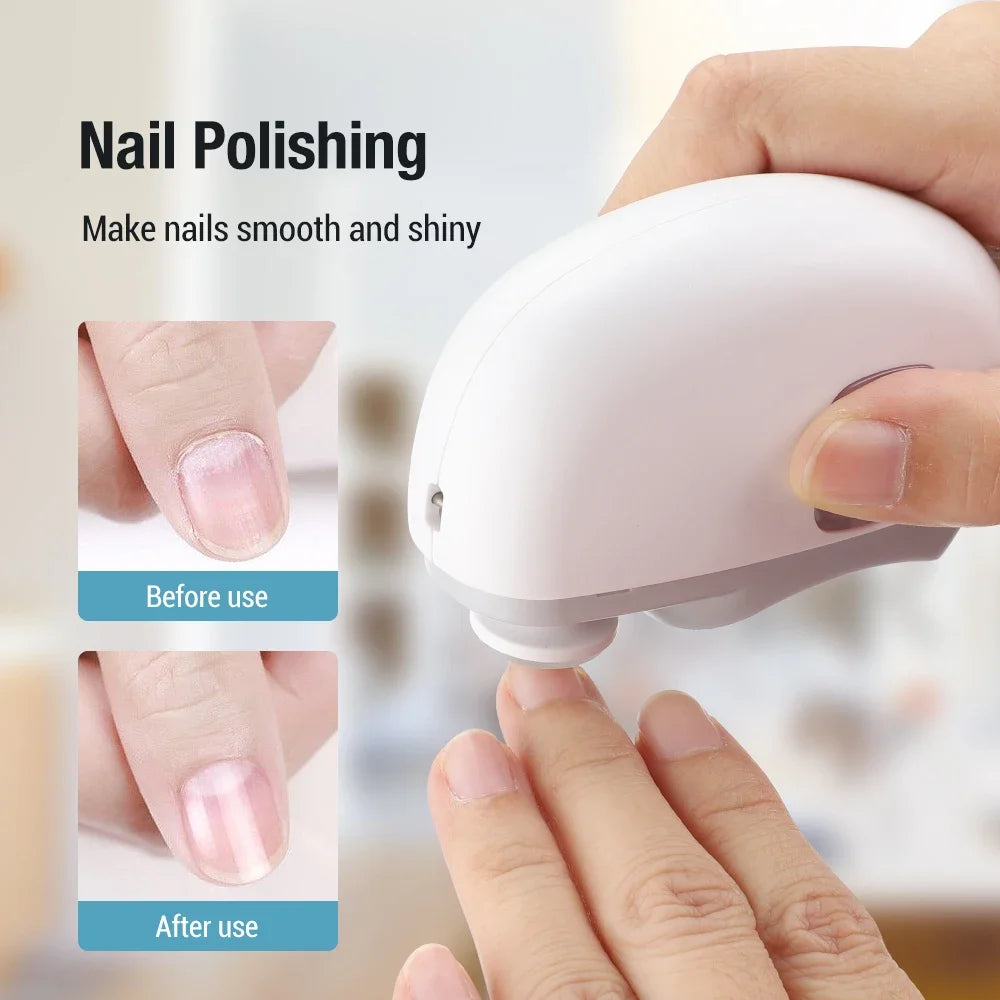
Does a nail electric buffer really make nails smoother and shinier?
Answer: A nail electric buffer speeds up smoothing, shaping, and shining by using gentle rotating or vibrating heads to remove ridges and polish the nail plate. When used with the right grit attachments and light pressure, a nail electric buffer reduces filing time, boosts natural gloss, and lowers the risk of over-filing for safer at-home manicures.
⏱ 8 min readNail Electric Buffer Basics: How to Smooth, Shape, and Shine Safely
A nail electric buffer can completely transform the way you smooth, shape, and shine your nails, and even beginners can use it confidently with the right tips, tools, and a touch of nan for smarter results. From preventing over-filing to boosting natural gloss, the right techniques make all the difference—ready to learn the pro secrets everyone overlooks?
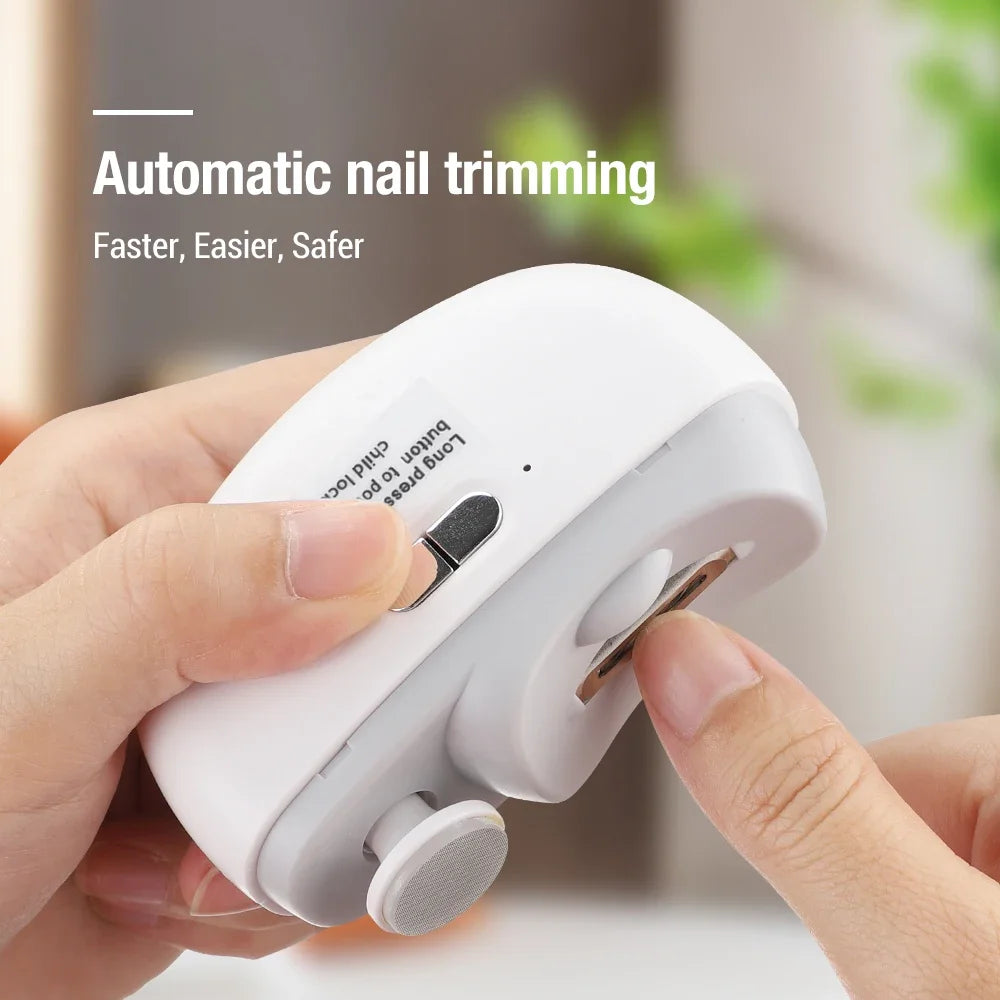
Why use a nail electric buffer?
Buffing evens surface ridges, removes microscopic surface debris, and improves polish adhesion. A nail electric buffer does this faster and more consistently than hand-only buffing — especially for people who want salon-level results at home without the steep learning curve.
Key benefits (quick)
- Speeds up smoothing and shaping.
- Produces a higher, longer-lasting shine.
- Reduces repeated manual filing and finger fatigue.
- Makes polish lay flatter and last longer.
nail electric buffer + nan - 💡 See it in action.
What you need: tools & safety
Before you start, gather the buffer device, 3–4 grit heads (coarse → fine → polishing), a soft nail brush, cuticle oil, and a lint-free cloth. Keep the product link handy for a complementary tool: electric nail clipper with light.
Safety checklist
- Work on clean, dry nails (no polish residue).
- Use the lowest comfortable speed for beginners.
- Avoid buffing the nail edge (free edge) too aggressively.
- Stop if you feel heat or sensitivity — that's a sign of overuse.
Step-by-step: How to use a nail electric buffer
This ordered mini-guide gives the simplest safe workflow so you can get polished results without guesswork.
- Trim & file gently: Clip nails to your desired length, then use a manual file for shape (avoid sawing).
- Clean & dry: Remove polish, wash hands, and dry nails thoroughly.
- Start with coarse grit (if needed): Use brief, light passes to remove rough ridges — 1–2 seconds per pass.
- Switch to medium grit: Smooth the plate with slightly longer passes; keep motion even across the nail.
- Finish with fine/polishing head: Buff to gloss; finish each nail in 3–5 light passes.
- Hydrate cuticles: Apply cuticle oil and massage — this restores moisture and adds a finished look.
Pro tips for the steps above
- Keep the device moving — never hover in one spot more than 2–3 seconds.
- Use light pressure; the buffer's motion does the work.
- If you have thin or brittle nails, skip the coarse head and use only medium → fine.
- Keep a steady wrist — variable angle increases heat and risk of over-buffing.
nail electric buffer + nan - 💡 See it in action.
Simple shaping tips that protect the nail
Shaping is the frame for a polished finish. Choose a shape that matches your lifestyle — square for durability, almond for elegance — then use the buffer only to smooth edges and blend layers, not to replace a proper file.
Shaping rules of thumb
- File in one direction to avoid splitting.
- Keep corners slightly rounded for strength.
- Use the buffer’s fine head to blend the filed edge into the nail surface for a salon look.
How to get lasting shine safely
After buffing, the polish will adhere better. If you prefer a natural shine, a final pass with the polishing head plus a dab of cuticle oil produces a durable sheen.
At-home shine routine
- Optional: Apply a thin base coat if you plan to polish.
- Apply two thin coats of color; allow full drying between coats.
- Seal with a top coat for durability, or finish with a polishing head for natural gloss.
Common mistakes and how to avoid them
| Mistake | Why it matters | Fix |
|---|---|---|
| Over-buffing | Thins the nail plate and causes sensitivity. | Limit buffing to 1–2 times per month; use gentle pressure. |
| Using high speed | Creates heat and micro-trauma. | Start at low speed and increase only if needed. |
| Skipping hydration | Dries cuticles and weakens nails. | Finish each session with cuticle oil and hand cream. |
Compare: manual vs. electric buffers
Both have a place. Manual buffers give fine control and are inexpensive; electric buffers save time and provide consistent polish. Below is a quick pros/cons list to help you choose.
- Manual buffer — Pros: low cost, minimal risk. Cons: more effort, less lustre.
- Electric buffer — Pros: speed, consistent finish, interchangeable heads. Cons: slightly higher cost, learning curve for pressure & angle.
Product picks & where to buy
For a balanced starter kit, look for a nail electric buffer with multiple grit heads, adjustable speed, and ergonomic grip. Complement with a reliable clipper — we recommend pairing with the electric nail clipper available at this product link: electric nail clipper with light. Check the Baby Nail Care Tools collection for more options: Baby Nail Care Tools.
Quick cross-sell suggestions
- Cuticle oil + hand cream — restores moisture after buffing.
- Gentle file set — for initial shaping before buffing.
- LED lamp/top coat — for gel polish users to seal the look.
nail electric buffer + nan - 💡 See it in action.
Device care & maintenance
- Wipe heads after each use and replace worn abrasive tips.
- Store dry; avoid water exposure unless the device is waterproof.
- Follow manufacturer charging guidelines to preserve battery life.
Social proof & quick testimonials
"I switched to an electric buffer and my manicures look salon-level — fast, low-effort, and my polish lasts longer." — Sarah, verified customer.
"As a beginner, I loved the safety features and the gentle polishing heads. My nails look healthier." — Mia, at-home user.
Ready to try? Quick snapshot to decide
- Want speed + salon finish: electric buffer + polish routine.
- Worried about over-buffing: choose a device with adjustable speed and use fine head only.
- Want a bundle: pair an electric buffer with an electric nail clipper with light for full at-home maintenance.
Mini FAQ
-
How often should I use a nail electric buffer?
Limit gentle buffing to once every 2–4 weeks for most people. Over-buffing can thin nails and cause sensitivity.
-
Can I use a buffer on gel or acrylic nails?
Use caution: electric buffers can remove gel or acrylic quickly. Use the manufacturer-recommended heads and low speed; in many cases, remove artificial nails with a professional or follow proper removal guides.
-
Is a nail electric buffer safe for weak or brittle nails?
Yes, if you use only the fine/polishing head with light pressure and limit frequency. Avoid coarse heads and long passes.
Related collections: Baby Nail Care Tools | Baby Care Essentials | Beauty & Baby Care Tips & Advice
Pillar Article: How to Use a Nail Trimmer Properly: A Step-by-Step Beginner Guide
Other Related Articles:
- Mess-Free Nail Clipping Hacks: How to Keep Trimmings Contained
- Nail Trimming in Low Light: Smart Techniques for Safer, Cleaner Cuts
- How to Trim Baby Nails Safely: A Stress-Free Parent’s Guide
Explore More:


