
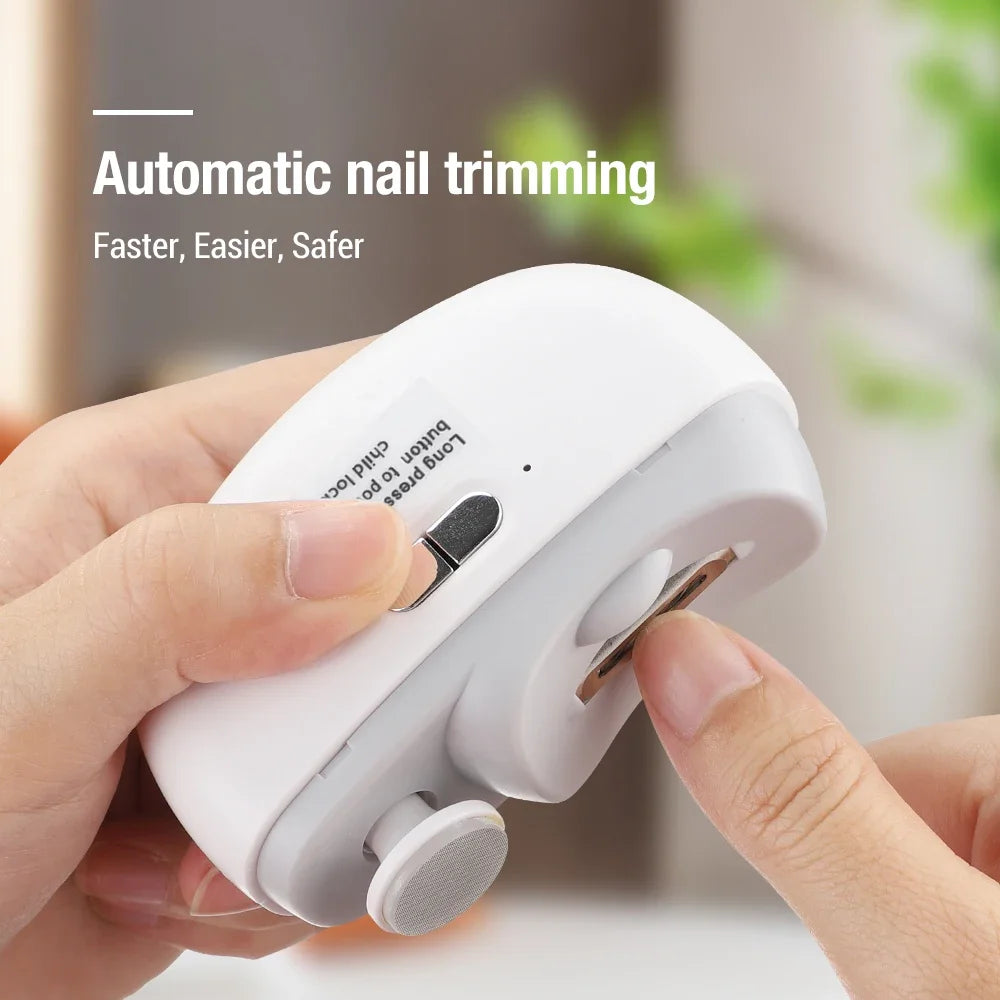
Does using a nail trimmer really make nail care safer and easier?
Answer: Yes. Learning how to use a nail trimmer correctly helps create smooth, even nails while reducing the risk of jagged edges, painful splits, and ingrown nails. Whether you use a manual clipper or an electric nail trimmer, following the right preparation, grip, and trimming technique makes home nail care faster, safer, and more comfortable.
How to Use a Nail Trimmer Properly: A Step-by-Step Beginner Guide
Knowing how to use a nail trimmer properly is one of the simplest ways to maintain healthy nails while avoiding accidental cuts and uneven edges. Whether you're trimming your own nails, caring for a child, or helping an older family member, using the correct technique improves accuracy and comfort. This beginner-friendly guide explains how to prepare, choose the right tool, and trim nails safely using either a manual clipper or an electric nail trimmer.
Why use a nail trimmer?
Benefit: A quality nail trimmer delivers cleaner, more controlled cuts than rushing with dull or poorly fitting clippers. Proper technique helps prevent rough edges, minimizes nail splitting, and supports healthier nail growth over time.
Modern nail trimmers are designed to make routine grooming easier for beginners and experienced users alike. Manual clippers remain a reliable everyday option, while electric nail trimmers provide additional control for people with thick nails, reduced hand strength, sensitive skin, or anyone who prefers gradual filing instead of cutting. Parents and caregivers also appreciate electric models with built-in safety features that reduce the chance of accidental nicks.
What you need (tools & preparation)
- A quality nail trimmer that matches your needs. Manual clippers are suitable for routine maintenance, while an Electric Nail Clipper with Light offers added visibility and controlled trimming.
- A clean towel or tissue to catch nail clippings.
- A nail file or glass file to smooth freshly trimmed edges.
- Warm water if trimming particularly thick or hard toenails.
- Bright, even lighting and a stable surface so you can work comfortably without rushing.
Quick steps: How to use a nail trimmer
- Wash and completely dry your hands or feet before trimming.
- Select the right nail trimmer for your nail thickness and grooming needs.
- Hold the finger or toe securely so the free edge of the nail is easy to see.
- Trim gradually using several small cuts or light filing passes instead of one large cut.
- Smooth rough edges with a nail file using gentle strokes in one direction.
- Inspect each nail to ensure the edge feels smooth and even before finishing.
Detailed, Safe Trimming Procedure
Follow this routine every 1–2 weeks for fingernails and every 3–4 weeks for toenails. Working slowly and consistently helps prevent uneven edges, painful over-trimming, and nail damage.
Step 1 — Prepare clean nails and your workspace
Wash your hands or feet with soap and water, then dry them thoroughly. Dirt, lotion, and moisture reduce your grip and can make trimming less precise. Sit somewhere comfortable with stable arm support before you begin.
Step 2 — Select the right trimming method
Choose a manual clipper for routine maintenance on thin, healthy nails. If your nails are thick, brittle, curved, or difficult to trim, an electric nail trimmer allows gradual filing with greater control. Start at the lowest effective speed and remove small amounts at a time.
Step 3 — Hold the finger or toe correctly
Support the finger with your opposite hand and gently extend the fingertip so the free edge is easy to reach. When trimming toenails, keep your foot comfortably elevated so you can maintain a clear view without twisting your wrist.
Step 4 — Trim gradually
Avoid removing the entire nail edge in one cut. Instead, make several short clips or, when using an electric trimmer, guide the filing head across the nail with light pressure. Let the tool do the work rather than forcing it into the nail.
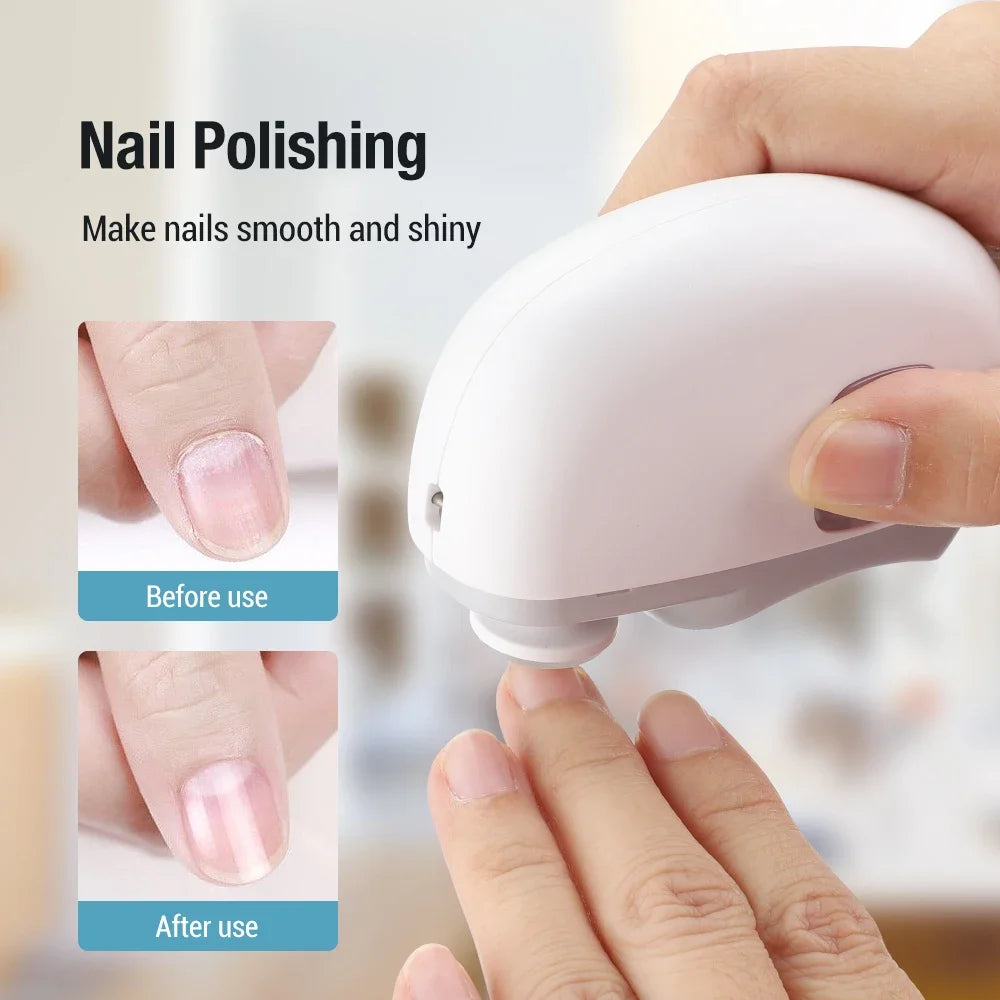
Step 5 — Smooth and inspect
Finish by filing rough areas in one direction until the edge feels smooth. Run a fingertip lightly along each nail to check for sharp corners or snags before moving to the next finger or toe.
how to use a nail trimmer - KentDO. See it in action — try the electric clipper with light
Common Mistakes & How to Avoid Them
- Cutting too close to the nail bed: Leave about 1 mm of free edge to reduce discomfort and lower the risk of infection.
- Trying to trim the entire nail in one cut: Multiple small cuts produce a smoother, more natural shape.
- Applying too much pressure with an electric trimmer: Gentle contact is enough. Pressing harder creates unnecessary friction and may irritate the nail.
- Holding the filing head in one spot: Keep the tool moving continuously to prevent heat buildup and uneven filing.
- Using worn or dirty attachments: Replace filing heads when they lose effectiveness and clean the device regularly for consistent performance.
- Rounding toenails too aggressively: Trim mostly straight across and smooth the corners with a file to help reduce the chance of ingrown nails.
Cleaning and Maintaining Your Electric Nail Trimmer
Regular maintenance keeps your nail trimmer performing smoothly, extends the life of the filing attachments, and helps reduce the risk of transferring bacteria between uses.
After every use
- Remove nail dust and clippings with the cleaning brush supplied with your device or a soft, dry brush.
- Wipe the filing head and outer housing with a clean, dry cloth.
- If the manufacturer allows, disinfect removable filing heads with rubbing alcohol and let them dry completely before reattaching.
Weekly maintenance
- Inspect the filing attachment for wear, cracks, or excessive smoothing.
- Clean vents and moving parts to prevent dust buildup that can reduce performance.
- Recharge rechargeable models before the battery becomes fully depleted.
- Store the trimmer in a dry protective case away from humidity and direct sunlight.
Replacing filing heads
Replace sanding discs or filing heads when they become smooth, worn, damaged, or require noticeably more pressure to shape nails. Fresh attachments provide faster, more consistent results while minimizing unnecessary friction.
how to use a nail trimmer - KentDO. A properly maintained trimmer delivers smoother, more consistent results.
Safety Guidelines & Red Flags
Whether you use a manual clipper or an electric nail trimmer, following basic safety practices helps protect the nail plate and surrounding skin while reducing the risk of infection.
- Stop immediately if you experience pain. Nail trimming should not be painful. Persistent discomfort may indicate you're filing too deeply or trimming too close to the nail bed.
- Watch for signs of infection. Redness, swelling, drainage, warmth, or increasing tenderness after trimming should be evaluated by a healthcare professional.
- Keep your trimmer clean. Never share nail trimmers or filing attachments without thoroughly cleaning and disinfecting them between users.
- Use the correct attachment. Fine filing heads are best for delicate nails, while coarser attachments should only be used when recommended for thicker nails.
- Avoid over-filing. Removing excessive nail material can weaken the nail and increase sensitivity.
- Take extra care with medical conditions. If you have diabetes, poor circulation, peripheral neuropathy, or a condition affecting sensation in your hands or feet, consult your healthcare provider before trimming toenails at home.
- Inspect the device before each use. Replace worn or damaged filing heads and discontinue use if the trimmer becomes loose, overheats, or operates irregularly.

how to use a nail trimmer - KentDO. Proper technique and routine maintenance help deliver smooth, consistent results with every trim.
Frequently Asked Questions
How do you use an electric nail trimmer for the first time?
Start with clean, dry nails and install the correct filing attachment. Choose the lowest speed, hold the trimmer lightly, and make short, controlled passes along the nail edge. Let the filing head do the work instead of pressing hard.
Can an electric nail trimmer replace a regular nail clipper?
For routine grooming, many people can rely on an electric nail trimmer alone because it trims and smooths nails at the same time. However, very long or exceptionally thick nails may be easier to shorten with a manual clipper before refining the edges with an electric trimmer.
How do you safely use an electric baby nail trimmer?
Use the age-appropriate filing pad, select the lowest speed, and support your baby's finger securely while making gentle, brief passes. Trimming during naps or after a bath often makes the process easier and reduces sudden movements.
Which attachment should I use for thick nails?
Choose the filing head recommended by the manufacturer for adult or thick nails. If your trimmer offers multiple grit levels, begin with a coarser attachment to shorten the nail, then switch to a finer one for smoothing.
How much pressure should I apply while filing?
Only light pressure is needed. Pressing too hard slows the filing head, generates unnecessary heat, and may cause discomfort or uneven results.
How often should filing heads be replaced?
Replace filing heads when they become smooth, worn, or no longer shape nails efficiently. The exact interval depends on usage frequency and the manufacturer's maintenance recommendations.
Can electric nail trimmers damage nails?
Not when used correctly. Using the proper attachment, applying light pressure, and avoiding prolonged filing in one spot helps protect the natural nail and minimizes the risk of thinning or overheating.
How do you clean and sanitize an electric nail trimmer?
Brush away nail dust after each use, wipe removable parts with rubbing alcohol if recommended by the manufacturer, allow everything to dry completely, and store the trimmer in a clean, dry place to extend its lifespan.
Final thoughts — make it a simple habit
Learning how to use a nail trimmer correctly helps you achieve smoother edges, reduce accidental nicks, and maintain healthier nails with less effort. Whether you choose a manual clipper or an electric model, consistent technique, proper maintenance, and the right amount of pressure make the biggest difference. With a little practice, safe nail care quickly becomes part of an easy home grooming routine.
Related Articles:
- Mess-Free Nail Clipping Hacks: How to Keep Trimmings Contained
- Nail Trimming in Low Light: Smart Techniques for Safer, Cleaner Cuts
- How to Trim Baby Nails Safely: A Stress-Free Parent’s Guide
- Nail Electric Buffer Basics: How to Smooth, Shape, and Shine Safely
Pillar Articles:


