
Air Dry Clay Instructions: Step-by-Step Guide for Beginners
Air Dry Clay Instructions: Easy Step-by-Step Guide for Beginners
If you’ve ever tried working with air dry clay and ended up with cracks, sticky messes, or projects that never seem to dry—you’re not alone. Many beginners struggle with the basics, not because it’s hard, but because a few key steps are often missed.
This beginner-friendly guide breaks everything down into simple, clear instructions. You’ll learn exactly how air dry clay works, how to shape it properly, how long it takes to dry, and how to avoid the most common mistakes.
What Is Air Dry Clay and How Does It Work?
Air dry clay is a versatile modeling material that hardens naturally when exposed to air. Unlike traditional clay, it doesn’t require a kiln or oven—making it perfect for beginners, kids, and DIY enthusiasts.
How the Clay Drying Process Works
Air dry clay hardens through moisture evaporation. As water slowly leaves the clay, it becomes firm and holds its shape permanently. This is why proper airflow and drying conditions are essential for success.
Key Factors That Affect Drying Time
- Thickness: Thicker pieces take longer to dry
- Humidity: High humidity slows drying
- Airflow: Good ventilation speeds up drying
- Temperature: Room temperature is ideal (avoid heat)
Tools and Materials You Need Before Starting
Basic Sculpting Tools for Beginners
- Air dry clay
- Rolling pin (or smooth bottle)
- Plastic knife or sculpting tools
- Sponge or soft brush
- Non-stick work surface (parchment paper or mat)
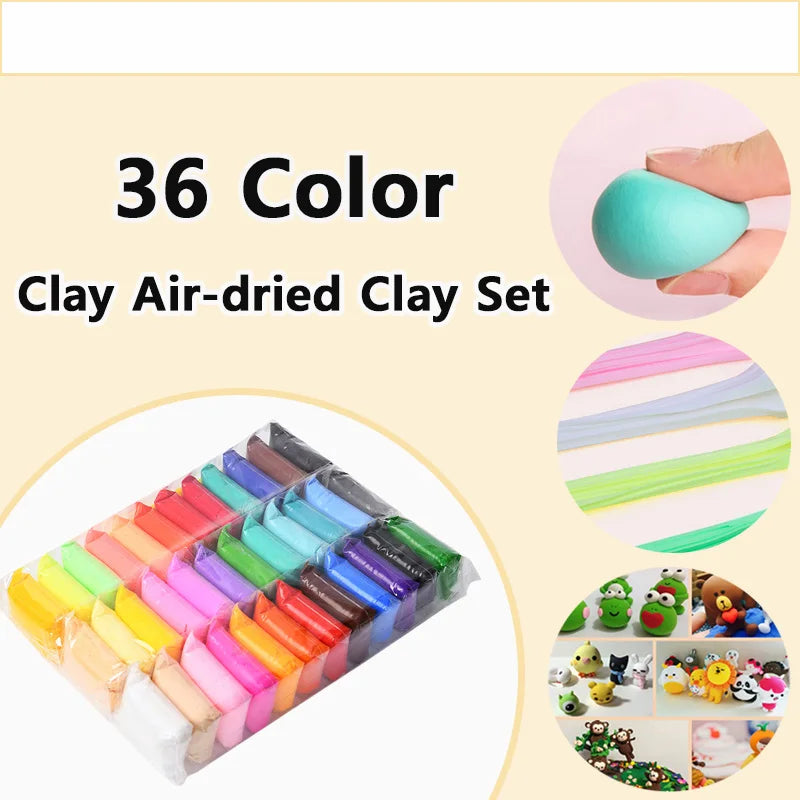
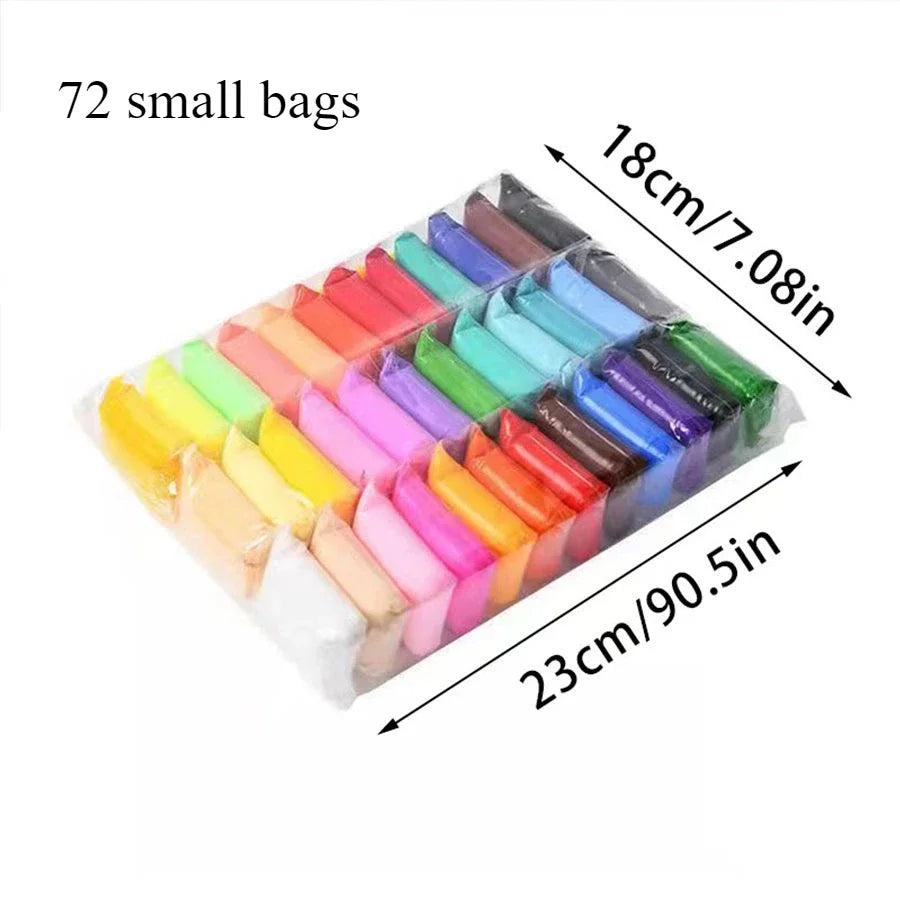
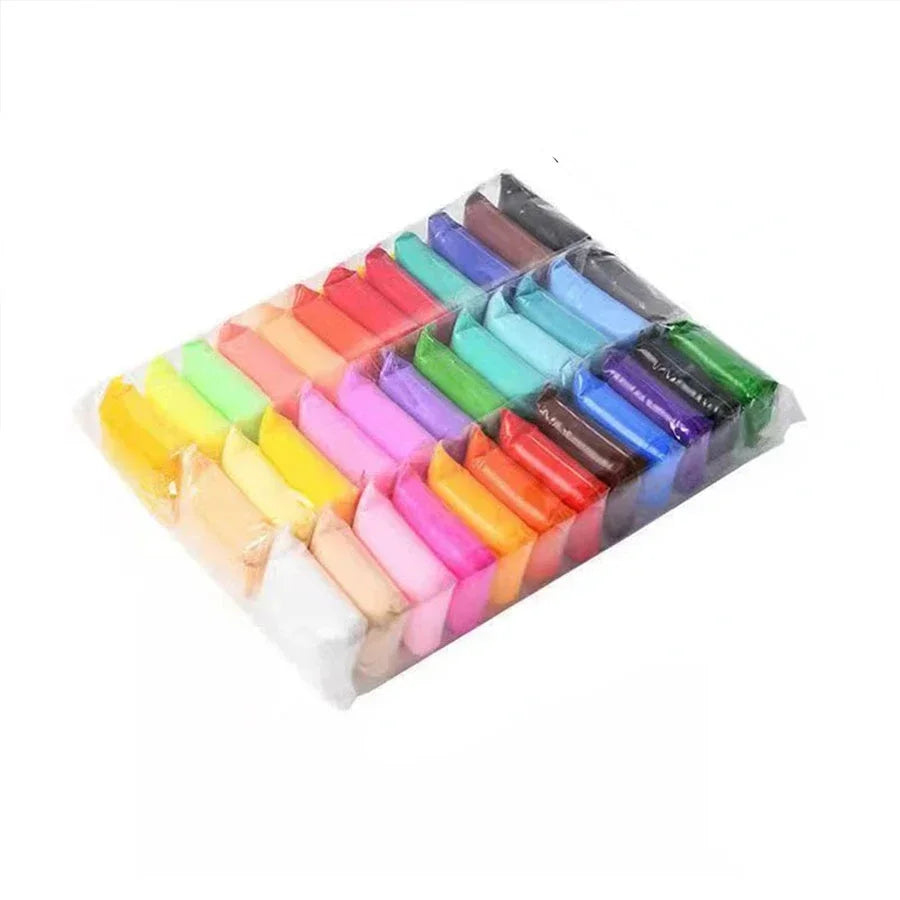
A great beginner option is a complete clay kit like the 36 Colors Air Dry Clay Set – Soft, Safe & Creative Fun, which includes multiple colors and essential tools—making it easier to start without extra purchases.
Optional Supplies for Better Results
- Acrylic paint for decorating
- Craft sealant for durability
- Fine sandpaper for smoothing
- Water spray bottle for moisture control
For more creative tools and ideas, explore Sensory Toys and Baby Growth & Learning Tips.
Step-by-Step Air Dry Clay Instructions (Beginner Friendly)
Step 1: Prepare Your Workspace
Choose a clean, flat, non-stick surface. Cover it with parchment paper or a silicone mat to prevent sticking and make cleanup easier.
Step 2: Condition and Soften the Clay
Knead the clay thoroughly before use. This warms it up, improves flexibility, and reduces the risk of cracks later.
Step 3: Shape Your Project
Start simple—roll, pinch, or flatten the clay into your desired shape. Avoid making pieces too thick to ensure even drying.
Step 4: Smooth and Refine Details
Use a damp sponge or your fingers to smooth out rough edges. Add small details with sculpting tools.
Step 5: Let It Dry Properly
Place your piece in a cool, dry area with good airflow. Let it dry naturally—avoid direct sunlight or heat sources.
How Long Does Air Dry Clay Take to Dry?
Average Drying Times by Thickness
- Thin pieces (under 0.5 inch): 24 hours
- Medium thickness: 24–48 hours
- Thick pieces: 2–4 days
How Humidity Levels Affect Drying
High humidity slows evaporation, meaning your clay will take longer to dry. In humid environments, consider placing your project in a well-ventilated room or near a fan.
How to Dry Air Dry Clay Faster (Without Cracking)
Safe Ways to Speed Up Drying
- Increase airflow with a fan
- Flip the piece occasionally for even drying
- Keep pieces thin and evenly shaped
What to Avoid When Drying Clay Quickly
- Do not use ovens or microwaves
- Avoid direct sunlight
- Don’t place near heaters
Rapid drying causes uneven moisture loss, which leads to cracking.
Common Air Dry Clay Mistakes (And How to Fix Them)
Why Is My Air Dry Clay Cracking?
Cracking usually happens because the clay dries too quickly or wasn’t kneaded properly.
Why Is My Clay Not Drying?
This often occurs due to high humidity, thick designs, or poor airflow.
How to Fix Minor Cracks Before and After Drying
- Before drying: Smooth cracks with a bit of water
- After drying: Fill cracks with fresh clay or sand lightly
If you're working with kids or beginners, using a softer, high-quality clay like the 36-color set can reduce these issues significantly.
For safety and care tips, check out Health & Safety Tips.
Finishing Your Air Dry Clay Project

Can You Paint Air Dry Clay?
Yes! Once fully dry, air dry clay can be painted using acrylic paint. This adds color and personality to your project.
Do You Need to Seal Air Dry Clay?
Sealing is recommended to protect your piece from moisture and improve durability.
Best Sealants for Long-Lasting Results
- Clear acrylic spray sealant
- Mod Podge (matte or glossy)
- Water-based varnish
Beginner Project Ideas to Practice Your Skills
Easy Handmade Clay Projects
- Mini bowls
- Jewelry dishes
- Ornaments
- Keychains
Fun Kids Craft Activities Using Air Dry Clay
- Animal figurines
- Alphabet letters
- Simple sculptures
Explore more creative ideas in Baby Growth & Learning and Sensory Toys.
Quick Reference: Air Dry Clay Cheat Sheet
Printable Step-by-Step Summary
- Prepare workspace
- Knead clay thoroughly
- Shape evenly (avoid thick areas)
- Smooth with water
- Let dry naturally (24–72 hours)
- Paint and seal after drying
Save or bookmark this guide so you can quickly refer back to it during your projects.
Conclusion
Learning air dry clay doesn’t have to be complicated. By following these simple steps—preparing properly, shaping carefully, and drying patiently—you can avoid most beginner mistakes and create beautiful projects.
Start small, experiment often, and remember: even imperfect pieces are part of the creative process. With practice, your skills will improve quickly.
If you’re just getting started, having the right materials makes a big difference. A complete set with multiple colors and tools can make your first projects smoother and more enjoyable.
Pillar Article: What Is Air Dry Clay? A Beginner-Friendly Guide to Uses, Safety, and How It Works


