
DIY Air Dry Clay Projects: Step-by-Step Crafts & Ideas
DIY Air Dry Clay Projects: Step-by-Step Crafts & Ideas
Creating beautiful, lightweight crafts at home has never been easier thanks to diy air dry clay. Whether you’re a beginner or an experienced crafter, air dry clay allows for fun, flexible, and mess-free projects. This guide provides step-by-step tutorials, trusted brand recommendations, and tips to make your clay creations durable and vibrant.
What is DIY Air Dry Clay?
Air dry clay is a versatile, lightweight modeling material that hardens naturally at room temperature. Unlike polymer clay, which requires baking to set, air dry clay eliminates the need for ovens, making it ideal for home projects, educational crafts, and decorative items.
Key Differences Between Air Dry Clay and Polymer Clay
- Setting Method: Air dry clay hardens in hours without heat; polymer clay requires baking.
- Weight: Air dry clay is lighter, perfect for hanging decorations or wearable crafts.
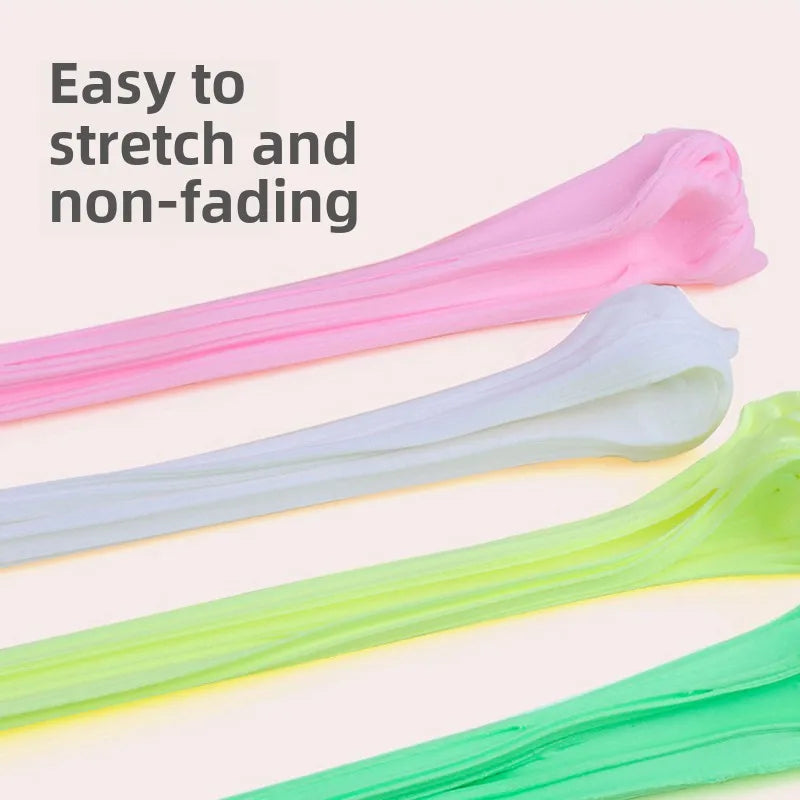
- Flexibility: Air dry clay remains slightly flexible for delicate sculpting before fully drying.
- Paint & Seal: Both types can be painted, but air dry clay benefits from additional sealant for durability.
Recommended Air Dry Clay Brands
Top beginner-friendly and hobbyist brands include:
- DAS Air-Hardening Clay
- Crayola Air-Dry Clay
- Amaco Air Dry Clay
- Sculpey Original (for mixed techniques)
- DAS Air-Hardening Clay
- Crayola Air-Dry Clay
- Amaco Air Dry Clay
- Sculpey Original
Essential Tools for Air Dry Clay Projects
Having the right tools ensures smooth, professional-looking results. Essentials include:
- Rolling pins and mats for flattening clay
- Clay sculpting tools for shaping and texturing
- Cutting tools and cookie cutters for precision shapes
- Optional sealants and acrylic paints for finishing
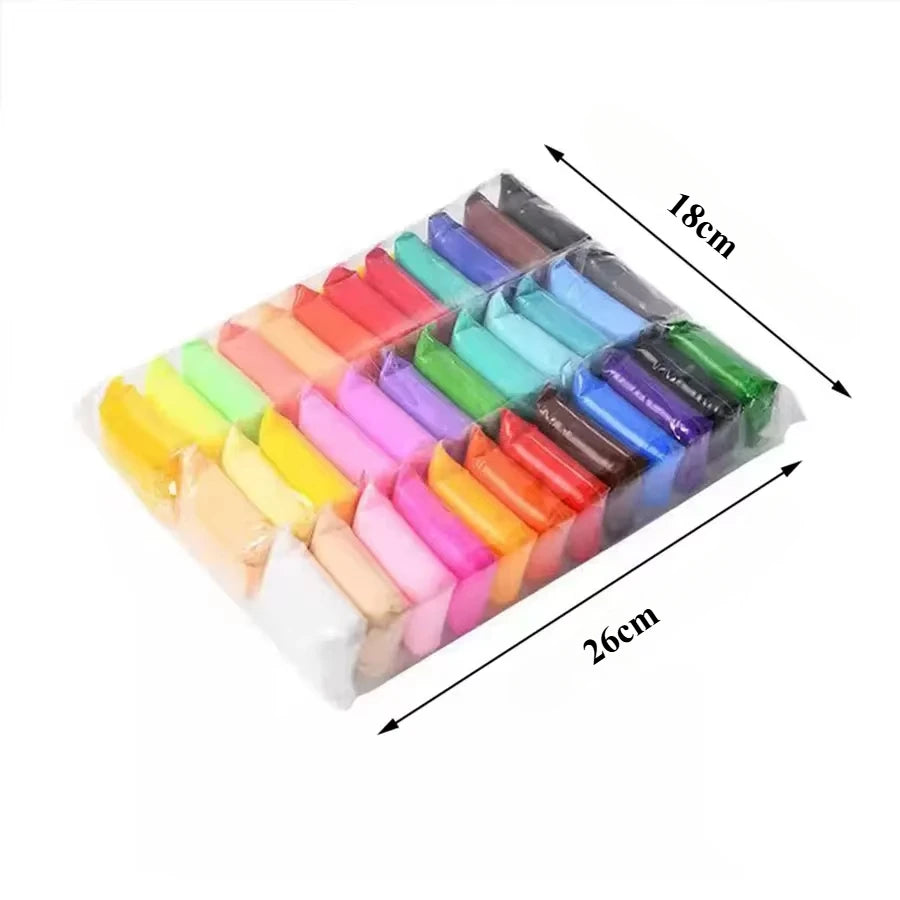
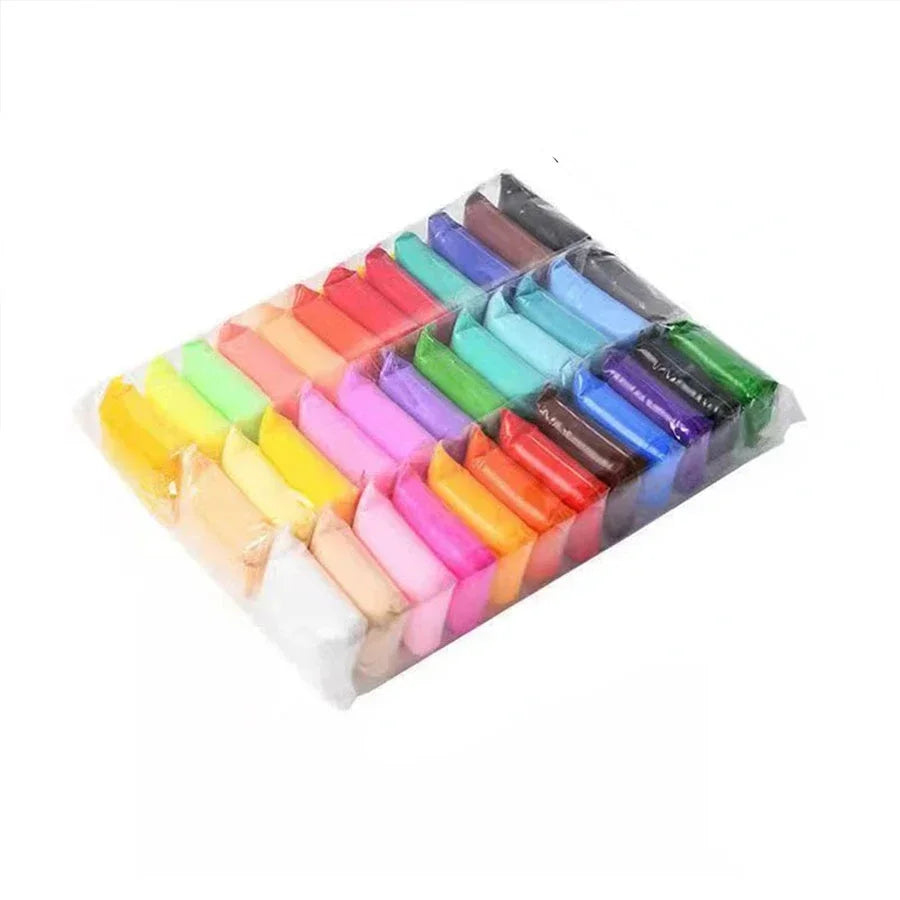
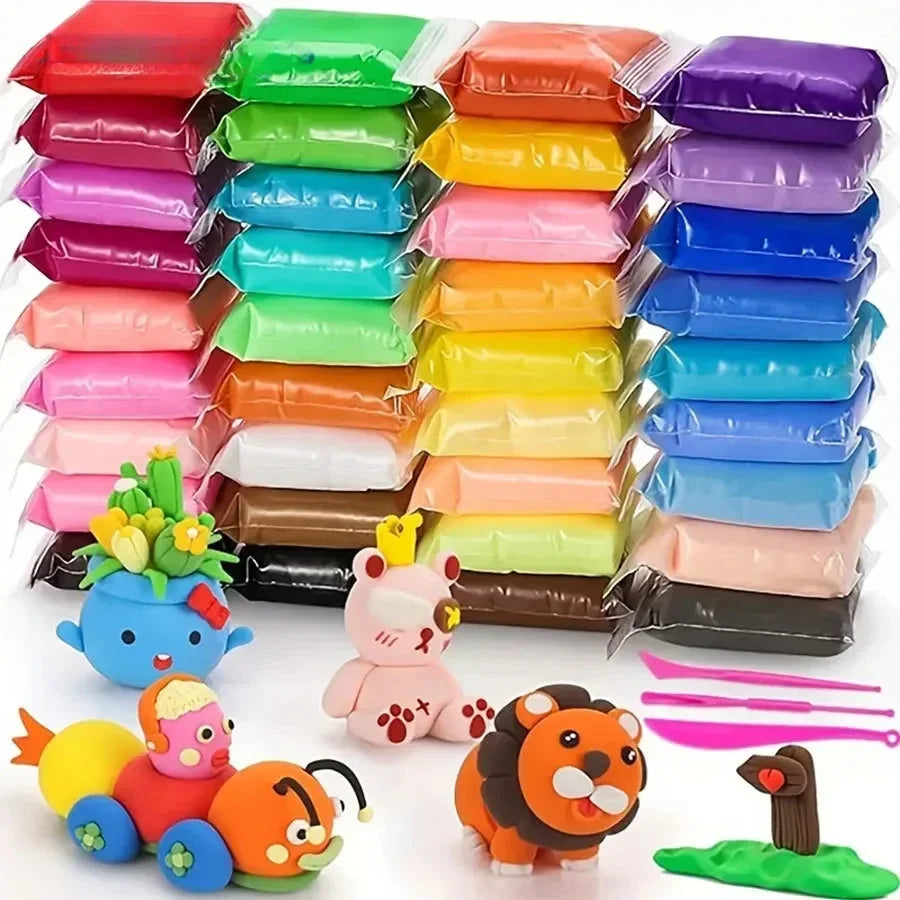
- 36 Colors Air Dry Clay Set – Soft, Safe & Creative Fun
Step-by-Step Air Dry Clay Projects
Beginner-Friendly Projects
Start with simple items like charms, keychains, or mini figurines. Roll out your clay, cut shapes with cutters, and smooth edges using sculpting tools. Allow 24–48 hours to dry, depending on thickness.
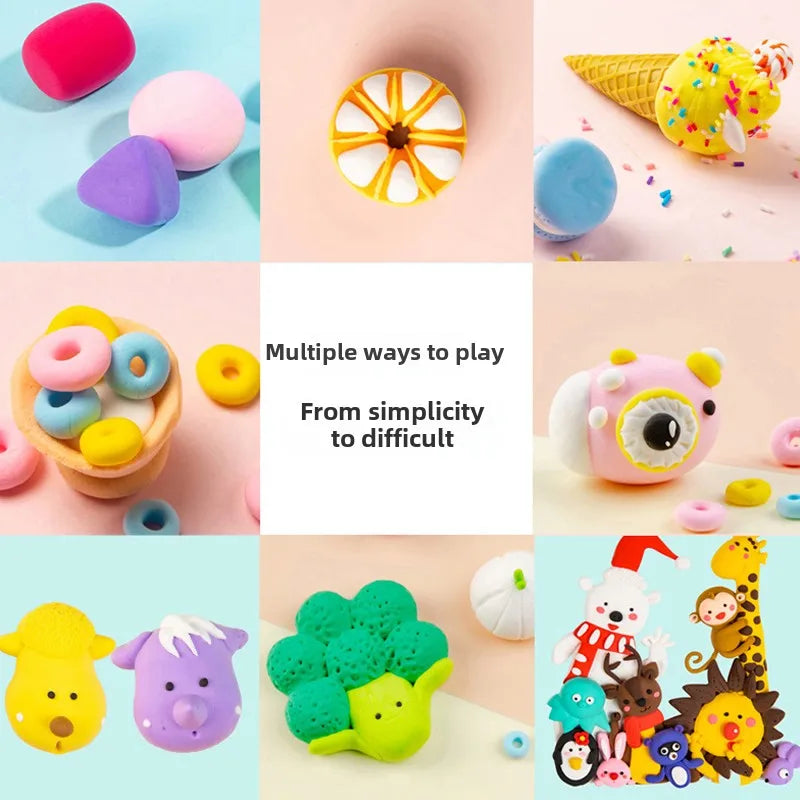
Intermediate Creative Ideas
Once comfortable, try decorative bowls, coasters, or small sculptures. Incorporate acrylic paints and Mod Podge finishing for enhanced durability and vibrant finishes.
Advanced Decorative Techniques
For expert-level projects, blend air dry clay with papier-mâché or epoxy accents. Seal with varnish to protect surfaces and ensure longevity, ideal for display pieces or personalized gifts.
Troubleshooting Common Air Dry Clay Issues
- Cracking: Add a small amount of water to dry clay before shaping or use thinner layers for large projects.
- Uneven Drying: Flip and rotate items during drying; avoid direct sunlight.
- Brittle Clay: Mix with lightweight filler like cornstarch or fine sand for structural strength.
Finishing, Painting, and Sealing Your Projects
Use acrylic paints for detailed designs. Seal with a clear varnish to preserve color and prevent moisture damage. Matte or glossy finishes can enhance texture and visual appeal.
Tips from Experienced Crafters
- Keep clay covered with a damp cloth between sessions to prevent drying out.
- Use lightweight supports for taller structures to reduce cracking.
- Experiment with mixing colors for custom shades using the 36 Colors Air Dry Clay Set.
FAQ
- What is diy air dry clay and how does it differ from polymer clay? Air dry clay hardens naturally without baking and is lighter, making it ideal for home projects and crafts.
- How long does air dry clay take to fully dry? Drying typically takes 24–48 hours depending on thickness and humidity.
- What tools do I need for beginner air dry clay projects? Rolling pins, sculpting tools, cutters, and optional sealants or paints.
- How can I prevent air dry clay from cracking while drying? Use thinner layers, keep items covered, and flip periodically during drying.
- What are the best lightweight modeling material options for air dry clay projects? Trusted brands include DAS, Crayola, Amaco, and the 36 Colors Air Dry Clay Set for vibrant, safe, and easy-to-shape clay.
Conclusion
Air dry clay is accessible, versatile, and perfect for unleashing creativity at home. From beginner charms to advanced decorative pieces, following these tutorials and using recommended tools ensures enjoyable and lasting results. Explore the possibilities, experiment with colors and techniques, and let your imagination guide every project.
For a complete, colorful crafting experience, consider trying the 36 Colors Air Dry Clay Set – Soft, Safe & Creative Fun to start your next DIY adventure today.
Pillar Article: What Is Air Dry Clay? A Beginner-Friendly Guide to Uses, Safety, and How It Works


