
Easy Clay Ideas for Beginners: 12 Simple DIY Projects
Easy Clay Ideas for Beginners: 12 Simple DIY Projects
Clay crafting is one of the most fun and relaxing ways to express creativity, even if you're just starting out. With a few basic tools and some colorful clay, you can create beautiful, functional, or decorative items in no time. Whether you're making gifts, home décor, or personalized accessories, these beginner-friendly clay projects are perfect for anyone looking to try their hand at modeling. Grab your clay and let's get started!
Getting Started with Clay for Beginners
Before diving into projects, it's important to understand the basics of clay types, essential tools, and beginner techniques. Knowing the right materials will make your crafting experience smooth and enjoyable.
Choosing the Right Clay: Air Dry vs. Polymer
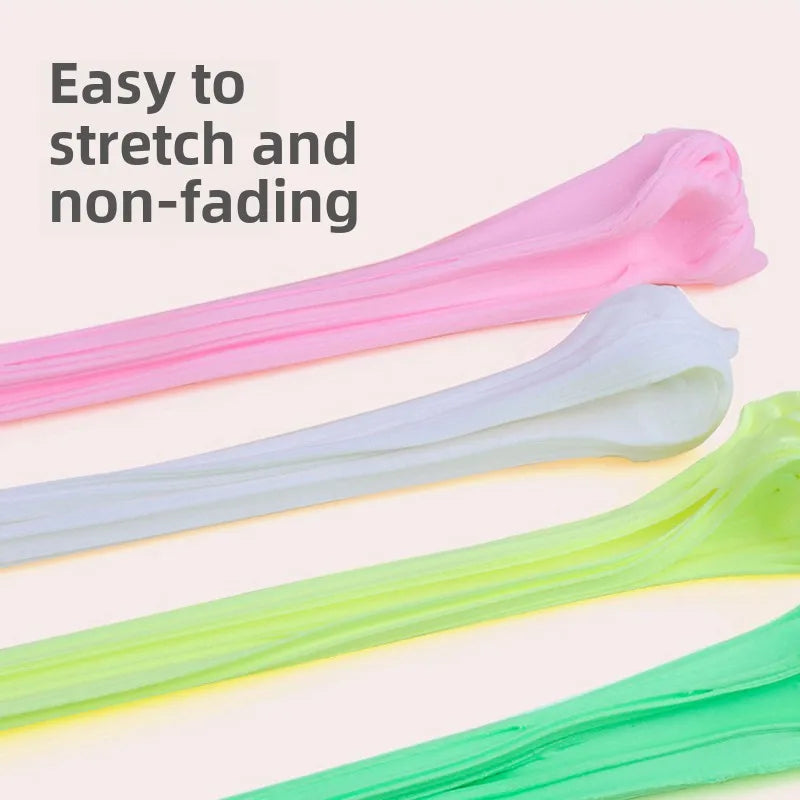
For beginners, selecting the right clay is crucial. Air dry clay is convenient as it requires no oven and dries naturally, making it ideal for kids and adults alike. Polymer clay, on the other hand, needs baking in a home oven but allows for more detailed and durable creations. Consider these points:
- Air Dry Clay: Non-toxic, easy to mold, dries naturally, ideal for simple projects.
- Polymer Clay: More durable after baking, suitable for fine details, slightly more advanced handling.
Essential Clay Sculpting Tools
Even simple projects benefit from a few basic tools:
- Rolling pins or acrylic rods
- Craft knives or precision blades
- Silicone molds for shapes
- Scoring tools and shaping sticks
- Optional texture stamps
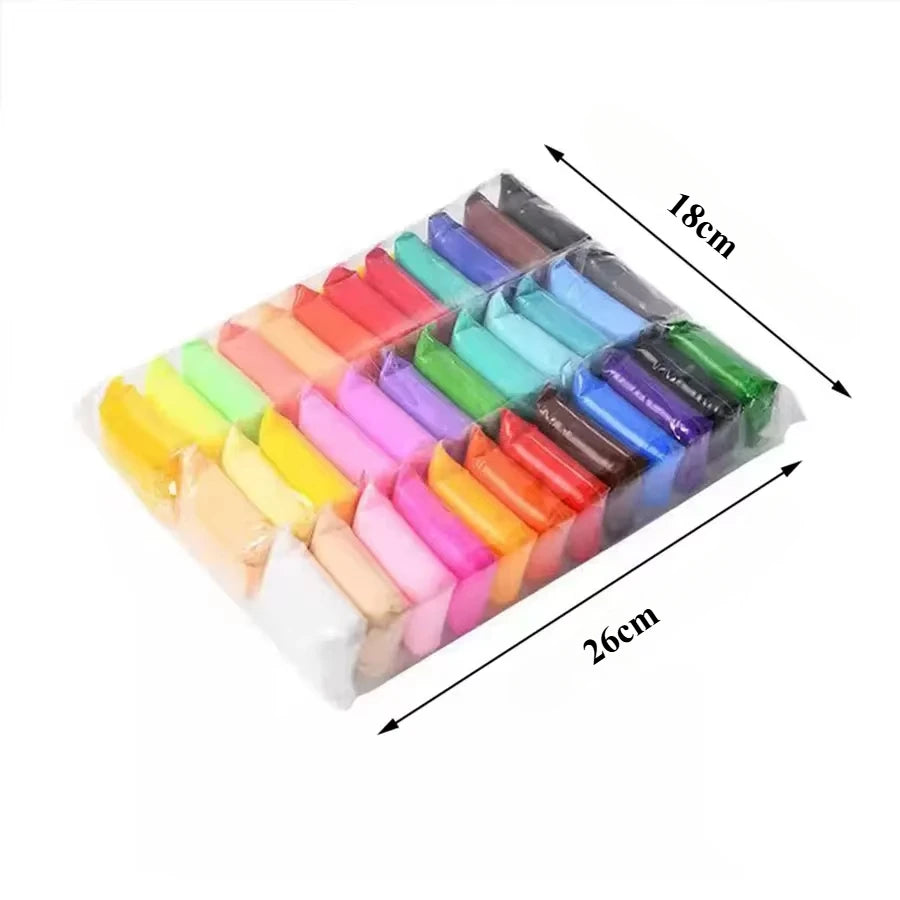
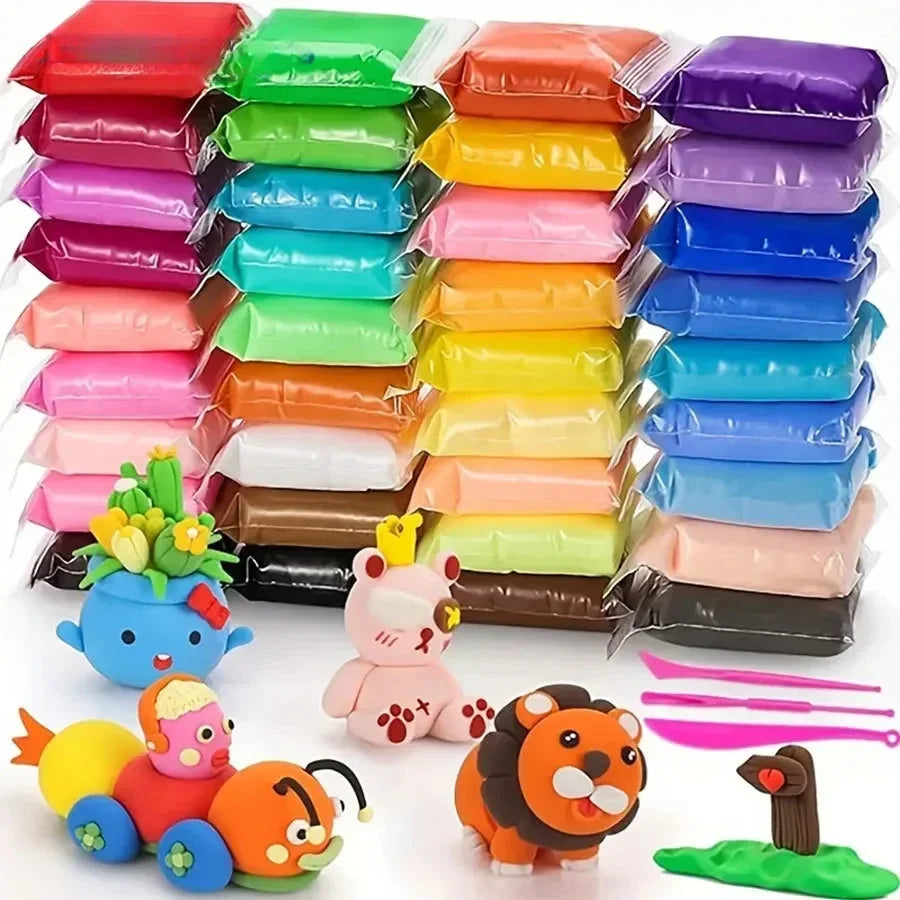
Recommended Product:
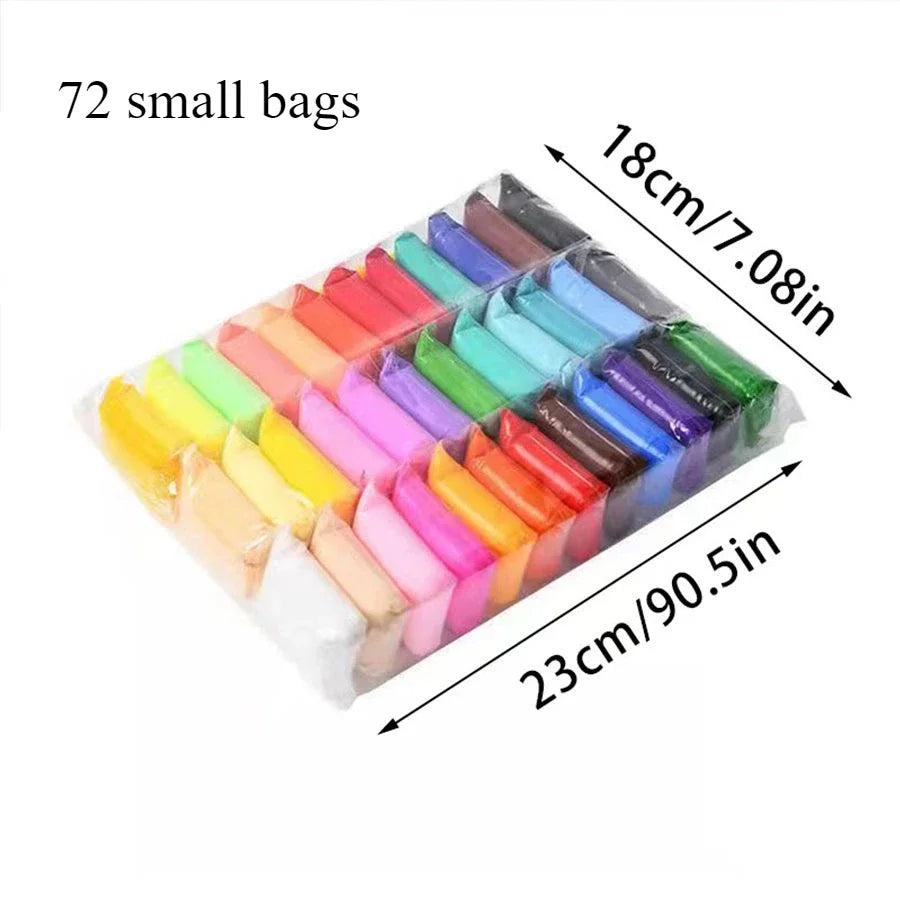
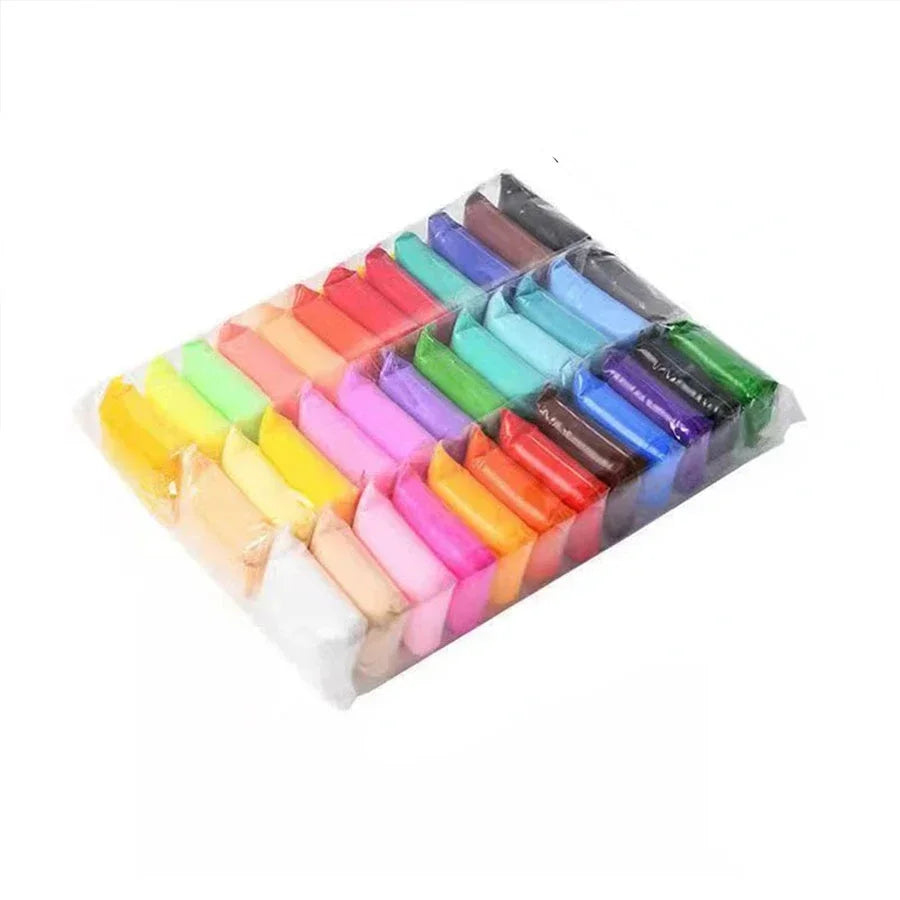
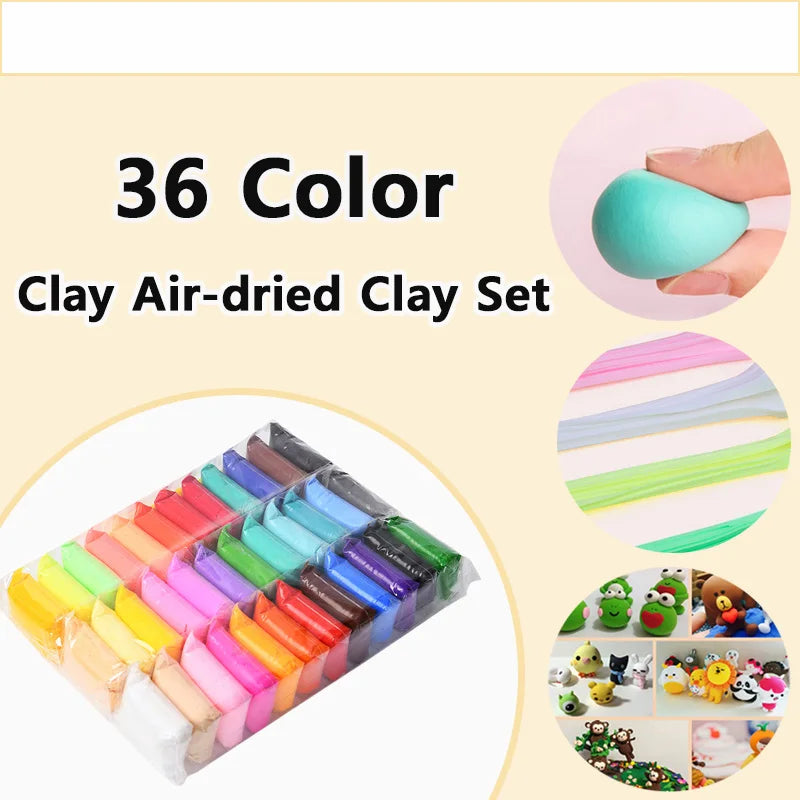 36 Colors Air Dry Clay Set – Soft, Safe & Creative Fun
 Basic Techniques for Beginners
Start with simple hand-building techniques to get comfortable with clay manipulation:
- Pinch Pot: Create bowls by pinching clay with your fingers.
- Slab Method: Roll out flat sheets for coasters, tiles, or ornaments.
- Slip & Score: Join pieces of clay securely by scoring surfaces and applying slip.
12 Easy Clay Projects for Beginners
These projects are designed to be fun, achievable, and educational. Each includes step-by-step instructions and tips to help you succeed.
1. Simple Pinch Pot
Learn the foundational pinch pot technique to make small bowls or containers.
- Roll a ball of clay between your palms.
- Use your thumb to press into the center while pinching the sides outward.
- Smooth the edges and let air dry.
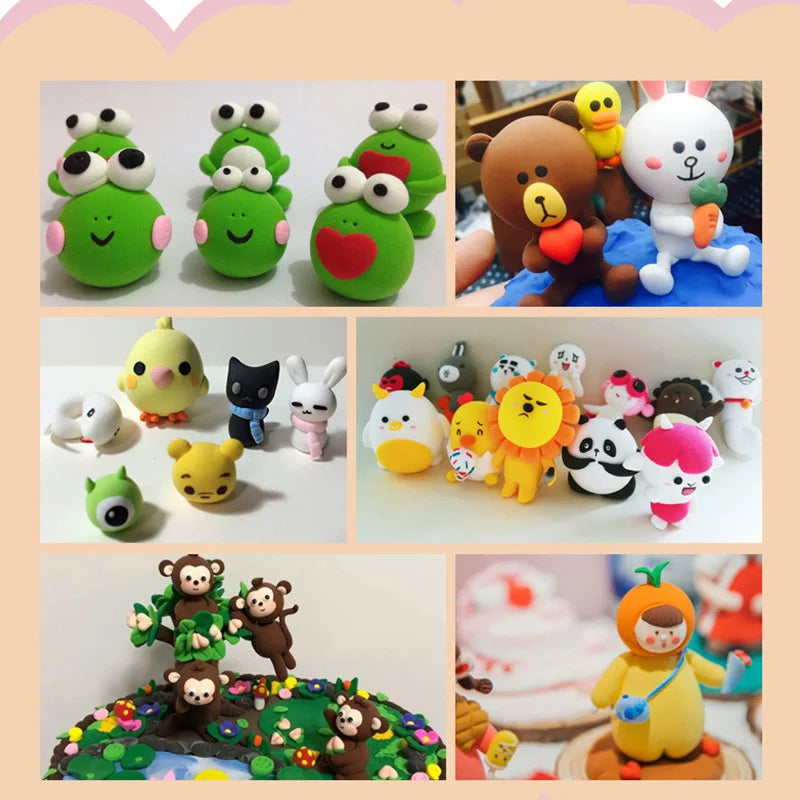
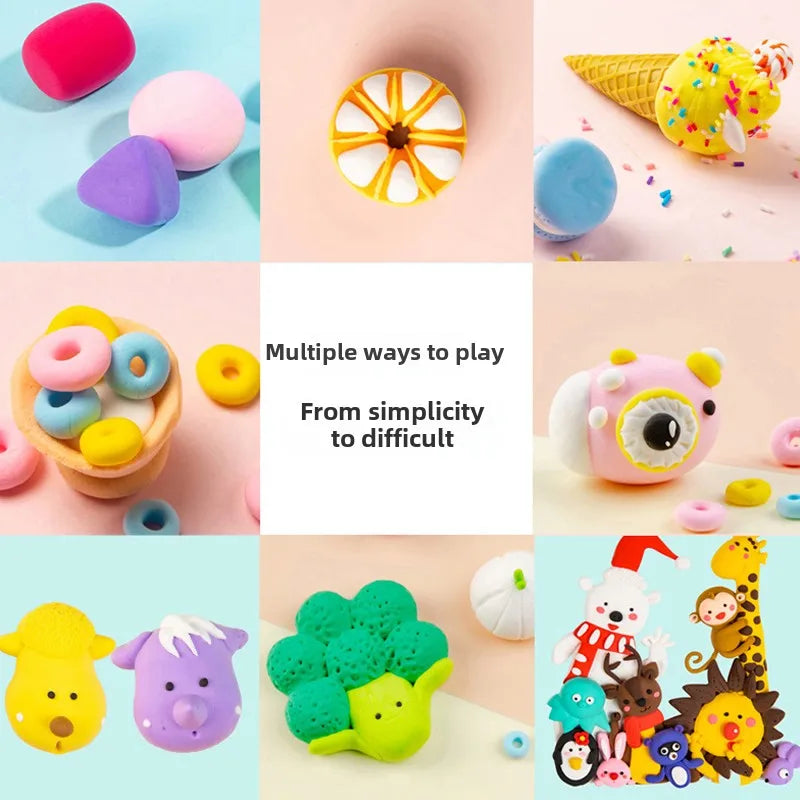
2. Cute Clay Animals
Create small animal figurines using polymer clay or air dry clay:
- Form basic shapes (circles, ovals) for the body and head.
- Attach limbs carefully using slip or gentle pressing.
- Add details with sculpting tools or toothpicks.
3. Clay Beads for Jewelry
Beginner-friendly clay beads are perfect for necklaces and bracelets.
- Roll small clay balls and shape into beads.
- Poke holes for stringing before drying or baking.
- Paint or glaze if desired.
Recommended Product:
 36 Colors Air Dry Clay Set for colorful beads
 4. Mini Clay Planters
Create small planters perfect for succulents:
- Roll clay into a ball and hollow out the center.
- Smooth the surface and add textures with stamps or tools.
- Air dry and optionally paint before placing plants.
5. Personalized Name Tags
Make custom tags for gifts or décor:
- Roll out a flat clay slab.
- Cut shapes and imprint letters with stamps or sculpt by hand.
- Dry and optionally paint for personalization.
6. Decorative Coasters
Flat clay coasters are both functional and decorative:
- Roll out a slab and use round or square cutters.
- Add textures or patterns with stamps.
- Paint after drying for vibrant designs.
Recommended Product:
 36 Colors Air Dry Clay Set
 7. Clay Magnets
Create fun fridge magnets with simple clay shapes:
- Shape small clay pieces (hearts, stars, letters).
- Attach magnet pieces after drying with glue.
- Paint or decorate as desired.
8. Miniature Food Charms
Perfect for keychains or jewelry:
- Shape tiny clay food items like donuts or fruit.
- Use tools to add realistic textures.
- Paint after drying for added detail.
9. Textured Wall Art
Create artistic clay panels for decoration:
- Roll out a slab and carve patterns or press textures.
- Dry and paint for vibrant wall art.
10. Holiday Ornaments
Seasonal projects made simple:
- Use cookie cutters or hand-shape ornaments.
- Add small details with sculpting tools.
- Paint and seal for holiday décor.
11. Personalized Keychains
Create small, functional clay crafts:
- Shape small tags or figures.
- Poke holes for key rings.
- Dry, paint, and attach hardware.
Recommended Product:
 36 Colors Air Dry Clay Set
 12. Mini Jewelry Dishes
Hand-built dishes for rings or earrings:
- Pinch or slab-build a small dish shape.
- Smooth edges and add optional textures.
- Dry and paint for decorative finish.
Finishing and Protecting Your Clay Projects
Once your projects are dry, finishing touches will make them look professional and last longer.
Painting and Detailing
Acrylic paints work best for beginners and provide bright, durable colors. Small brushes help with intricate details, and layering paint can add depth.
Sealing and Protecting
Varnish sealant protects air dry clay from moisture and wear. Optional ceramic glaze can add shine for polymer clay or baked projects. Use thin, even coats for the best results.
Recommended Product:
 36 Colors Air Dry Clay Set
 Tips for Staying Creative and Improving Skills
- Experiment with colors and textures to find your style.
- Keep projects simple at first to build confidence.
- Try combining multiple techniques in one project.
- Store clay properly to maintain softness and reusability.
With practice, even beginners can create impressive clay pieces. Keep experimenting and have fun!
Frequently Asked Questions
- What are the easiest clay projects for beginners? Pinch pots, simple beads, mini planters, and keychains are great starting points.
- What type of clay is best for beginners? Air dry clay is ideal for beginners due to its ease of use and no-bake drying.
- How do you start clay modeling with no experience? Begin with small projects, basic techniques like pinch pots, and minimal tools.
- What tools are needed for beginner clay projects? Rolling pins, craft knives, silicone molds, shaping sticks, and texture stamps are sufficient.
- How long does air dry clay take to dry? Typically 24–48 hours depending on thickness and humidity.
Conclusion
Starting with these 12 easy clay projects, beginners can quickly build skills and confidence. From pinch pots to mini planters, each project is designed to be fun, approachable, and rewarding. Gather your tools, choose your favorite colors, and start creating beautiful clay pieces today!
Ready to begin? Explore our 36 Colors Air Dry Clay Set and bring your imagination to life!
Pillar Article: What Is Air Dry Clay? A Beginner-Friendly Guide to Uses, Safety, and How It Works


