
How to Build Marble Run Projects: Beginner to Advanced DIY Guide
Build Marble Run Master Guide: Step-by-Step Tutorials + Marble Track Designs
Learning how to build marble run projects transforms simple materials into exciting engineering playgrounds. Whether you’re a parent encouraging STEM learning, a hobbyist experimenting with physics, or an educator designing hands-on activities, marble runs offer an ideal mix of creativity, experimentation, and problem-solving.
This master guide walks you from simple cardboard ramps to advanced looping marble track designs. You’ll learn how to build stable structures, choose the right materials, and progressively level up your designs—from beginner-friendly gravity tracks to multi-lane racing systems.
Use this guide as a roadmap: start simple, test often, and expand your marble run using real engineering principles.
How to Build Marble Run Structures That Stay Stable (Quick Start Guide)
Before exploring creative designs, stability comes first. Most marble runs fail because of weak foundations or uncontrolled speed. Follow this simple framework used in classroom engineering challenges.
Step 1: Choose a Stable Base
A marble run needs a strong starting platform. Try one of these:
- Wide cardboard base taped to the floor
- Wall-mounted tracks using removable hooks
- Stackable modular blocks for vertical builds
The wider the base, the less vibration transfers through the structure.
Step 2: Control Slope and Speed
Marbles accelerate due to gravity. Too steep, and they fly off the track. Too shallow, and they stop moving.
- Gentle slopes = smooth motion
- Medium slopes = faster transitions
- Steep slopes = use guard rails or tunnels
This balance demonstrates gravitational potential energy converting into kinetic energy—one of the core physics lessons marble runs teach naturally.
Step 3: Secure Joints and Supports
Connection points are the weakest part of DIY builds.
- Cardboard: reinforce with folded edges
- Wood: add brackets underneath ramps
- Plastic kits: double-lock connectors
Step 4: Test Using the Engineering Design Process
- Build a small section
- Test marble movement
- Identify failures
- Improve and rebuild
This iterative process encourages experimentation instead of perfection.
Materials to Build Marble Run Projects at Home
The best material depends on your budget, available tools, and how often you plan to rebuild.
Budget DIY: Cardboard, Paper Tubes & Tape
Perfect for beginners and classrooms.
- Paper towel rolls for tunnels
- Shoebox lids for ramps
- Painter’s tape for adjustable layouts
These builds emphasize creativity over precision and allow kids to redesign freely.
Mid-Level: Wooden Boards & Modular Connectors
Wooden builds add durability and allow repeated experiments.
- Consistent ramp angles
- Stronger supports
- Reusable components
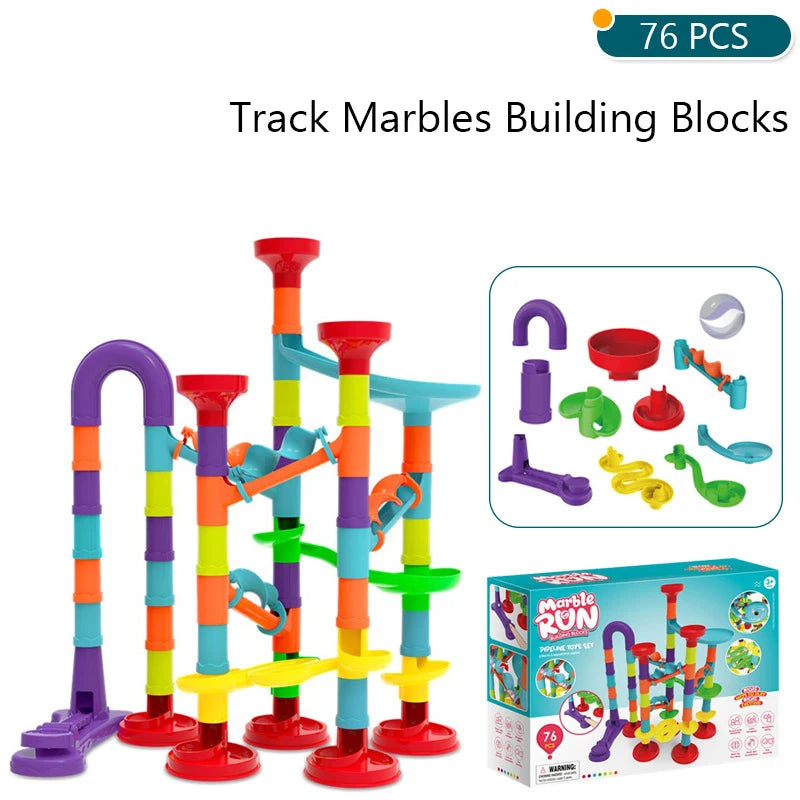
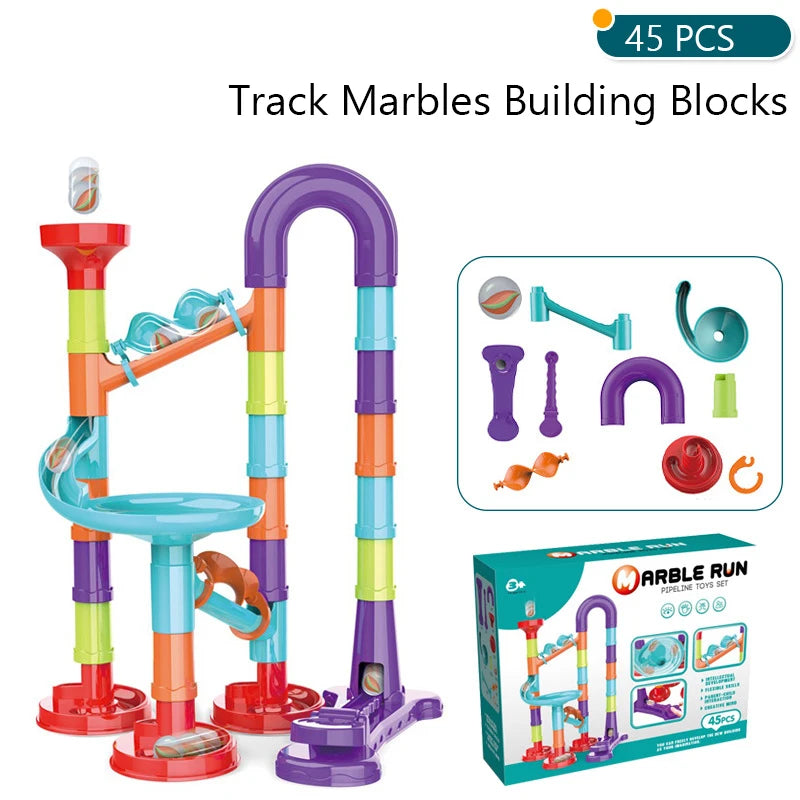
Advanced: Precision Kits & Engineering Components
Modular construction sets make complex builds easier while still encouraging creativity.
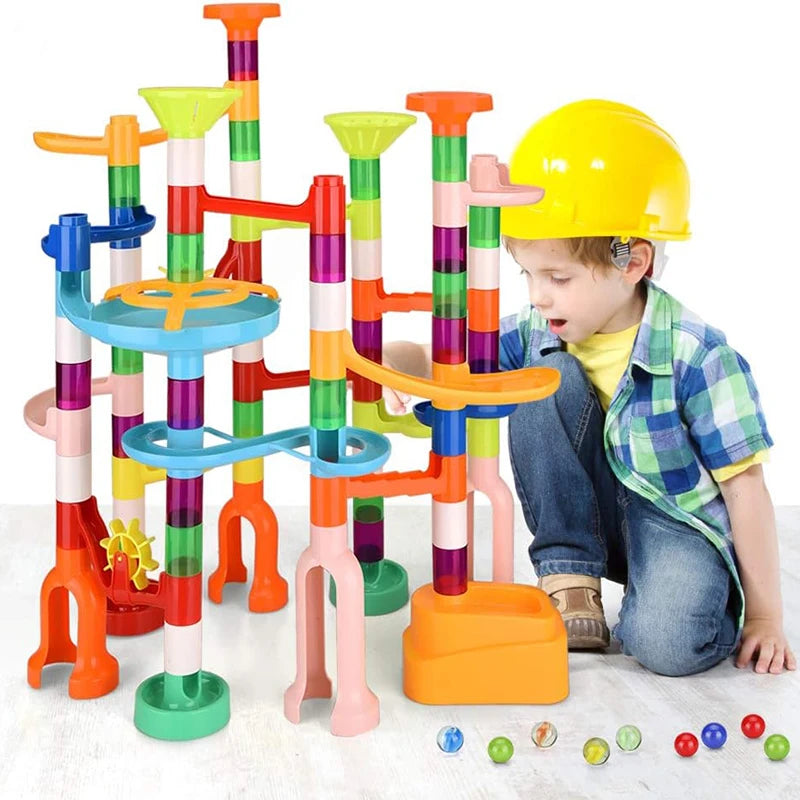
A good example is the Marble Run Building Blocks Set – Creative STEM Fun, which lets children design and rebuild endless layouts using interlocking ABS pieces. Instead of struggling with tape and alignment, builders can focus on experimentation, speed control, and design challenges.
Explore more learning-focused toys in the Baby Growth & Learning collection for hands-on developmental play ideas.
Material Path Comparison Matrix
| Skill Level | Materials | Best For | Difficulty |
| Beginner | Cardboard & tubes | Quick builds and creativity | Easy |
| Intermediate | Wood & reusable ramps | Durability and testing | Moderate |
| Advanced | Modular marble run kits | Complex engineering designs | Flexible |
Beginner to Advanced Marble Track Designs (By Difficulty Level)
This section combines tutorials and inspiration so you can progressively improve your marble run skills.
Level 1: Simple Gravity Drop Runs
Start with straight ramps and zig-zag paths.
- Create alternating left-right ramps
- Add small barriers to prevent derailment
- Test different heights
These builds demonstrate Newton’s laws of motion in an intuitive way.
Level 2: Switchbacks, Tunnels & Funnels
Introduce direction changes and speed control.
- Funnels slow marbles before transitions
- Tunnels guide motion safely
- Switchbacks increase travel distance
This stage encourages planning rather than random building.
Level 3: Loops, Jumps & Multi-Lane Racing
Advanced builders can experiment with competitive tracks.
- Parallel racing lanes
- Jump gaps with landing ramps
- Loop-the-loop sections
Modular kits become especially helpful here because precision alignment matters. Builders can expand designs gradually instead of rebuilding from scratch.
For families exploring structured play activities, the Baby Growth & Learning Tips blog includes additional STEM-inspired activities.
Designing Advanced Marble Track Designs with Loops and Drops
Calculating Loop Diameter for Continuous Motion
Loops work only if the marble maintains enough speed at the top.
- Higher starting ramps increase energy
- Smooth track surfaces reduce friction
- Larger loops require greater starting height
If the marble falls mid-loop, increase entry height or reduce loop size.
Building Stable Vertical Drops
Vertical drops create excitement but add stress to structures.
- Add side rails to guide descent
- Reinforce drop towers with cross supports
- Use soft landing curves to absorb impact
Creating Modular Expansion Sections
Advanced builders rarely create a single fixed design. Instead, they build expandable sections:
- Entry module
- Speed module
- Challenge module
- Finish zone
This modular approach reflects the maker mindset—continuous improvement through experimentation.
How Marble Runs Support STEM Learning
Physics in Action: Energy & Motion
Every marble run demonstrates real scientific principles:
- Gravity drives acceleration
- Friction slows motion
- Momentum determines loop success
Children experience physics visually rather than memorizing formulas.
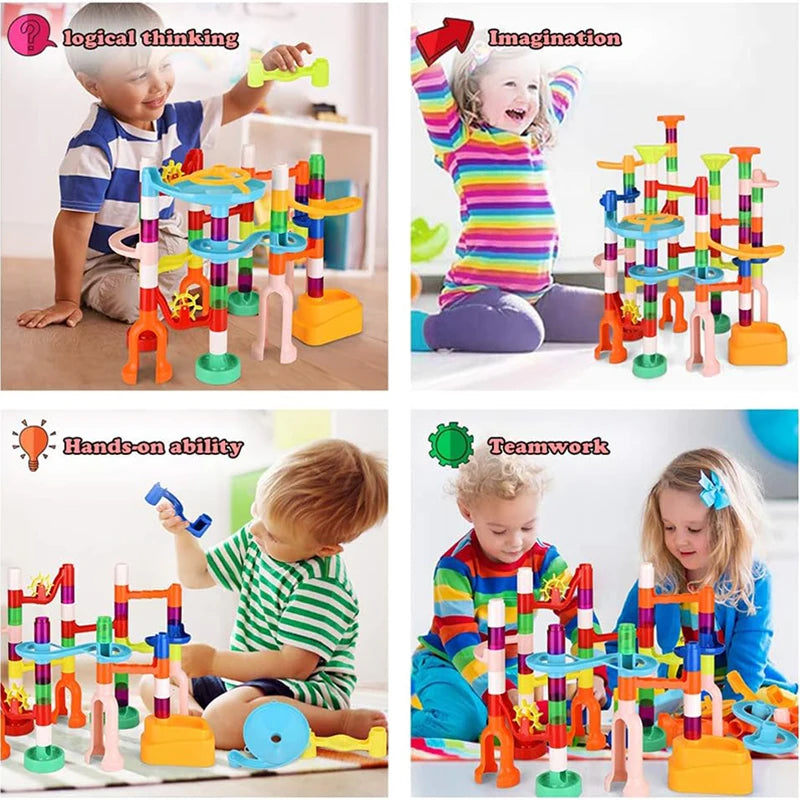
Building Problem-Solving and Fine Motor Skills
Designing tracks develops:
- Spatial reasoning
- Patience and iteration
- Hand-eye coordination
- Logical sequencing
Hands-on toys that encourage experimentation pair well with sensory play tools found in the Sensory Toys collection.
Connections to Montessori and DIY Education
Marble runs align naturally with learner-led education models:
- Self-directed experimentation
- Trial-and-error learning
- Open-ended creativity
Instead of fixed outcomes, children explore cause and effect through play.
Common Mistakes When You Build Marble Run Setups
Unstable Base Structures
If your track wobbles, widen the base or anchor the lowest level. Stability always starts at ground level.
Overly Steep Slopes
Fast isn’t always better. Excess speed causes marbles to leave the track. Reduce angles or add curved transitions.
Weak Connection Points
Most failures occur at joints. Reinforce frequently used areas and test after each modification.
Conclusion: Start Simple, Then Build Bigger
The best way to build marble run projects is to begin with simple gravity tracks and gradually expand into advanced designs. Each rebuild teaches new lessons about balance, motion, and creativity.
Remember the progression:
- Start with stable foundations
- Control slope and speed
- Test and redesign often
- Expand using modular sections
As skills grow, structured building systems can make experimentation easier while keeping creativity open-ended. If you’re ready to explore more advanced builds, consider trying a modular option like the Marble Run Building Blocks Set, which allows endless redesigns while supporting STEM-focused play.
With imagination and a few simple materials, your marble run can evolve from a basic ramp into an impressive engineering masterpiece.
Pillar Article: The Ultimate Guide to Toys for Fine Motor Skills: Skill-by-Skill Picks Backed by OT Experts


