
How to Keep Air Dry Clay From Drying: 7 Proven Fixes
How to Preserve Air Dry Clay: Before, During & After Drying System
Cracks, warping, and fragile results are the most common frustrations with air dry clay. The good news? You can prevent almost all of these issues with a simple, structured system. In this guide, you’ll learn a complete workflow to preserve air dry clay—from preparation to drying and long-term protection—so your creations stay smooth, strong, and beautiful.
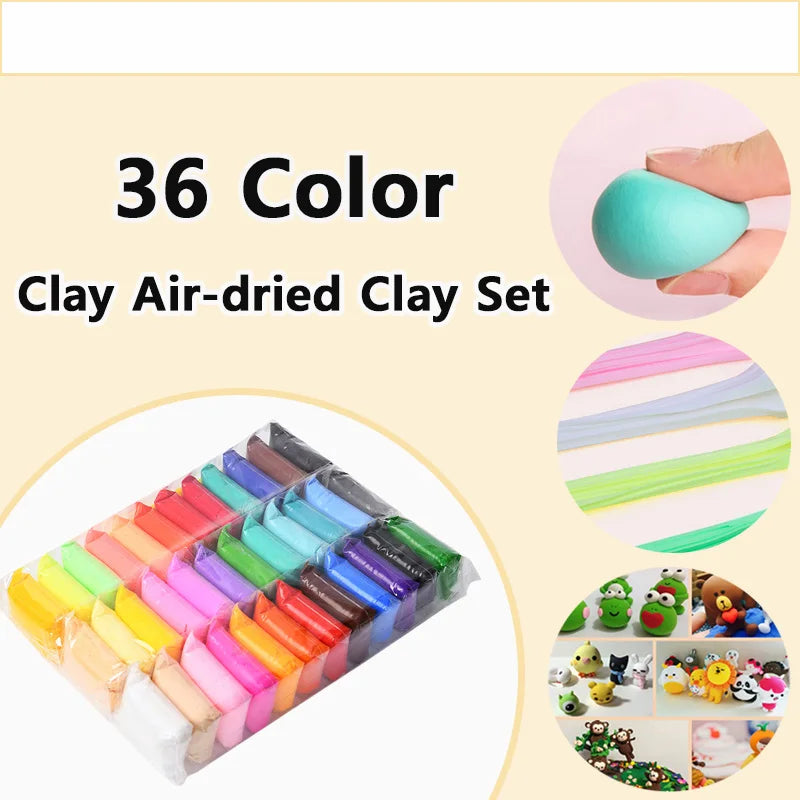
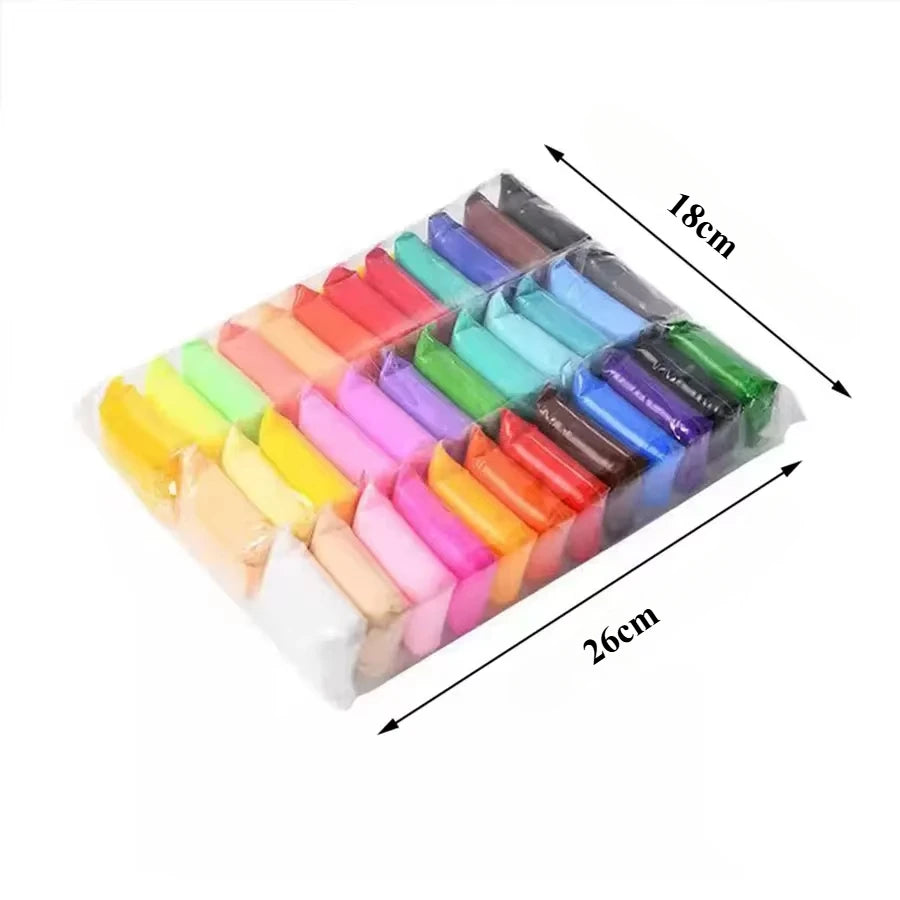
If you're just starting out, using high-quality, soft clay can make a huge difference in preservation success. A beginner-friendly option like a 36-color air dry clay set helps ensure consistent moisture and workability from the start.
Quick Answer: How to Preserve Air Dry Clay (Step-by-Step System)
3-Stage Preservation System Overview
- Stage 1 – Before Drying: Condition clay, maintain even thickness, smooth surfaces, and eliminate weak points.
- Stage 2 – During Drying: Control airflow, slow down moisture loss, and stabilize the environment.
- Stage 3 – After Drying: Sand, seal, and store properly to protect against moisture and damage.
Why Air Dry Clay Cracks, Warps, or Breaks
Main Causes of Clay Cracking
Cracks happen when moisture evaporates too quickly or unevenly. Thin edges dry faster than thick areas, causing stress that leads to splitting.
What Causes Clay Warping
Warping occurs when one side dries faster than the other. Uneven airflow or placing clay on non-breathable surfaces can distort the shape.
How Environment Affects Results
Humidity, temperature, and airflow directly impact drying speed. Too much heat or airflow accelerates drying and increases cracking risk.
Stage 1: How to Preserve Air Dry Clay Before Drying
Proper Conditioning and Moisture Balance
Knead your clay thoroughly to remove air pockets and ensure consistent moisture. If the clay feels dry, add a small amount of water and knead until smooth.
Building Strong Structures (Thickness & Support)
Keep thickness consistent throughout your piece. For larger projects, use internal supports like foil or armatures to reduce stress.
Surface Smoothing Techniques Before Drying
Use a damp sponge or your fingers to smooth surfaces. This reduces the need for heavy sanding later and improves durability.
Pre-Drying Checklist
- Clay is evenly kneaded
- No visible cracks or air bubbles
- Consistent thickness across the piece
- Surface smoothed with minimal texture
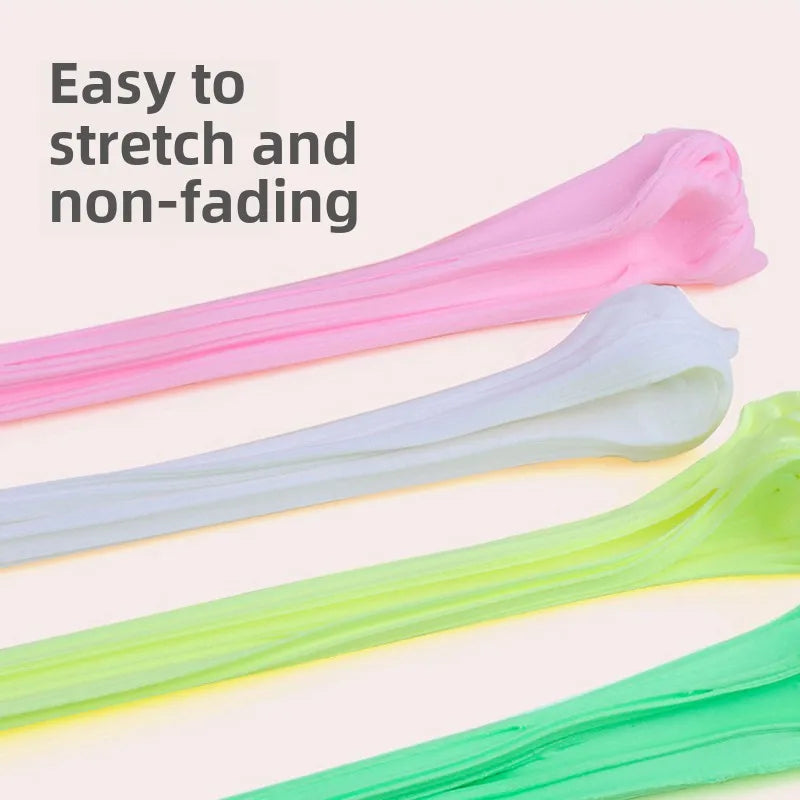
For best results, start with a soft, easy-to-mold clay set that maintains moisture well during shaping.
Stage 2: Controlled Drying Environment (Critical Step)
How to Create a Controlled Drying Environment
Place your clay on a breathable surface like wood or paper. Cover loosely with plastic to slow drying and prevent sudden moisture loss.
Humidity Control Techniques That Work
Dry clay in a room with stable humidity. Avoid fans, heaters, or direct sunlight. Gradual drying is key to preventing cracks.
How Long to Dry Air Dry Clay Safely
Most pieces take 24–72 hours depending on thickness. Larger items may take up to a week. Never rush the process.
Mistakes That Cause Cracks During Drying
- Exposing clay to direct heat
- Uneven thickness
- Drying too quickly without covering
Tip: Using high-quality clay with stable moisture content helps prevent unexpected drying issues during this stage.
Stage 3: Preserving Air Dry Clay After Drying
Surface Smoothing After Drying (Sandpaper Guide)
Use fine-grit sandpaper (220–400 grit) to smooth rough edges. Always sand gently to avoid damaging the surface.
Best Sealers for Air Dry Clay (Comparison)
| Sealer Type | Finish | Water Resistance | Best Use |
| Acrylic Sealer | Matte/Gloss | Moderate | Decorative items |
| Polyurethane Varnish | Glossy | High | Durable projects |
| PVA Glue | Matte | Low | Budget sealing |
How to Make Air Dry Clay Water-Resistant
Apply multiple layers of sealant. While air dry clay is not fully waterproof, sealing improves resistance significantly.
Finishing Techniques for Strength and Appearance
Paint your project with acrylic paint, then seal it for protection. Layering improves durability and enhances appearance.
How to Store Air Dry Clay Projects Long Term
Best Storage Conditions (Temperature & Humidity)
Store finished pieces in a cool, dry environment away from direct sunlight and humidity changes.
Using Clay Storage Containers Properly
Use airtight containers for unused clay and padded boxes for finished items to prevent dust and damage.
How to Prevent Damage Over Time
- Avoid moisture exposure
- Handle gently
- Store away from heavy objects
Troubleshooting Guide: Fixing Common Air Dry Clay Problems
How to Fix Cracked Air Dry Clay
Fill cracks with a clay-water paste (slip), smooth it out, and let it dry slowly.
How to Correct Warping Issues
Lightly dampen and reshape the piece if not fully cured. For severe warping, sanding may be required.
How to Smooth Imperfections After Drying
Use fine sandpaper followed by sealing for a polished finish.
Can You Rehydrate Dry Clay?
Partially dried clay can be rehydrated with water. Fully hardened clay cannot be restored.
Complete Air Dry Clay Preservation Checklist
Before, During, After Checklist
- Before: Knead, smooth, ensure even thickness
- During: Control airflow, dry slowly, avoid heat
- After: Sand, seal, store properly
Following this checklist consistently will dramatically improve the quality and durability of your clay projects.
Conclusion
Preserving air dry clay isn’t about a single trick—it’s about following a complete system. By preparing your clay properly, controlling the drying process, and sealing your finished work, you can eliminate cracks, prevent warping, and extend the life of your creations.
Whether you're crafting for fun, learning, or decoration, using the right materials and techniques makes all the difference. Stick to this 3-stage system, and your air dry clay projects will stay strong, smooth, and long-lasting every time.
Pillar Article: What Is Air Dry Clay? A Beginner-Friendly Guide to Uses, Safety, and How It Works


