

How do you clean toddler straw bottles properly?
Cleaning toddler straw bottles properly requires more than a quick rinse. The best routine is to fully separate the lid, straw, valves, and silicone parts, wash each component with warm soapy water, scrub hidden areas with the right tools, rinse thoroughly, and allow everything to dry completely. This helps remove milk residue, prevent odors, reduce leaking issues, and maintain toddler sippy cup hygiene for everyday use.
Cleaning Toddler Straw Bottles Step by Step for Hygiene
⏱ 6 min read
Cleaning toddler straw bottles can become challenging when unpleasant smells return, leaks develop, or residue builds up in areas you cannot see. A cup may look clean while bacteria, moisture, and leftover drinks remain inside straws, valves, and lids. This guide explains how to clean toddler cup lids and straws safely, prevent mold, and create a simple routine that keeps feeding accessories fresh.
Quick question: Are you only rinsing your toddler’s straw bottle after use? Hidden residue inside lids, valves, and straws may be the reason odors and leaks keep returning.
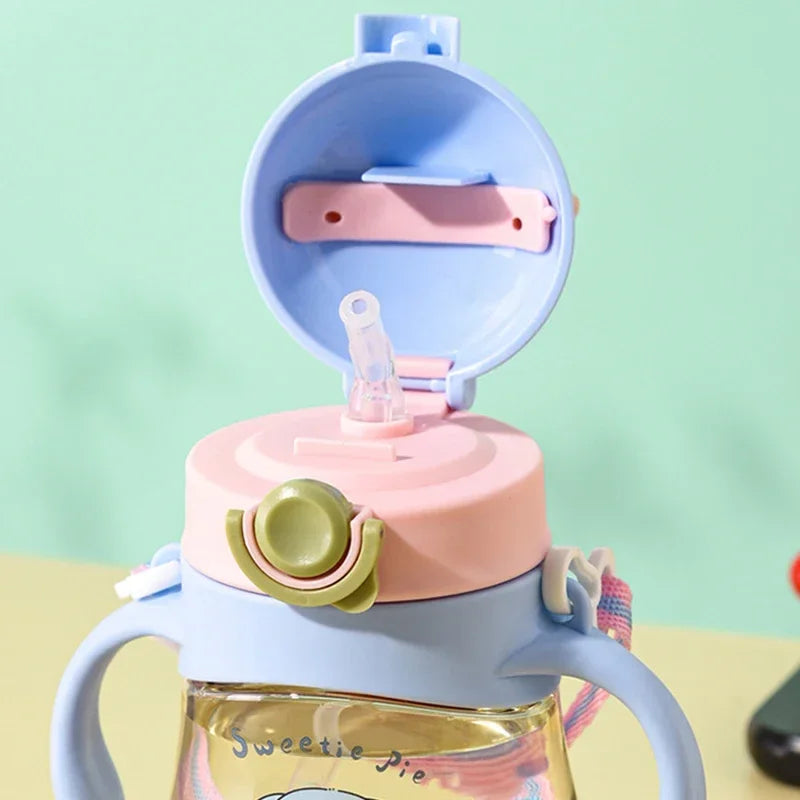
Cleaning toddler straw bottles thoroughly helps prevent leaking bottle problems and keeps spill proof straw cups fresh See it in action
Curious about safer everyday baby care routines? Explore practical solutions in Baby Care Essentials that support cleaner, calmer days.
Why Toddler Cup Lids and Straws Need Thorough Cleaning
Toddler straw bottles contain small spaces where liquids can collect, making them harder to clean than regular cups. Milk, formula, juice, and smoothies leave behind sugars and proteins that can encourage bacterial growth when moisture remains trapped.
Where Residue and Moisture Hide
The most commonly missed areas include:
- Inside narrow straws where leftover drinks can dry.
- Silicone valves that trap small amounts of liquid.
- Lid openings and threaded areas where residue collects.
- Sealing rings that stay damp after washing.
Health Risks of Mold and Bacteria
Regular cleaning helps reduce the chance of mold growth, unpleasant smells, and contaminated surfaces. Maintaining toddler sippy cup hygiene is especially important when bottles are used for milk, juice, or other beverages that leave residue behind.
How Often to Clean Toddler Cups
- After every use: Wash cups that contain milk, juice, or flavored drinks.
- Daily: Clean water-only cups regularly to prevent buildup.
- Weekly: Perform a deeper inspection and cleaning of valves, seals, and straws.
Supplies You'll Need Before You Start
The best way to clean toddler sippy cup parts is to use tools that reach small spaces without damaging materials.
Straw Brushes and Small Cleaning Tools
Useful cleaning supplies include:
- Small straw brushes that fit inside narrow tubes.
- Soft bottle brushes for lids and containers.
- Clean drying racks that separate small parts.
- Soft cloths for wiping exterior surfaces.
Safe Cleaning Solutions
Use warm water and a mild dish detergent designed for removing food residue. Avoid harsh cleaners that may leave strong odors or damage silicone and plastic components.
When to Use Bottle Sterilizers
Sterilization can provide extra cleaning support when recommended by the manufacturer or when caring for younger children. For daily toddler cups, thorough washing and complete drying are usually the most important steps.
Want a clearer routine for feeding gear? Browse trusted tools in Feeding & Nursing to simplify daily cleanup.
How to Clean Toddler Cup Lids and Straws Step by Step
Cleaning toddler straw bottles works best when every removable component is separated before washing. This prevents hidden buildup and helps keep spill proof straw cups working correctly.
Disassemble Every Removable Part
Remove the straw, lid insert, silicone valve, seals, and any detachable pieces. Small parts often collect the most residue, so avoid cleaning only the outside of the cup.
Wash Lids, Valves and Silicone Seals
Use warm soapy water and a soft brush to clean the lid opening, valve areas, and sealing rings. Gently remove residue without stretching silicone pieces.
Clean Straws Inside and Out
Learning how to clean toddler cup straws is essential because the inside of the straw is difficult to inspect. Push a straw brush through the entire length, rinse with clean water, and check that no liquid residue remains.
Rinse and Inspect Before Reassembly
Rinse every component until no soap remains. Before putting the cup back together, inspect for leftover buildup, damage, or moisture trapped inside small areas.
Hand Washing vs Dishwasher Cleaning
Both cleaning methods can work, but the safest choice depends on the bottle material and manufacturer instructions.
Which Parts Are Dishwasher Safe
Some toddler cup containers, lids, and removable parts may be dishwasher-safe. However, small silicone valves and straws often benefit from hand washing because they need direct scrubbing.
Benefits and Drawbacks of Each Method
| Cleaning Method | Benefits | Considerations |
|---|---|---|
| Hand washing | Allows detailed cleaning of straws, seals, and valves | Takes more time |
| Dishwasher cleaning | Convenient for compatible parts | Small pieces may move or remain dirty if not positioned correctly |
Manufacturer Care Instructions
Always follow the product care instructions to avoid heat damage, warping, or reduced seal performance.
How to Sanitize Toddler Cup Components Safely
Sanitizing is different from everyday washing. It provides additional cleaning support when deeper hygiene is needed.
Boiling Silicone Parts
Some silicone components may be suitable for boiling, but check manufacturer guidance first. Excessive heat can damage certain materials.
Steam Sterilizing
Steam sterilizers can be useful for compatible feeding accessories. Make sure all parts are completely dry after sterilization.
When Sanitizing Is Recommended
- After illness.
- When replacing old accessories.
- When recommended by the product manufacturer.
Prevent Mold, Odors and Stubborn Residue
Dry Components Completely
Moisture is one of the biggest causes of odors. Allow lids, straws, and valves to air-dry separately before storing.
Store Cups Properly
- Keep cups open instead of tightly sealed while drying.
- Store removable parts separately when possible.
- Avoid putting damp components into cabinets.
Remove Persistent Stains and Smells
If odors remain after normal washing, inspect for trapped residue or worn silicone parts. Some parents use mild household solutions such as vinegar or baking soda, but always rinse thoroughly and confirm material compatibility.
Cleaning Tips for Different Straw and Cup Materials
Silicone Straws
Silicone straws are flexible but can trap residue inside. Use a properly sized brush and avoid sharp tools that may create damage.
Plastic Lids and Valves
Plastic components should be cleaned gently to avoid scratches where residue can collect. Pay close attention to seams and connection points.
Stainless Steel Straw Cups
Stainless steel cups are durable but still require regular straw and lid cleaning. Knowing how to clean water bottle with straw systems helps prevent buildup in reusable drink containers.
When to Replace Cup Lids, Straws or Silicone Valves
Signs of Wear
Replace parts when you notice cracks, tears, loose seals, or changes in performance.
Cracks and Permanent Odors
If a straw or valve keeps smelling after deep cleaning, the material may have absorbed residue and may need replacement.
Replacement Schedule
There is no universal replacement timeline because usage varies. Regular inspection is the best way to maintain toddler sippy cup hygiene.
Cleaning Schedule for Everyday Use
After Every Use
- Empty leftover liquid.
- Rinse immediately.
- Wash before residue dries.
Weekly Deep Cleaning
- Separate all removable components.
- Scrub straws, valves, and seals.
- Inspect for odors or buildup.
Monthly Inspection Checklist
- Check for cracks.
- Review seal condition.
- Replace damaged parts when needed.
Helpful Tools That Make Cleaning Easier
The right tools make cleaning toddler straw bottles faster and more consistent. A simple setup reduces missed areas and supports better daily hygiene.
- Straw brushes sized for narrow tubes.
- Drying racks that separate small parts.
- Occasional use of Sterilization Devices for peace of mind.
- Supportive cleaning aids from Baby Hygiene Gadgets .
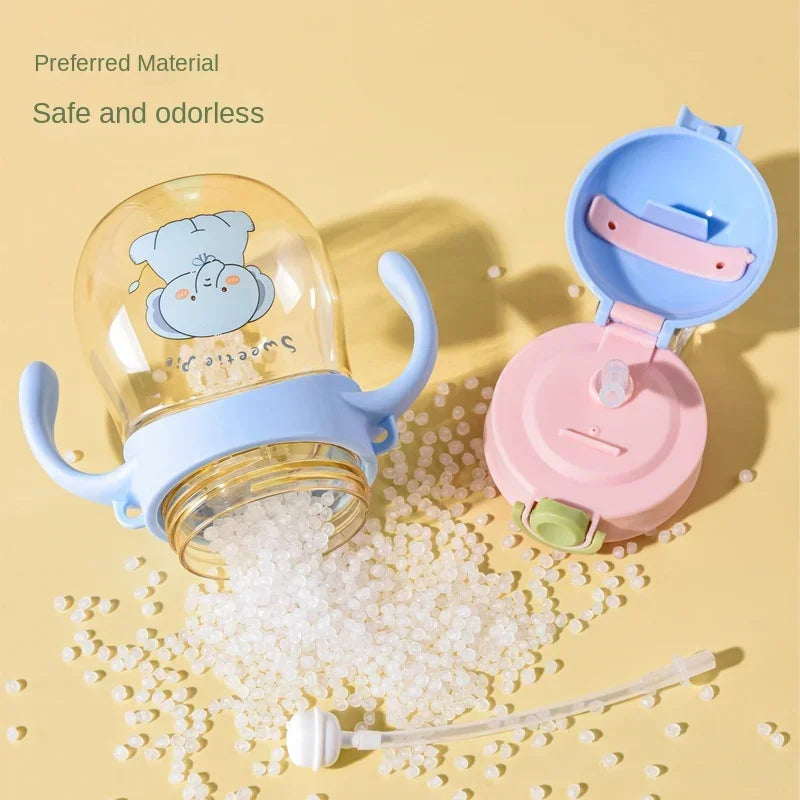
Using the right tools keeps infant feeding cup care simple and effective See it in action
Looking for smart ways to reduce mess and stress? Discover practical finds in Health & Safety that support everyday routines.
A Straw Cup Designed for Easier Care
Some cups make cleaning toddler straw bottles easier through thoughtful design. A well-designed straw system can reduce hard-to-reach areas, improve sealing, and make daily washing simpler.
Parents often prefer cups that combine comfortable drinking, safety features, and easier maintenance. A practical option is the Baby Drinking Cup with Anti-Choke Straw , designed to support everyday toddler drinking routines.
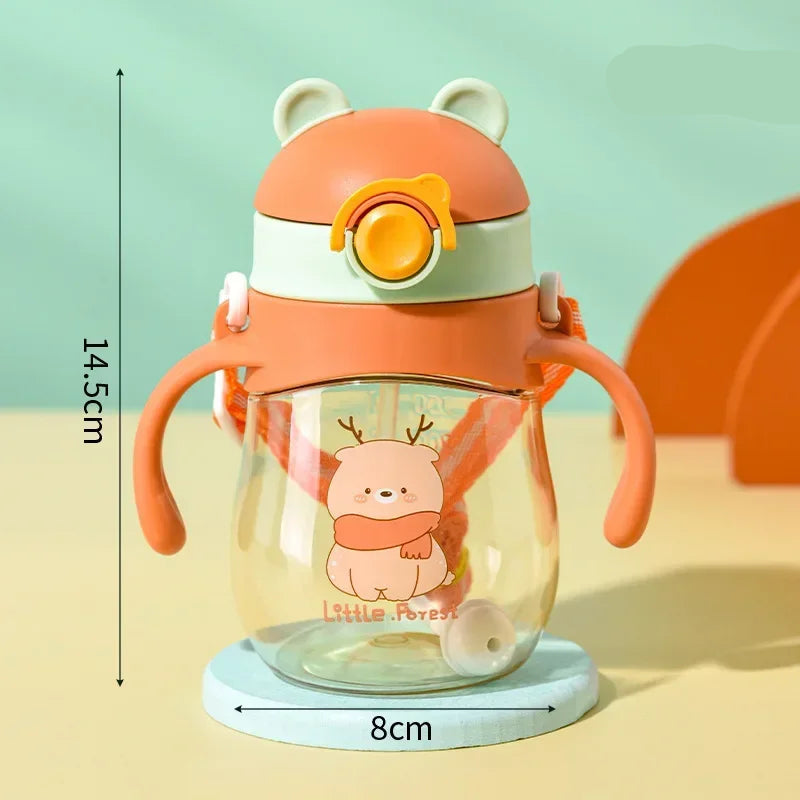
A smart design supports cleaning toddler straw bottles and reduces leaking bottle worries See it in action
Ready to simplify feeding time? Find coordinated solutions in Feeding Tools that support cleaner, happier meals.
Quick Questions Parents Ask
How do you clean mold out of a toddler cup straw?
Disassemble the straw system, scrub inside with a straw brush, wash with warm soapy water, rinse thoroughly, and allow all parts to dry completely. If mold remains after cleaning, replacing the straw may be the safest option.
Can toddler cup lids go in the dishwasher?
Some lids are dishwasher-safe, but always check manufacturer instructions. Small parts like valves and silicone seals may require hand washing for better cleaning.
Should you boil silicone straws and valves?
Only boil silicone parts if the manufacturer confirms they are heat-safe. Excessive heat may affect some components.
How often should toddler cup straws be replaced?
Replace straws when they develop cracks, permanent odors, discoloration, or no longer seal properly.
Why do toddler cup lids smell even after washing?
Persistent smells often come from trapped moisture or residue inside valves, seals, and narrow spaces. A deeper cleaning routine or replacement may be needed.
What is the best way to dry toddler cup lids before storing them?
Separate all pieces and let them air-dry completely on a clean rack before reassembling or storing.
Can I use vinegar or baking soda to clean toddler cups?
Some parents use these methods for odor removal, but always confirm they are suitable for the cup material and rinse thoroughly afterward.
How do you clean water bottle straws without a straw brush?
A straw brush is the easiest option, but you can rinse repeatedly with warm water and detergent. However, narrow reusable straws are difficult to clean completely without a tool designed for the inside surface.
Conclusion
Cleaning toddler straw bottles properly requires a consistent routine: separate every component, clean hidden areas, rinse thoroughly, dry completely, and inspect parts regularly. These simple habits help maintain toddler sippy cup hygiene, prevent odors and mold, and keep feeding accessories safer for everyday use.
Regular maintenance also helps you notice when lids, straws, or valves need replacement, ensuring your child’s cup continues working properly and stays easier to clean.
Related Guide: How to Prevent Cup Spills at Every Mealtime





