

Why do leaking straw bottle issues happen?
Leaking straw bottle issues usually happen because air pressure, misaligned valves, worn silicone parts, blocked vents, cross-threaded lids, or tiny cracks allow liquid to escape. When seals loosen or the straw system is assembled incorrectly, even a spill proof bottle can drip, causing messy feeds, wet diaper bags, and milk on clothes.
Fixing Leaking Straw Bottle Issues in Minutes
⏱ 7 min read
Leaking straw bottle issues can turn every feeding into a cleanup job. If you're wondering why is my straw bottle leaking even though it's labeled spill proof, the answer is usually a simple mechanical problem rather than a defective bottle. This guide explains how spill-proof straw cups work, how to diagnose leaks quickly, and the easiest fixes to keep your child's bottle working as intended.
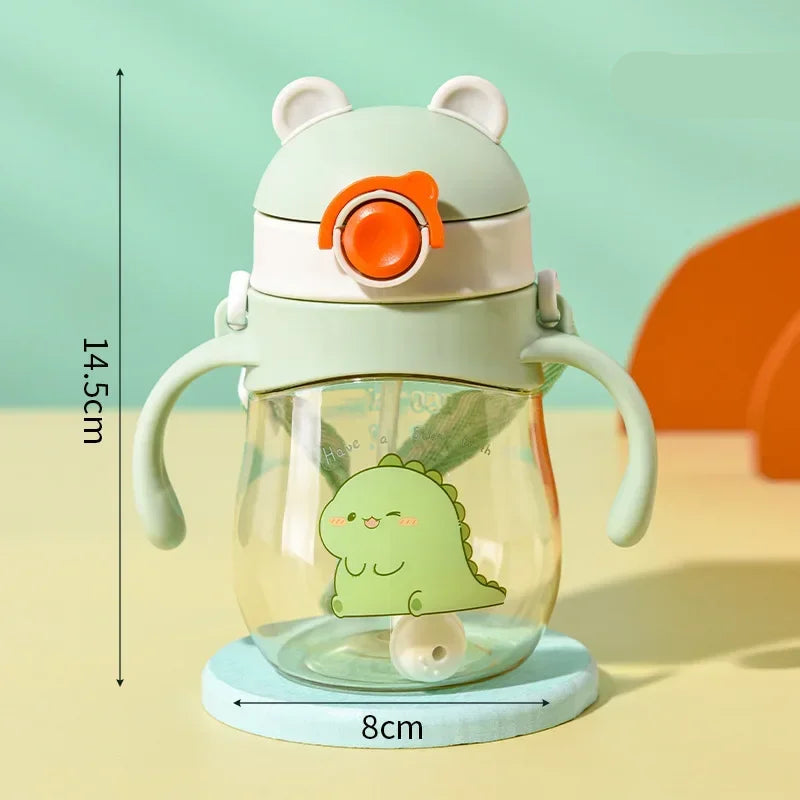
Leaking straw bottle issues often start small—fix them early to keep a spill proof bottle working reliably. See it in action.
Ever notice leaks happen right after you think you've fixed everything? You're not alone. Most parents experience unexpected leaks during busy mornings, daycare drop-offs, or bedtime feeds because a tiny seal, valve, or vent isn't functioning properly.
Explore an anti-choke straw cup designed to reduce leaks from the start
Why Is My Straw Bottle Leaking? Understanding How Spill-Proof Valves Work
A spill proof straw cup depends on several components working together. If even one part fails, liquid can escape through the path of least resistance.
How straw valves, air vents, and silicone seals prevent leaks
Most modern straw bottles include:
- A silicone straw valve that opens only when your child drinks.
- Air vents that allow pressure to equalize without allowing liquid to pour out.
- Flexible silicone seals that create a watertight connection between the lid and bottle.
When every component fits correctly, the bottle remains leak resistant even when tipped or shaken gently.
Why pressure balancing matters
As your child drinks, air must enter the bottle to replace the liquid leaving it. A blocked vent or improperly installed valve disrupts this balance, increasing internal pressure and making a straw bottle leaking problem much more likely.
Common leak points
- Lid gasket not seated correctly
- Straw inserted at an angle
- Blocked air vent
- Cross-threaded lid
- Hairline cracks in the bottle body or lid
- Worn silicone components after extended use
Quick Leak Diagnosis: Match the Symptom to the Cause
Instead of guessing, identify where and when the bottle leaks.
| Symptom | Most Likely Cause |
|---|---|
| Bottle leaks only when tipped | Misaligned valve, damaged straw, or loose lid seal |
| Leaks while drinking | Blocked vent or incorrectly assembled valve |
| Milk leaking from bottle but water doesn't | Milk residue affecting valve movement or thicker liquid stressing worn seals |
| Leaks after dishwasher cleaning | Heat-deformed silicone or improperly reassembled parts |
| Leaks during travel or after temperature changes | Pressure buildup inside the bottle |
Working through symptoms in this order helps eliminate the simplest causes first before replacing any parts.
How to Fix a Leaking Straw Bottle Step by Step
Most leaking straw bottle problems can be fixed in just a few minutes without buying a replacement.
1. Disassemble and inspect every seal
- Remove the lid, straw, valve, and silicone seal.
- Look for tears, stretching, discoloration, or flattened sealing surfaces.
- Check the bottle body carefully for small cracks around the threads.
2. Reassemble components correctly
- Install the valve exactly as recommended by the manufacturer.
- Insert the straw straight rather than at an angle.
- Tighten the lid evenly until snug without overtightening.
3. Test before filling with milk
Fill the bottle with water first, close it securely, then gently shake and turn it upside down. Testing with water avoids wasting milk if another adjustment is needed.
4. Replace worn valves or seals when needed
If silicone has become sticky, stretched, or permanently deformed, replacing the individual valve or seal is usually enough to restore leak resistance.
Many parents pair these simple fixes with accessories from Feeding Tools to simplify daily routines.
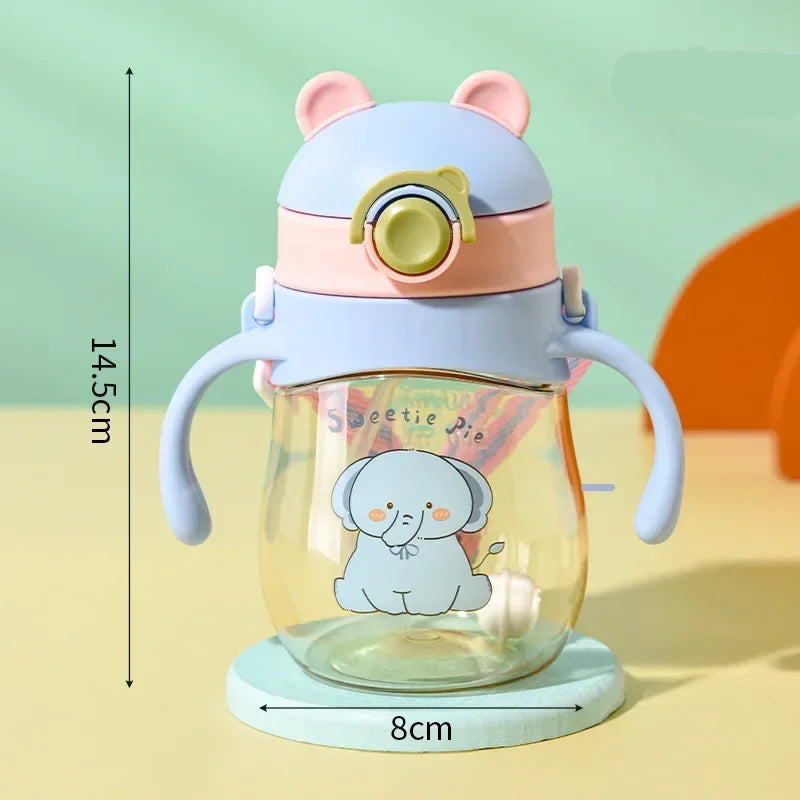
A simple valve inspection and proper reassembly can stop many straw bottle leaks. See it in action.
Learn how a better straw design helps prevent leaks
Cleaning Mistakes That Cause Straw Cup Leaks
Even careful cleaning can unintentionally damage leak-prevention components.
Residue blocking valves
Dried milk, formula, or juice residue can prevent silicone valves from closing completely, allowing slow drips.
Dishwasher heat deforming silicone
Repeated exposure to high dishwasher temperatures may gradually warp soft silicone parts, reducing their sealing performance.
Using sharp cleaning tools
Metal brushes or pointed tools can nick silicone valves, creating tiny openings that become larger over time.
Drying and storage mistakes
Always allow parts to dry completely before reassembly. Moisture trapped beneath seals can affect fit and encourage buildup.
- Check that valves aren't flipped inside out after washing.
- Rinse away all soap residue before drying.
- Avoid unnecessary boiling if the manufacturer recommends gentler cleaning.
Using gentle cleaning routines recommended in Baby Care Essentials helps extend bottle life.
Pressure, Hot Liquids, and Temperature Changes
Even a high-quality spill proof bottle isn't designed to resist every pressure change.
Hot drinks and expanding air
Warm liquids heat the air trapped inside the bottle. As air expands, pressure can force liquid through valves or vents.
Cold-to-warm transitions
Moving quickly between refrigerated storage and a warm room can temporarily change internal pressure.
Travel and altitude
Driving through mountains or flying can also change air pressure enough to produce unexpected leaks.
Why spill-proof doesn't mean pressure-proof
Spill-proof designs prevent accidental spills during everyday use, but they cannot completely overcome significant pressure differences.
Quick tip: After filling the bottle, briefly loosen and retighten the lid to equalize pressure before handing it to your child.
Parents concerned about safety often explore Health & Safety solutions alongside feeding gear.
Replace the Parts or Replace the Bottle?
A leaking bottle doesn't always require replacing the entire product.
| Problem | Recommended Solution |
|---|---|
| Soft, sticky, or stretched straw | Replace the straw |
| Loose or damaged silicone valve | Replace the valve or seal |
| Cross-threaded lid | Replace the lid if available |
| Visible crack in bottle body | Replace the entire bottle |
If structural damage affects the bottle body or lid, replacing the whole bottle is the safest option. Minor wear, however, is often solved by replacing inexpensive silicone components.
Many parents save money by replacing parts while browsing Baby Hygiene Gadgets and feeding accessories together.
Prevent Future Leaks With Simple Maintenance
Regular maintenance helps a spill proof straw cup continue performing as designed.
- Inspect seals and valves once a day.
- Never fill above the maximum fill line.
- Store bottles upright whenever possible.
- Replace worn silicone parts before they fail completely.
- Rotate between multiple bottles to reduce daily wear.
Parents often share that switching to thoughtfully designed cups, like this anti-choke straw cup, dramatically reduces leaks and makes everyday feeding easier.
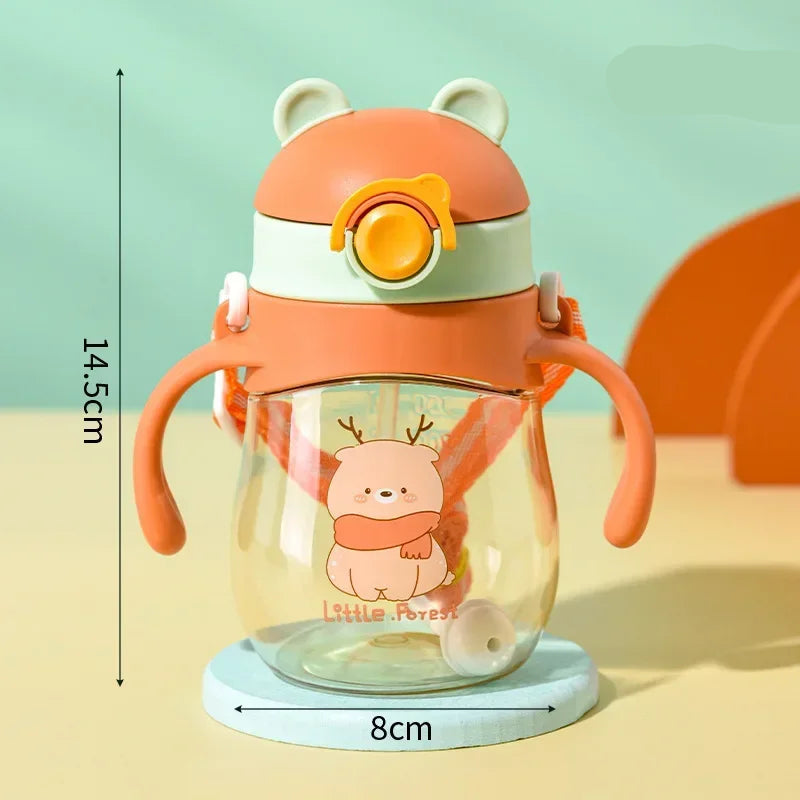
Routine maintenance helps a spill proof bottle stay dependable through everyday use. See it in action.
Try a straw cup built for fewer leaks and easier days
Frequently Asked Questions
Why does my straw bottle leak only when tipped?
This usually indicates a worn valve, damaged straw, or lid seal that no longer closes completely. Gravity exposes the weak seal when the bottle is tilted.
Why is my straw bottle leaking even after I tightened the lid?
If tightening doesn't help, inspect the silicone gasket for twisting, stretching, or debris. A damaged seal cannot create a watertight connection regardless of how tight the lid is.
How do I fix a leaking straw bottle without replacing it?
Disassemble the bottle, clean every component thoroughly, reinstall the valve correctly, verify the straw alignment, and test with water before using milk.
Why does my straw cup leak only when my child drinks from it?
A blocked vent or incorrectly installed valve may prevent proper airflow, causing pressure changes only during drinking.
Can dishwasher heat damage silicone valves?
Yes. Repeated exposure to very high temperatures can gradually deform silicone parts and reduce their ability to seal properly.
How often should straw bottle seals be replaced?
Replace seals whenever they become sticky, cracked, stretched, or no longer fit securely. Heavy daily use may require more frequent replacement.
Why is milk leaking from my bottle but water does not?
Milk leaves more residue than water and may interfere with valve movement. Its different consistency can also reveal worn seals sooner.
Can overfilling cause a spill proof bottle to leak?
Yes. Filling beyond the recommended line leaves insufficient air space, increasing pressure and making leaks more likely.
Should I replace the valve or the entire bottle?
Replace the valve if only the silicone component is worn. Replace the entire bottle if you notice cracks, damaged threads, or structural defects.
Related Guide: How to Prevent Cup Spills at Every Mealtime





