
Does an electric buffer for nails really work?
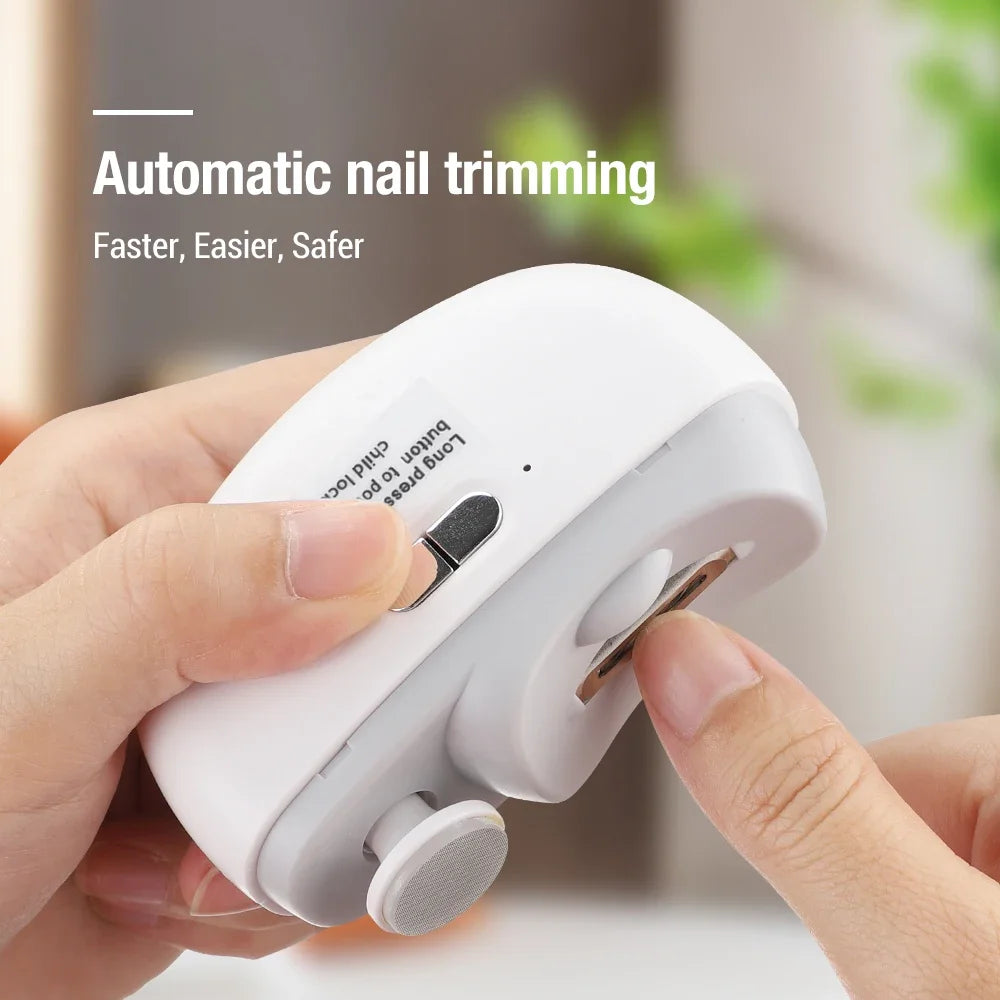
Answer: Yes — an electric buffer for nails delivers faster, more consistent smoothing and shine than manual buffing. The electric buffer for nails evens surface ridges, seals edges, and boosts natural gloss with minimal effort, reducing heat and damage when used correctly and improving salon-like results at home.
⏱ 7 min readElectric Buffer for Nails: Why Smoother, Shinier Results Take Less Effort
If you're tired of uneven polish, scratched tips, or spending ages hand-buffing for a shine that fades the next day, you're in the right place. The electric buffer for nails promises salon-smooth results without the arm workout — but how does it actually deliver better finish, speed, and nail health compared with files or manual buffing? Read on to see why this tiny gadget might be the easiest upgrade in your beauty routine.

electric buffer for nails + nan techniques — 💡 See it in action.
Why use an electric buffer for nails?
Direct answer: An electric buffer for nails smooths ridges, seals edges, and creates a reliable natural shine far faster than manual buffing. Its spinning heads and adjustable speeds allow consistent pressure and finish, lowering the risk of over-buffing and helping polish last longer.
Most people switch because it's faster, less tiring, and gives even results. Whether you keep short, natural nails or use polish often, the electric buffer reduces the time between manicures and improves shine without aggressive filing.
Common pain points this solves
- Uneven shine from manual buffing
- Takes too long to get a salon-like finish
- Over-filing that thins the nail plate
- Polish lifts because nail surface isn't smooth
How it works — tech & features that matter
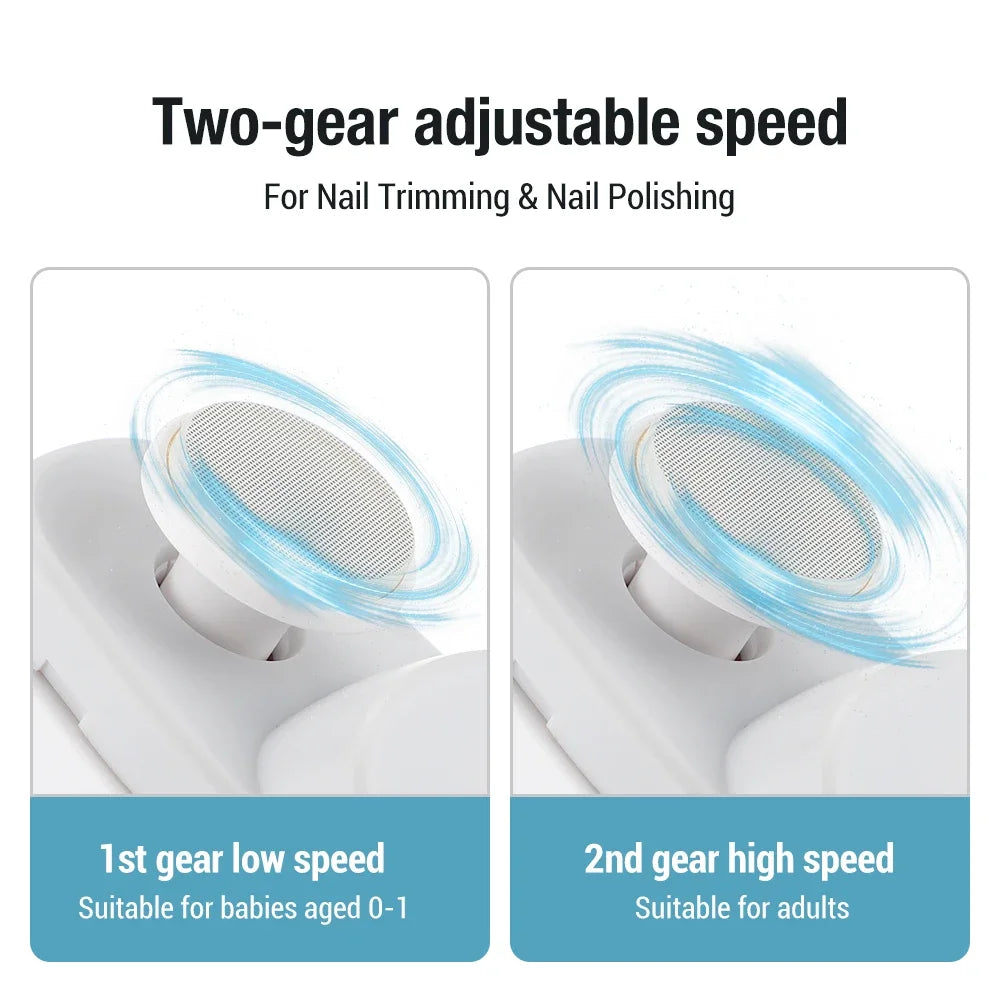
Electric buffers combine a motor, speed control, and interchangeable heads (sanding, smoothing, polishing). Look for soft-start motors, low-heat operation, and multiple grit heads to match tasks from ridge removal to high-gloss polishing.
- Motor & speed control: Low RPMs for natural nails reduce heat and friction; higher RPMs for acrylic or gel work.
- Interchangeable heads: Coarse for shaping, medium for smoothing, soft/polishing pads for shine.
- Ergonomics: Lightweight wand design reduces wrist strain and improves control for precise work.
- Safety features: Soft start, auto-stop when overloaded, and cushioned pads to avoid over-buffing.
Why this beats manual buffing
- Consistent pressure across the nail surface.
- Faster finish — minutes vs repeated strokes.
- Less risk of thinning when used with correct grit and technique.
- Better gloss that helps polish adhere and last longer.
Quick benefits — what you get
- Faster, repeatable results — consistent salon-like shine in under 10 minutes for both hands.
- Less manual effort — perfect for those with limited hand strength or busy schedules.
- Reduced damage risk — controlled speed and multiple heads tune aggressiveness.
- Better polish wear — smoother base means fewer lifts and chips.
electric buffer for nails + nan techniques — 💡 See it in action.
Compare: Electric buffer vs manual methods
| Method | Time | Finish | Risk |
|---|---|---|---|
| Electric buffer for nails | 5–10 min | High gloss, even | Low (if used correctly) |
| Manual buffing block | 10–20 min | Variable, streaks | Moderate (uneven pressure) |
| Emery file + nail file | 15–30 min | Good shaping, low shine | High (over-filing) |
Pros & Cons
- Pros: Speed, consistency, polish longevity, less fatigue.
- Cons: Initial cost, learning curve, need to replace heads over time.
How to use an electric buffer for nails — step-by-step
Quick 6-step routine (follow to reduce heat and protect nails):
- Wash hands and dry completely.
- Shape the nails with a gentle file (emery) — avoid aggressive sawing motions.
- Use a low-grit attachment briefly to remove ridges (10–15 seconds per nail).
- Switch to smoothing pad — run evenly across the nail surface with gentle pressure.
- Finish with the polishing pad for 10–20 seconds per nail for a natural shine.
- Apply cuticle oil and a clear top coat if you polish afterward.
Safety checklist
- Always start at the lowest speed.
- Limit time per nail to avoid heat build-up.
- Use cushioned polishing heads on natural nails.
- If nails feel thin or sensitive, stop and treat with strengthening products.
Pro tips, maintenance & using nan techniques
“Nan” can refer to micro techniques and precision — using fine, gentle heads for micro-smoothing at the nail edge and surface. Combine with small circular motions and minimal pressure to get a long-lasting gloss without thinning.
- Use a soft polishing head for natural nails — coarse heads are best reserved for acrylic or thick gel work.
- Clean heads after each use and replace when frayed to maintain performance.
- Charge between uses to keep motor torque steady.
- Store in a dry pouch to avoid grit that can scratch nails.
Real results & testimonials
“My at-home mani looks like I visited a salon — much faster and no sore wrists.” — Jenna R., verified buyer
“I was nervous about damage, but the adjustable speed kept things safe and my polish lasted longer.” — Maya L., beauty blogger
Buying guide & where to find one
Direct answer: Choose an electric buffer with multiple heads, soft-start motor, and adjustable speeds for natural nails. Check for included polishing pads and clear replacement part availability — these features deliver safer, longer-lasting shine.
Ready to purchase? The product that inspired this guide offers a compact, lighted design and travel-friendly battery. See product details and buy: Electric Nail Clipper with Light.
electric buffer for nails + nan techniques — 💡 See it in action.
Where it fits in your routine (cross-sell suggestions)
- Pair with a gentle nail strengthener for weekly care.
- Use before applying base coat to increase polish adhesion.
- Browse complementary tools: Baby Nail Care Tools, Baby Care Essentials.
Mini FAQ (schema-ready)
-
Is an electric buffer safe for natural nails?
Yes — when used at low speed with the correct polishing head and short pass times. Avoid heavy pressure and coarse attachments on thin nails.
-
How often should I use it?
Once every 1–2 weeks for natural nails. Overuse can thin the nail plate — less is more for healthy nails.
-
Can it damage acrylic or gel nails?
It can when used with too coarse a head or high speed. Use gentle settings and heads designed for artificial nails.
Quick troubleshooting
- Buffer feels hot: reduce speed and limit time per nail.
- Uneven shine: make smoother, lighter passes and replace worn pads.
- Polish chips quickly: ensure surface is fully smoothed and clean before applying polish.
Final thought: An electric buffer for nails streamlines your routine, provides consistent gloss, and — when used with the right technique and heads — protects nails from over-filing. Whether you're a busy pro or an at-home enthusiast, it’s a small investment that pays off in speed, shine, and nail health.
Mini-FAQ (for schema)
How does an electric buffer for nails improve polish wear?
By smoothing ridges and creating an even base, the electric buffer helps polish adhere better and reduces lifting and chipping.
Can beginners use an electric buffer safely?
Yes — start at the lowest speed, use soft polishing heads, and follow short passes per nail to build confidence safely.
What should I look for when buying one?
Look for adjustable speeds, multiple heads, a soft-start motor, easy-to-replace pads, and a compact ergonomic design for control.
Related collections: Baby Nail Care Tools • Baby Care Essentials • Baby Care Tips & Advice
Pillar Article: Safe Nail Trimming Tool Features That Make Grooming Truly Worry-Free
Other Related Articles:
Explore More:


