

Does suction cup instructions really improve grip?
Answer: Yes — clear suction cup instructions can significantly improve grip on silicone suction plates and similar baby feeding products. Correct installation steps, including cleaning the surface, applying even pressure, removing trapped air, and checking the seal, help reduce slipping, improve stability during meals, and keep plates secure on suitable surfaces.
⏱ 18 min read
Suction Cup Instructions Review: How to Improve Silicone Suction Plate Grip
Suction cup instructions often determine whether a silicone suction plate stays firmly in place or slides during mealtime. While the quality of the suction base matters, proper setup, surface preparation, and daily care have the biggest impact on performance. Understanding how suction cups work and how to apply them correctly helps parents create a cleaner, safer feeding routine.
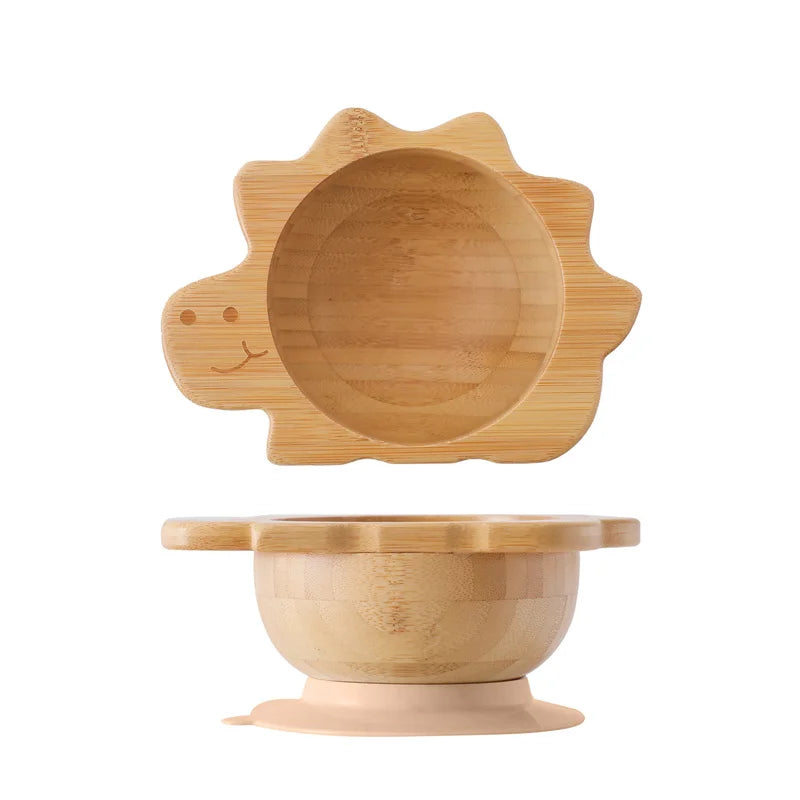
suction cup instructions, silicone suction plate — See it in action
Why suction cup instructions matter
Parents often assume every suction plate performs the same way, but small installation details can create major differences in grip strength. Following reliable suction cup instructions helps remove the factors that commonly cause slipping, such as food residue, trapped air, uneven pressure, or poor surface contact.
For silicone suction plates used during baby feeding, proper setup can help reduce overturned dishes, minimize mealtime mess, and create a more stable experience for toddlers learning to self-feed.
How to use suction cup correctly
Learning how to use suction cup correctly starts with creating the right conditions for a strong seal. These suction cup installation tips focus on surface preparation, proper pressure, and seal verification.
Prepare the surface
- Wash the table area with warm water and mild soap to remove oil, crumbs, and food residue.
- Dry the surface before placing the silicone suction plate.
- Choose a smooth, flat surface whenever possible because uneven textures can allow air leaks.
Position the suction cup
- Place the suction base evenly on the table without forcing one side down first.
- Make sure the entire silicone rim touches the surface.
- Avoid placing the suction base over table seams, deep textures, or damaged areas.
Press and remove air
- Press the center of the plate firmly downward.
- Hold pressure for approximately 10–15 seconds to push air out from underneath.
- Run a fingertip around the outer edge to confirm the seal is complete.
Test the seal
- Gently pull the edge of the plate to confirm resistance.
- Apply light pressure from different directions before serving food.
- If the plate shifts easily, remove it and repeat the installation process.
Do suction cups work better with water?
Short answer: Sometimes a small amount of moisture can improve contact, but water is not a replacement for correct suction cup instructions. The effect depends on the surface, the amount of moisture used, and whether the water helps create a better seal or creates a slippery barrier.
When a damp surface helps
- A very light mist can help fill tiny surface gaps on some slightly textured materials.
- Warm water can make silicone slightly more flexible in colder environments, helping the rim conform to the surface.
- A damp fingertip can help clean small particles from the suction edge before installation.
When water reduces grip
- Too much water can create a slippery layer between the suction cup and the table.
- Moisture can trap crumbs, oils, or food particles that weaken the seal.
- On bamboo melamine dishes or other materials with small surface variations, excess water may reduce consistency.
Best practices
- Start with a clean, dry surface before testing moisture.
- If needed, use only a minimal amount of water around the rim rather than soaking the entire base.
- Always check the seal after applying the suction plate.
- Focus on proper installation technique first because pressure and surface contact have the biggest effect on grip.
Common suction cup mistakes and easy fixes
Even high-quality silicone suction plates may lose grip when installation steps are skipped. Understanding the most common problems helps improve suction performance, reduce mealtime frustration, and keep the plate stable during daily feeding.
Using the suction cup on textured or uneven surfaces
Problem: Suction cups need consistent surface contact to create a reliable seal. Wood grain, grooves, rough finishes, and uneven tabletops can leave tiny air gaps that weaken grip.
Fix: Choose a smooth, flat surface whenever possible. Glass, polished stone, smooth plastic, and sealed non-porous tables usually provide better suction than heavily textured materials.
Applying too much water
Problem: While a small amount of moisture may help fill microscopic gaps on some surfaces, excess water can reduce friction, trap food particles, and make cleaning harder.
Fix: If you use moisture to improve the seal, apply only a light damp layer around the suction edge. Avoid creating a wet layer underneath the entire plate.
Placing hot dishes directly on the suction base
Problem: High heat can affect silicone flexibility over time and may reduce the consistency of the seal.
Fix: Allow very hot foods or dishes to cool slightly before placing the silicone suction plate on the table. This helps maintain the shape and performance of the suction area.
Skipping regular cleaning
Problem: Oil, crumbs, and dried food residue can prevent the suction cup from making full contact with the surface.
Fix: Clean both the table and suction base before use, especially after meals with oily foods. A clean seal is one of the easiest ways to improve suction cup grip.
Everyday usage tips for busy parents
Small daily habits can make silicone suction plates easier to use and help maintain reliable grip throughout toddler meals.
- Keep a small microfiber cloth near the highchair to quickly remove crumbs, oils, and spills before attaching the plate.
- Teach older siblings or caregivers the correct suction cup instructions: clean, press, seal, and test before serving food.
- When traveling, store the plate flat and avoid folding or bending the suction base.
- Keep the suction surface away from sharp utensils that could create scratches or small tears.
- Check the suction edge regularly for damage so the plate continues creating a strong seal.
Visual quick reference (table & checklist)
| Step | Action | Why it helps |
|---|---|---|
| 1 | Clean the table and suction base | Removes oils and debris that weaken the seal |
| 2 | Place the plate on a smooth surface | Improves surface contact |
| 3 | Press firmly from the center outward | Pushes out air and creates vacuum |
| 4 | Test the edge before feeding | Confirms the suction is secure |
Frequently asked questions
-
Q:
How do suction cups work?
A: Suction cups create a temporary vacuum by pressing against a smooth surface and pushing out trapped air. The outside air pressure then holds the cup firmly against the surface, creating the grip that keeps silicone suction plates stable. -
Q:
How do I make suction cups stick better?
A: Start with a clean, smooth surface and a clean suction base. Press firmly from the center outward to remove air, check that the edges are fully sealed, and avoid surfaces with deep texture, dust, or moisture buildup. -
Q:
Do suction cups work better with water?
A: A small amount of moisture may improve contact on some slightly textured surfaces, but too much water can reduce grip by creating a slippery layer or trapping debris. For silicone suction plates, use moisture only when needed and avoid soaking the entire suction area. -
Q:
Why is my suction cup not sticking?
A: Common causes include dirty surfaces, uneven materials, damaged suction edges, and temperature changes that affect silicone flexibility. Clean the surface, inspect the suction rim, and reinstall using proper suction cup instructions. -
Q:
What is the best surface for suction cups?
A: Smooth, flat, non-porous surfaces usually provide the strongest seal. Glass, polished stone, sealed plastic, and smooth tabletops typically work better than rough wood, textured finishes, or uneven materials. -
Q:
How do I use a silicone suction plate correctly?
A: Clean the table and suction base, place the plate flat, press the center firmly to remove air, check the edge seal, and gently test the hold before serving food. These steps help create a stronger and more reliable grip. -
Q:
How often should I clean suction cups?
A: Clean the suction base after every meal to remove oils and food particles. Perform a deeper wash regularly and inspect the silicone surface for tears or damage that could affect suction performance. -
Q:
Can suction cups damage surfaces?
A: Properly used silicone suction cups should not damage suitable surfaces. Avoid excessive moisture, trapped debris, or leaving suction attached for extended periods on sensitive materials.
Maintenance and cleaning
Regular care helps improve suction cup grip and keeps silicone suction plates working consistently. A clean suction base creates better surface contact, while proper storage prevents unnecessary wear.
Cleaning routine
- Rinse the suction base after each meal to remove crumbs, oils, and food residue.
- Wash with warm water and mild dish soap when deeper cleaning is needed.
- Dry completely before storage to prevent residue buildup around the suction edge.
Storage tips
- Store the plate flat to protect the suction surface from bending.
- Avoid placing heavy items on top of the suction base.
- Keep sharp utensils away from silicone edges to prevent small cuts or scratches.
When to replace
Replace a silicone suction plate if the suction area develops cracks, permanent warping, or damage that prevents a complete seal. A damaged edge can allow air to enter and reduce grip, even when the surface is properly prepared.
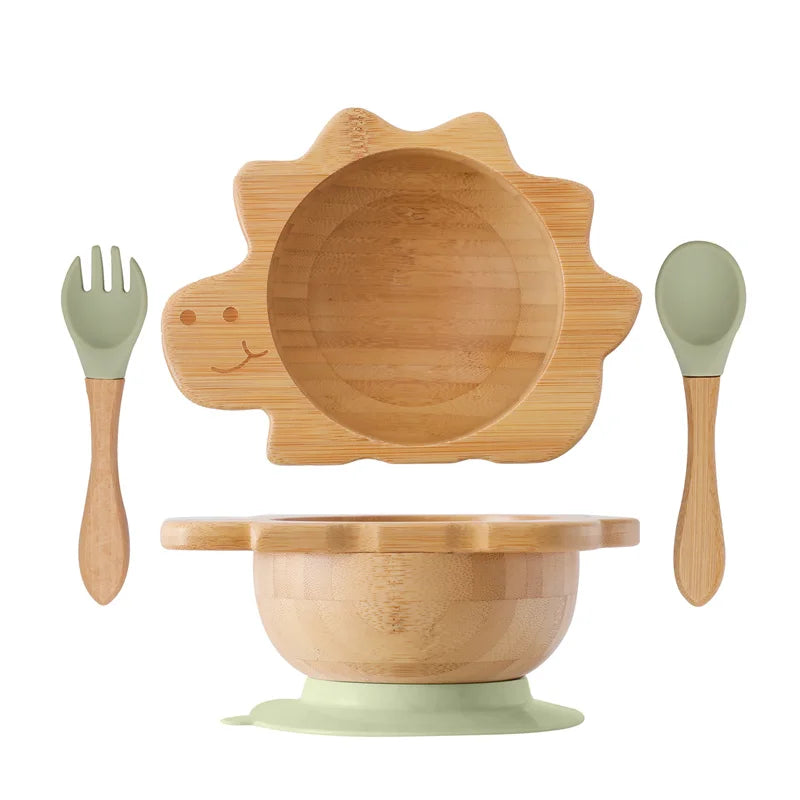
silicone suction plates, bamboo melamine dishes — See it in action
Frequently asked questions
How do suction cups work?
Suction cups work by creating a temporary vacuum between the cup and a smooth surface. When air is pushed out during installation, outside air pressure helps hold the cup in place. A clean surface and full edge contact are essential for maintaining a strong seal.
How do I make suction cups stick better?
To improve suction cup grip, clean both the suction base and the surface, remove crumbs or oils, place the cup flat, and press firmly from the center outward to remove trapped air. Testing the seal before use helps confirm the plate is secure.
Do suction cups work better with water?
A small amount of moisture may help improve contact on some slightly textured surfaces, but too much water can reduce grip by creating a slippery layer or trapping debris. Use moisture carefully and avoid soaking the entire suction area.
Why is my suction cup not sticking?
A suction cup may not stick because of dirt, grease, uneven surfaces, damaged silicone, or temperature changes. Clean the surface, inspect the suction edge, and reinstall using proper suction cup instructions.
What is the best surface for suction cups?
The best surface for suction cups is smooth, flat, and non-porous. Materials such as glass, polished stone, sealed plastic, and smooth tabletops generally provide better grip than rough wood or heavily textured finishes.
How do I use a silicone suction plate correctly?
Clean the table and suction base, position the plate on a suitable surface, press firmly to remove air, check the seal around the edges, and gently test the hold before serving food. These steps create a more reliable setup for daily feeding.
How often should I clean suction cups?
Clean the suction base after each meal to remove food residue and oils. A deeper wash with warm water and mild soap should be done regularly to maintain good contact and extend the plate’s lifespan.
Can suction cups damage surfaces?
Properly used silicone suction cups should not damage suitable surfaces. Avoid trapping dirt underneath, using excessive moisture, or leaving suction attached for extended periods on delicate materials.
Continue building a safer feeding routine: Explore the Baby wooden tableware set for a practical mealtime setup designed for everyday use.
Related Articles:
- 9 Month Old Eating Habits Review: The Brand That Helps Reduce Mealtime Mess
- 6 Month Old Self Feeding Brand Test: Which Set Truly Supports Early Skills
Pillar Articles:





