

Does a simple trick make suction cups stick again?
Answer: Yes. If you're wondering how to make a suction cup stick again , the fastest solution is usually to clean both surfaces, warm the silicone slightly, and press it firmly onto a smooth, non-porous surface. For stubborn suction cups, adding a tiny drop of water around the rim can help improve the airtight seal. The best method depends on the condition of the suction cup and the surface it's attached to, and this guide walks through every proven fix.
⏱ 7 min read
How to Make a Suction Cup Stick Again When Your Toddler Keeps Pulling It Off
If your toddler treats plates like frisbees and mealtime feels like a negotiation, you're not alone. This guide explains practical, safe, and effective ways to restore suction power to silicone suction plates, reduce food spills, and keep meals calmer. You'll also learn why suction cups fail, how to make suction cup sticky again on different surfaces, and when replacing the plate is the better option.
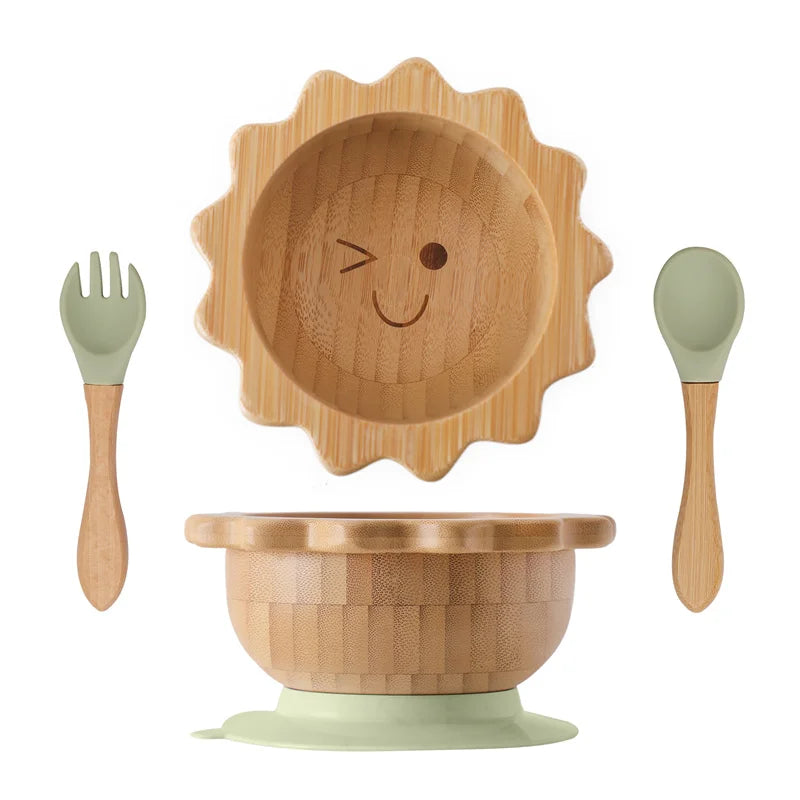
How to make a suction cup stick again with simple household methods.
Curious how small design changes keep mealtime calmer? Explore related picks in Feeding & Nursing .
Why suction cups stop sticking (the real causes)
Understanding why suction cups stop sticking makes troubleshooting much easier. Every suction cup works by creating a small vacuum between the silicone and the surface. If air leaks into that space, the seal fails.
- Grease, soap film, food residue, or dust prevent an airtight seal.
- Porous or textured surfaces allow tiny air leaks that weaken suction.
- Cold silicone becomes stiffer and cannot conform to small surface imperfections.
- Permanent deformation from repeated pulling reduces flexibility.
- Warped trays or uneven tables prevent full contact around the suction rim.
Glass and polished stone usually provide the strongest grip, while unfinished wood, textured plastic, woven placemats, and heavily scratched surfaces are much more challenging.
How suction cups work (quick explanation)
Suction cups don't rely on glue. Instead, pressing them against a smooth surface pushes most of the air out from underneath. The higher outside air pressure then keeps the cup firmly in place until air leaks back in.
This explains why:
- smooth surfaces perform better than rough ones;
- clean rims create stronger seals;
- warming silicone improves flexibility;
- even tiny particles trapped underneath can cause failure.
Keeping these principles in mind makes every troubleshooting method below much more effective.
How to make a suction cup stick again — step-by-step fixes
If you're searching for how to fix suction cup not sticking , these methods solve most problems in just a few minutes.
Quick 2-minute fix (clean + press method)
- Wash both the suction cup and table with mild soap.
- Dry using a lint-free towel.
- Position the plate on a smooth surface.
- Press firmly from the center outward.
- Hold pressure for about 10 seconds before testing.
Deep clean method for better grip
If the plate still slips, soak it in warm soapy water, gently scrub around the suction rim with a soft brush, rinse thoroughly, and allow it to air dry. Built-up grease is one of the most common reasons suction gradually weakens.
Heat softening method (warm water trick)
Run warm—not boiling—water over the silicone for 5 to 10 seconds. Softer silicone conforms better to microscopic imperfections, helping restore suction cup grip.
Seal boost method (tiny moisture or oil)
A single drop of clean water around the outer edge often improves the seal. Some parents also use a microscopic amount of food-safe olive or coconut oil, but use only enough to lightly coat the rim and wipe away any excess from food-contact areas.
Surface prep method (smooth + dry surface)
If the table is scratched, textured, or porous, place a smooth silicone mat or rigid coaster underneath the suction plate. Creating a flat contact surface is often more effective than repeatedly pressing harder.
Safety considerations for baby feeding products
- Never use glue, adhesive tape, or permanent sealants.
- Only use food-safe oils when necessary.
- Avoid applying oil where food touches.
- Inspect the silicone regularly for cracks or tears.
How to clean suction cups for better grip
Learning how to clean suction cups for better grip can extend their lifespan significantly.
- Wash with mild dish soap after each use.
- For greasy buildup, soak for several minutes before wiping.
- Occasionally rinse with diluted white vinegar to remove mineral deposits.
- Dry completely using a lint-free cloth.
- Avoid abrasive scrubbers that can damage the sealing edge.
Common mistakes include leaving soap residue behind, using oily cleaning products, or storing suction cups folded, which may permanently deform the rim.
Extra hacks & troubleshooting by surface type
Glass and tile surfaces
These are ideal for suction cups. Simply clean away fingerprints, dust, and moisture before pressing firmly.
Plastic and high chair trays
Many high chair trays have slight texture or flex when toddlers push down. Wash thoroughly, dry completely, then apply the plate near the flattest section of the tray. If suction remains weak, moving the plate directly onto a smooth tabletop often works better.
Wood or textured surfaces
Natural wood grain creates microscopic air channels that break suction. Using a smooth placemat or rigid silicone board underneath the plate provides a much more reliable seal.
Outdoor or humid conditions
Dust, sand, and humidity reduce suction performance. Wipe surfaces clean before every meal and avoid attaching suction cups to dirty picnic tables.
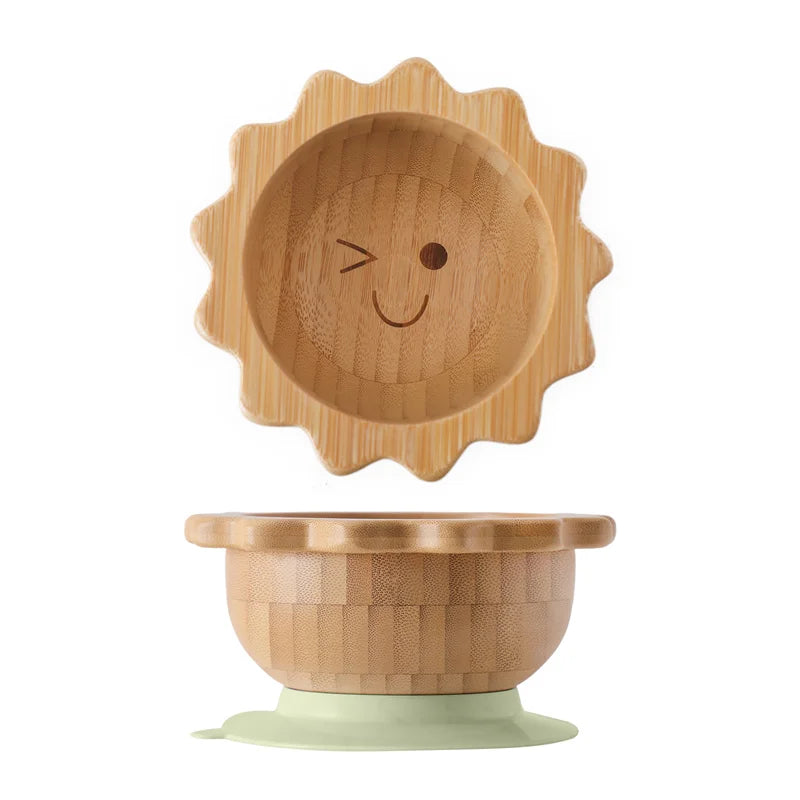
A properly prepared surface dramatically improves suction performance.
- Slipping immediately? Clean both surfaces.
- Works briefly then releases? Warm the silicone first.
- Won't stick to wood? Add a smooth placemat underneath.
- Still failing? Inspect the rim for permanent damage.
How to improve suction on baby plates and bowls
Correct placement technique
Press directly in the center instead of pushing only around the edges. This removes trapped air more efficiently.
Tray preparation steps
- Clean away crumbs before every meal.
- Dry the tray completely.
- Avoid placing suction cups across seams or curved areas.
- Reapply after moving the plate.
Tips to keep suction bowls from coming off
Prevent toddlers from grabbing the rim by placing food toward the center of the bowl and encouraging spoon use instead of lifting the edges. Consistent placement also helps children learn where dishes belong during meals.
If repeated failures continue despite proper technique, consider upgrading to the baby wooden tableware set or browse more feeding solutions in Feeding Tools and Baby Care Essentials .
When to replace a suction cup
Sometimes repair is no longer worth the effort. Replace the suction cup or plate if you notice:
- cracks or tears around the rim;
- permanent stretching or flattening;
- loss of flexibility even after warming;
- continued failure on clean, smooth surfaces.
For baby products, replacing damaged suction cups is the safest choice because worn silicone may no longer create a dependable seal during meals.
If you're shopping for replacements, the wooden-feel, safe designs in Baby Care Essentials and low-profile options in Feeding & Nursing are worth exploring. The baby wooden tableware set is also a durable option for everyday feeding.
Want guidance on which plate style fits your family? See picks in Feeding Tools and Baby Care Essentials .
FAQ: suction cup fixes and safety
How do you make a suction cup stick again quickly?
Clean both surfaces, warm the silicone slightly, press firmly from the center, and hold for about 10 seconds. This restores suction in most situations.
Why do suction cups stop sticking over time?
Soap residue, grease, dust, repeated stretching, and gradual loss of silicone flexibility all reduce the airtight seal that keeps suction cups attached.
What surfaces work best for suction cups?
Smooth glass, polished stone, glossy countertops, and flat plastic surfaces generally provide the strongest grip. Rough wood and textured materials perform much worse.
Can you use oil or water to improve suction?
Yes. A tiny drop of clean water often helps create a better seal. For baby feeding products, a microscopic amount of food-safe oil may also help, but avoid excess and wipe away any residue that could contact food.
How do you fix suction cups on high chair trays?
Clean the tray thoroughly, use the flattest section available, and avoid textured or flexible areas. If necessary, move the plate to a smoother tabletop for stronger suction.
When should you replace a suction cup?
Replace it when cracks, stretching, or permanent deformation prevent a reliable seal even after cleaning and warming.
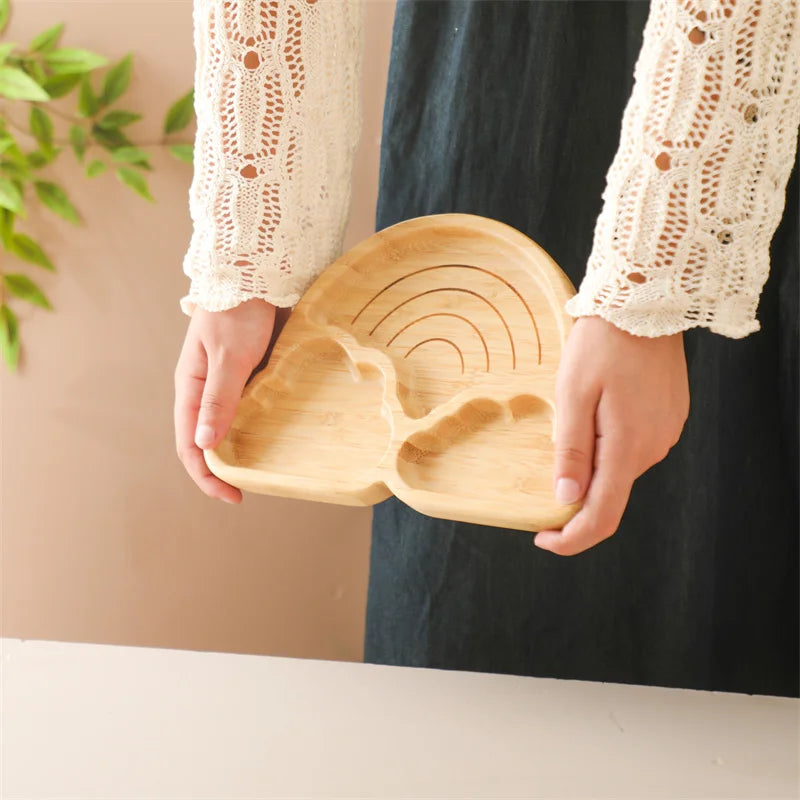
Simple maintenance helps suction plates stay secure for everyday meals.
Small maintenance habits can dramatically improve suction performance. Clean both surfaces, warm the silicone, press firmly onto a smooth surface, and inspect the rim regularly. If your child's plate still won't stay attached, upgrading to the baby wooden tableware set may provide a more dependable feeding experience.
Ready to upgrade mealtime stability? Quick fixes help, but the right plate makes the difference. Explore options in Feeding & Nursing .
Pillar Article: Not Found
Other Related Articles:
- How to Use Suction Plates Correctly for Less Mess and More Independent Eating
- How to Make a Suction Cup Stick: Simple Steps for Stronger Baby Plate Hold
- How Do Suction Cups Work? A Parent-Friendly Guide to Better Plate Grip
- Best Utensils for Toddlers Review: Top Picks for Safer, Easier Self-Feeding
Explore More:





