
How to Make a Suction Cup Stick: Quick Fixes That Work
Answer: To make a suction cup stick better, clean and dry both the suction cup and surface, remove dust or oils, place it on a smooth nonporous area, and press firmly from the center outward to remove trapped air. For baby plates, a strong seal depends on proper surface preparation, correct installation, and a flexible suction base that creates an airtight grip.
How to Make a Suction Cup Stick: Simple Steps for Stronger Baby Plate Hold
If your baby's plate keeps sliding across the highchair tray, learning how to make a suction cup stick can make mealtime easier and less frustrating. This guide explains how to fix weak suction, improve suction cup adhesion, and use a silicone suction plate set or vacuum suction plate correctly for 6 month old self feeding and toddler self feeding.
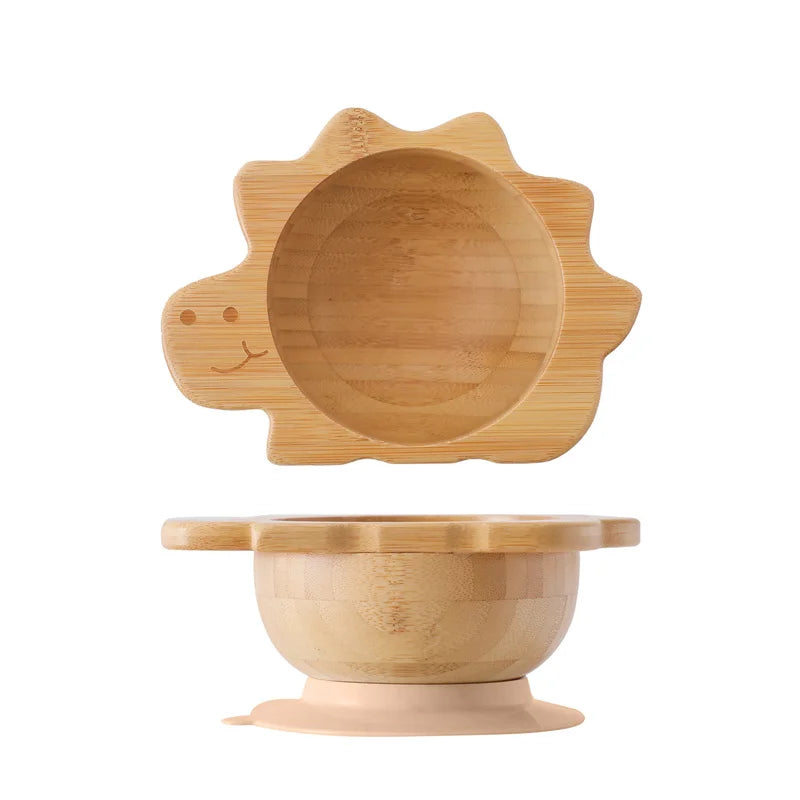
how to make a suction cup stick + silicone suction plate set — See it in action
How to Make a Suction Cup Stick: Quick Fixes That Work
When a suction cup loses grip, the problem is usually caused by poor contact between the cup and surface. Try these quick fixes:
- Clean both surfaces: Remove food residue, grease, dust, and moisture from the suction cup and tray.
- Dry completely: Water droplets can prevent a proper airtight seal.
- Use a smooth surface: Suction works best on glass, plastic, sealed wood, tile, and other nonporous materials.
- Warm the suction cup slightly: Flexible silicone forms a better seal than cold, stiff material.
- Press from the center outward: Push trapped air toward the edges to create stronger suction.
- Hold pressure for 10–15 seconds: This gives the seal time to form.
How Suction Cups Work and Why They Stop Sticking
Suction cups work by creating a low-pressure area between the cup and a smooth surface. When you press the cup down, air escapes from underneath. The outside air pressure pushes against the cup, helping it stay attached.
A suction cup only works well when the seal remains airtight. Even a small gap caused by dirt, uneven surfaces, or damaged silicone can allow air back underneath and weaken the grip.
Common reasons suction cups lose grip
- Dirt or food residue: Small particles prevent full surface contact.
- Moisture buildup: Excess water can interfere with the vacuum effect.
- Textured surfaces: Grooves and patterns create tiny air leaks.
- Aging silicone: Old suction cups may become stiff, stretched, or cracked.
- Incorrect installation: Placing the cup without pushing air out reduces suction strength.
Step-by-Step: How to Make a Suction Cup Stick Better
1. Clean the suction cup and surface
Wash the suction base with warm water and mild soap. Remove crumbs, oils, and food particles from the highchair tray. Learning how to clean suction cups for better grip is one of the easiest ways to restore suction performance.
2. Choose a smooth surface
The strongest suction happens on flat, clean, nonporous surfaces. Avoid fabric mats, rough wood, and heavily textured highchair trays because they prevent a complete seal.
3. Apply and lock the suction properly
- Place the suction cup flat on the tray.
- Press the center area first.
- Move outward toward the edges.
- Hold steady pressure until air escapes.
This center-to-edge method improves suction cup adhesion by removing trapped air pockets.
4. Test the suction strength
Before adding food, gently lift one edge of the plate. A properly attached suction plate should resist movement. If it releases easily, clean and reinstall it.
How to Make Suction Cups Stick on Different Surfaces
Glass and mirrors
Glass provides one of the best surfaces for suction because it is smooth and airtight. Clean fingerprints and dust before installation.
Tile and ceramic surfaces
Glossy tiles usually work well, while textured or uneven tiles may reduce grip. Choose a flat area without grout lines.
Metal and stainless steel
Clean stainless steel surfaces thoroughly because fingerprints and oils can weaken suction.
Plastic and high chair trays
Plastic trays vary widely. Smooth trays usually work well, but textured highchair surfaces may cause a suction plate not sticking high chair problem. A smooth insert can improve contact.
Troubleshooting: Fix a Suction Cup That Will Not Stick
What to do when suction keeps popping off
- Wash away grease, food residue, or lotion buildup.
- Check the silicone edge for cracks or permanent stretching.
- Warm the suction cup slightly before reinstalling.
- Try a different location with a smoother surface.
How to restore an old suction cup
If a suction cup has become stiff, soaking it briefly in warm water can help restore flexibility. However, damaged silicone cannot always be repaired. Replace the suction cup if it has cracks, tears, or no longer forms a seal after cleaning.

silicone suction plate set + vacuum suction plate tips — See it in action
Baby Suction Plates: How to Improve Grip During Mealtime
For parents learning how to use suction plates for babies , proper setup matters as much as the plate design. A suction plate can support independent eating by keeping food more stable, but it still requires correct installation and supervision.
How to use suction plates for babies safely
- Secure the plate before adding food.
- Check the suction hold every time before feeding.
- Use age-appropriate foods for 6 month old self feeding and toddler self feeding.
- Never leave a baby unattended during meals.
Why suction plates fail on high chairs
Many highchair trays are designed with textures, patterns, or grooves that reduce suction strength. If your suction plate is not sticking, the tray surface may be the issue rather than the plate.
Common Mistakes That Make Suction Cups Fail
- Skipping cleaning: Oils and crumbs prevent a strong seal.
- Using rough surfaces: Uneven trays allow air leaks.
- Pressing only the edges: Air remains trapped underneath.
- Moving the plate after installation: Repositioning breaks the seal.
- Using damaged suction cups: Worn silicone cannot maintain vacuum pressure.
How to Maintain Suction Cups for Long-Lasting Grip
- Clean the suction lip regularly with warm soapy water.
- Avoid harsh cleaners that can dry or damage silicone.
- Inspect for cracks, stretching, or changes in flexibility.
- Store plates flat to protect the suction shape.
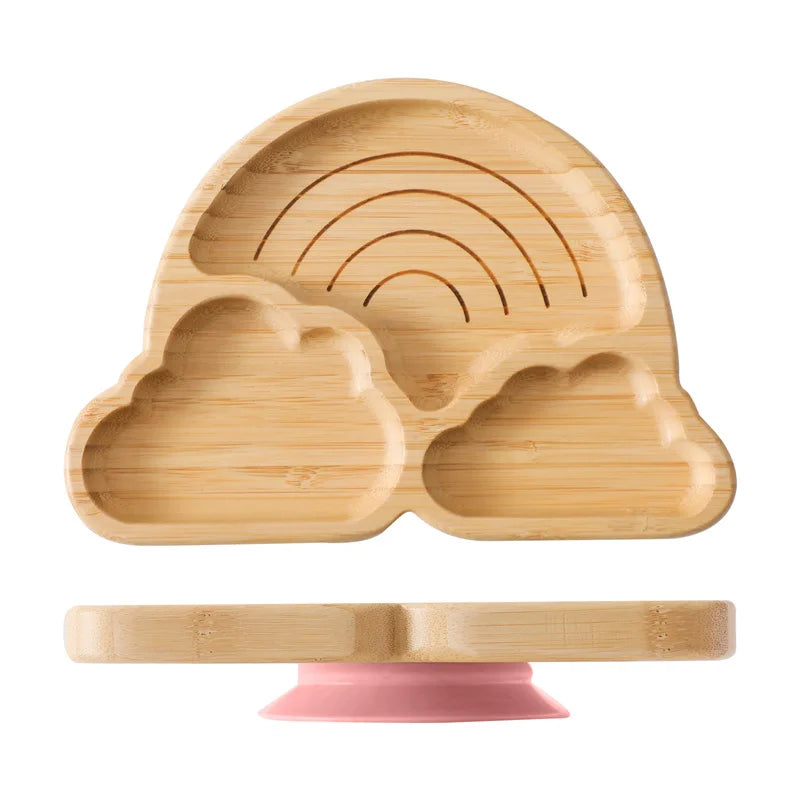
vacuum suction plate + silicone suction plate set — See it in action
Final Checklist: Make Your Suction Cup Stick Every Time
- ✓ Clean and dry the suction cup and surface.
- ✓ Use a smooth, flat, nonporous area.
- ✓ Warm silicone slightly before installation.
- ✓ Press from the center outward.
- ✓ Hold for 10–15 seconds.
- ✓ Test the grip before serving food.
- ✓ Replace suction cups that are cracked or permanently stretched.
Mini FAQ
-
Q: How do I make a suction cup stick to a high chair tray?
Answer: Clean and dry the tray and suction base, place it on a smooth surface, press from the center outward, hold for 10–15 seconds, and test the seal before feeding. -
Q: Why does my suction cup keep falling off?
Answer: Common causes include dirty surfaces, moisture, textured trays, damaged silicone, or improper installation. -
Q: How do you clean suction cups so they stick better?
Answer: Wash the suction cup with warm water and mild soap, remove oils and food residue, then dry it completely before reuse. -
Q: Can suction cups stick to textured surfaces?
Answer: Textured surfaces reduce suction strength because they prevent an airtight seal. Smooth inserts or vacuum-lock designs may work better. -
Q: How long do suction cups usually last?
Answer: Lifespan depends on material quality, cleaning habits, and frequency of use. Replace them when they lose flexibility or cannot hold a seal. -
Q: When should I replace a suction cup?
Answer: Replace it when you notice cracks, permanent stretching, loss of shape, or repeated suction failure after proper cleaning.
Related reading: For more feeding tools and guides, explore Feeding & Nursing and Feeding Tools to match products to your baby's stage.
Schema-ready FAQ (short):
How do I make a suction cup stick to a high chair tray?
Clean and dry both surfaces, warm the suction lip slightly, press from the center outward, hold pressure for 10–15 seconds, then test the seal.
Why does my suction cup keep falling off?
Suction cups often fail because of dirt, moisture, uneven surfaces, damaged silicone, or incorrect installation.
Can suction cups stick to textured surfaces?
Textured surfaces reduce suction. Use a smooth insert or choose a suction design made for less even surfaces.
Other Related Articles:
- How to Make a Suction Cup Stick Again When Your Toddler Keeps Pulling It Off
- How to Use Suction Plates Correctly for Less Mess and More Independent Eating
- How Do Suction Cups Work? A Parent-Friendly Guide to Better Plate Grip
- Best Utensils for Toddlers Review: Top Picks for Safer, Easier Self-Feeding
Explore More:


