
How to Detect Humidity: A Simple Step-by-Step Guide for Accurate Readings
If you’ve been wondering how to detect humidity the right way, this quick guide breaks down the humidity sensor purpose, why humidity monitors for home matter, and how environmental monitoring tech now delivers precise insights through any smart humidity sensor. You’ll learn simple steps, hidden mistakes to avoid, and surprising signs your indoor air might be off—but what’s the one factor most people overlook?
⏱ 9 min read
Does detecting humidity with a sensor really work?
Yes — how to detect humidity is straightforward with the right device: a calibrated humidity sensor gives immediate, reliable readings of relative humidity and can alert you when levels drift outside comfort or safety ranges. Use spot checks, continuous monitoring, and placement best practices to get accurate indoor air data quickly.
how to detect humidity + humidity sensor purpose — 💡 See it in action
Why humidity matters for family comfort and safety
Relative humidity (RH) affects sleep, skin, respiratory health, and the longevity of home items like wooden furniture and baby gear. For families with infants or sensitive members, maintaining the right indoor humidity reduces coughs, dry skin, and mold risks. Knowing how to detect humidity is the first step toward a healthier indoor environment.
Top reasons to keep an eye on humidity
- Comfort & sleep: Ideal RH (30–50%) helps people sleep better and reduces nasal irritation.
- Mold prevention: Persistent humidity above 60% increases mold and dust mite growth.
- Protecting belongings: Wood, books, and toys warp or grow mold in unstable humidity.
- Baby safety & comfort: Newborns are sensitive to dry air; proper RH eases breathing and skin health.
How humidity sensors work (and humidity sensor purpose)
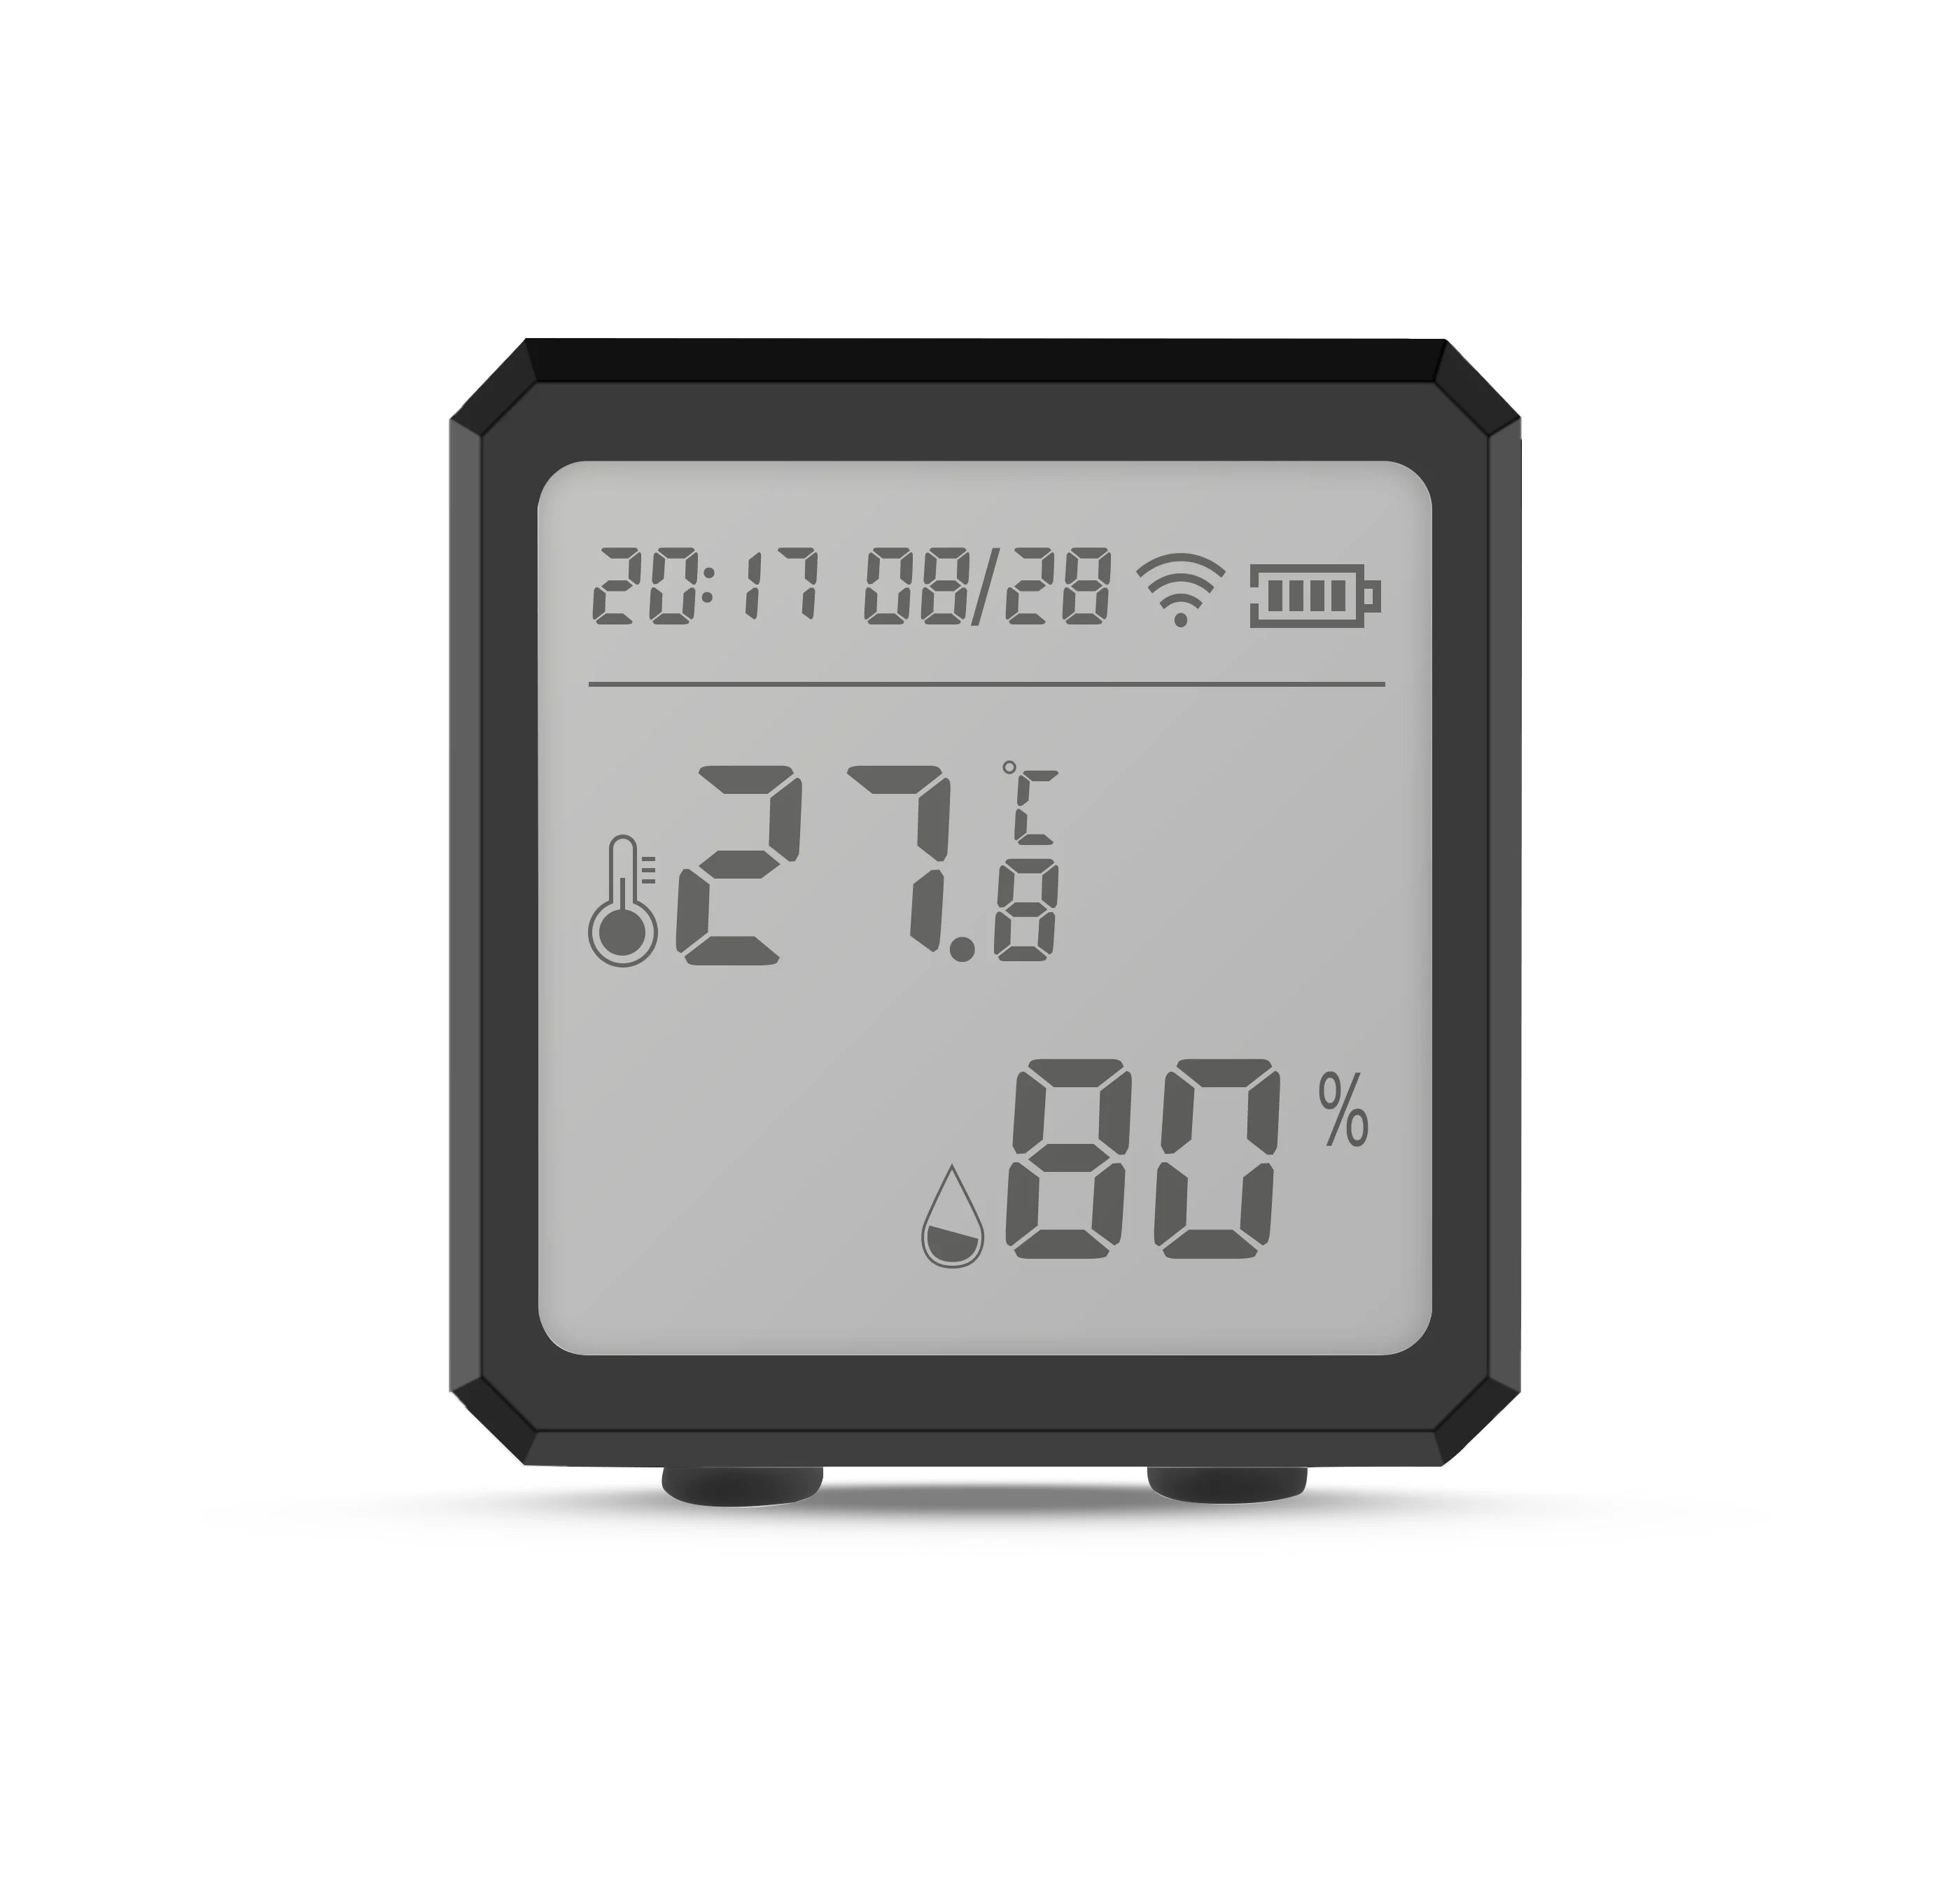
The primary purpose of a humidity sensor is to measure moisture in the air and report relative humidity as a percentage. Most home units use either capacitive or resistive sensing elements to convert moisture levels into an electrical signal that the device translates into an RH reading.
Direct answer: A smart humidity sensor measures relative humidity and often pairs temperature readings; it helps you detect humidity drifts, triggers alerts, and integrates into home automation systems for automatic ventilation or dehumidification.
Common types of sensors
- Capacitive sensors: Durable and accurate for home use.
- Resistive sensors: Affordable and suitable for spot checks.
- Thermal hygrometers: Less common for home monitoring, used in labs.
Step-by-step: How to detect humidity accurately
Follow this ordered checklist to measure humidity reliably in any room.
- Choose the right device. Look for a humidity monitor that lists accuracy (±2–5% RH), temperature readout, and a clear display or app.
- Place the sensor correctly. Mount at breathing height (about 3–5 feet), away from windows, vents, direct sunlight, and kitchens or bathrooms that create local spikes.
- Let it stabilize. After moving the device, wait 15–30 minutes for the reading to settle.
- Take multiple spot checks. Measure at different times of day (morning, afternoon, night) and in different rooms to find patterns.
- Use continuous monitoring for trends. Enable logging or app history so you can correlate humidity with events (cooking, showering, heater use).
- Act on the readings. If RH is below 30% use a humidifier; if above 60% use a dehumidifier or improve ventilation.
Quick checklist you can print
- Device accuracy ≥ ±3% RH
- Place away from heat sources and direct airflow
- Stabilize for 20 minutes after moving
- Log data for at least 48 hours for trends
Common mistakes and how to avoid them
Detecting humidity is simple, but a few easy missteps give misleading results. Watch for these.
- Placing the sensor near windows: Sunlight and drafts create false highs and lows. Move devices to interior walls.
- Short stabilization time: Readings taken immediately after moving a sensor are unreliable—wait at least 15–30 minutes.
- Ignoring temperature: Relative humidity depends on temperature; always note both values when assessing comfort.
- Using expired or cheap sensors: Low-cost units may drift—recalibrate or replace them periodically.
Best placement and calibration tips
Placement and periodic calibration are the secret sauce for dependable humidity readings.
Placement quick rules
- Mount the sensor on an interior wall, 3–5 feet above the floor.
- Keep 2+ feet away from HVAC vents, stoves, and bathroom doors.
- Avoid corners where air may stagnate; place near the center of the room for representative readings.
Simple 2-point calibration you can do at home
If your unit supports calibration, perform a two-point check: a salt test (approx. 75% RH) and a damp cloth test (~90% local humidity) to confirm response. Many consumer devices allow small offset adjustments in their companion apps.
Home solutions: monitors, humidifiers, and dehumidifiers
Once you know how to detect humidity, the next step is choosing the right interventions for common problems.
When to use a humidifier
- Winter or dry climates: RH consistently below 30%
- Dry skin, chapped lips, and static electricity
- Newborn comfort—mild moisturized air supports easier breathing
When to use a dehumidifier
- Basements, bathrooms, or kitchens where RH exceeds 60%
- Musty smells or visible mold
- Condensation on windows
Quick comparison: monitor features at a glance
| Feature | Why it matters | Recommended setting |
|---|---|---|
| Accuracy (±% RH) | Smaller error = more reliable control decisions | ±2–3% |
| Temperature readout | RH and temperature determine comfort | Include both |
| App logging | See trends and trigger automations | Yes for long-term monitoring |
| Alerts | Immediate warning when levels are unsafe | High/Low thresholds |
humidity monitors for home + environmental monitoring tech — 💡 See it in action
Real parents: quick testimonials & use-cases
Short, authentic scenarios help show practical value.
- New parents in a cold climate: A monitor showed winter RH at 22%. After adding a small humidifier in the nursery, crying due to dry noses declined.
- Basement storage: A basement monitor alerted to 68% RH—mold was prevented by a targeted dehumidifier and improved airflow.
- Seasonal swings: Logging revealed nightly spikes after showers; installing a bathroom exhaust fan fixed the problem.
Buying guide & how our recommended device fits in
When shopping, focus on accuracy, reliable reviews, and supported integrations. A good mid-range smart humidity monitor combines accurate RH readings, temperature measurement, local display, and a simple app with history and alerts.
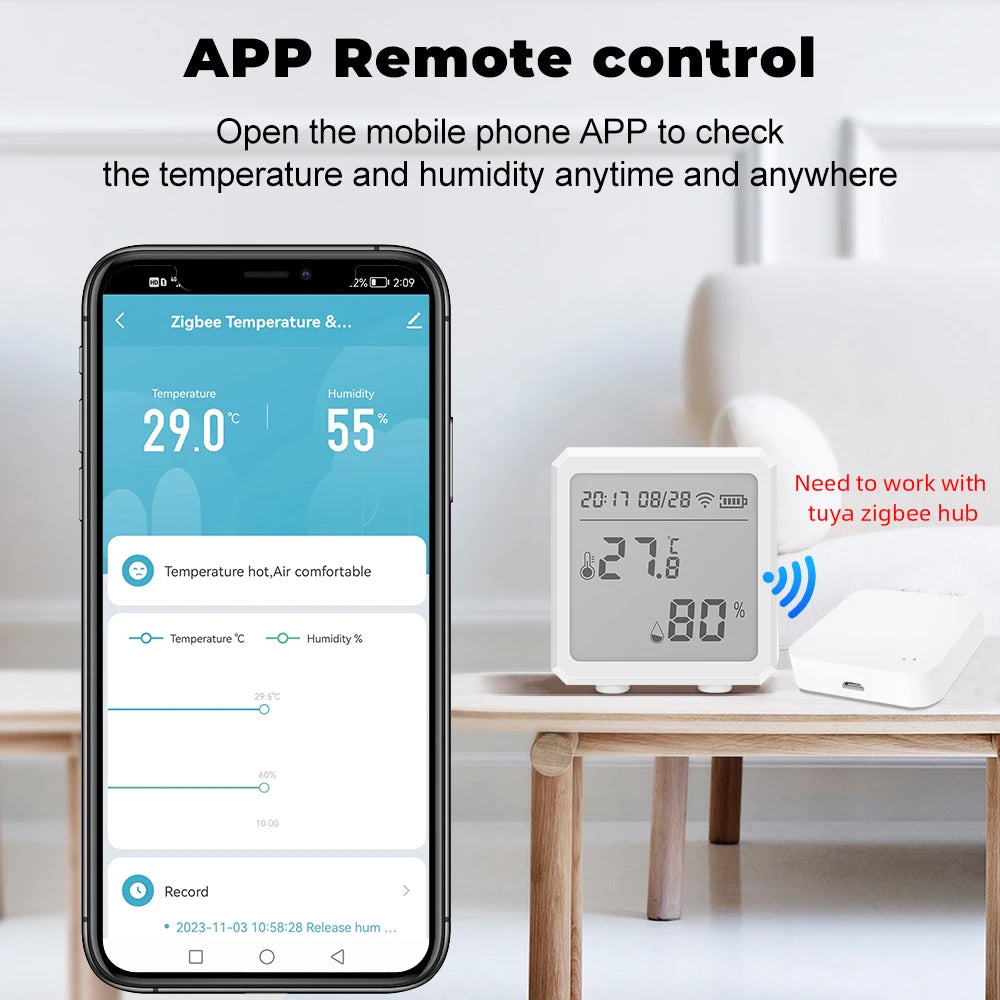
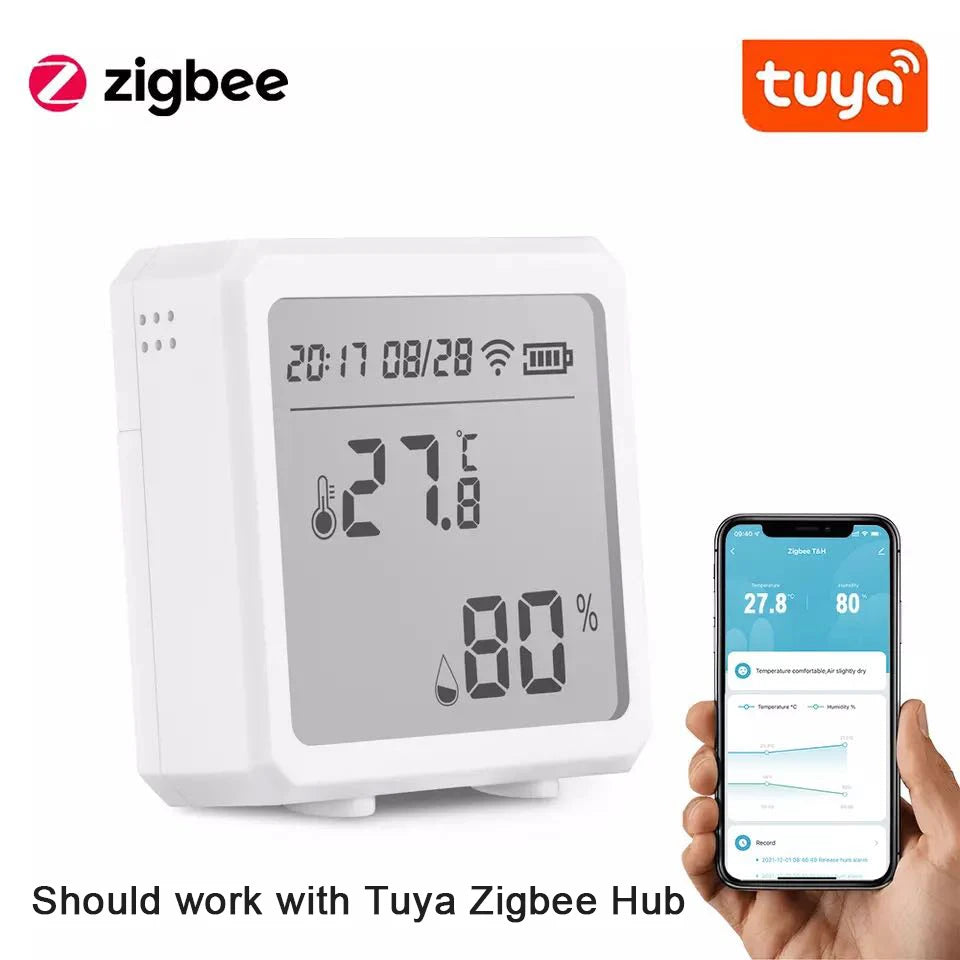
Product to consider: Zigbee Temperature & Humidity Sensor (LCD Wireless) — ideal for parents who want continuous monitoring, stable readings, easy setup, and compatibility with smart home hubs.
Why this kind of sensor is helpful
- Quick setup and wireless reporting for multi-room monitoring.
- LCD display for in-room checks and app logging for trend analysis.
- Integrates with automation: trigger ventilation or humidifiers when thresholds are met.
Troubleshooting: odd readings and what they mean
Sometimes sensors report strange values. Here’s how to diagnose issues fast.
- Sudden jump in RH: Short-term cause like showering or cooking—check timing and location.
- Always high readings: Possible sensor drift—try calibrating or moving it to a neutral spot.
- Very low night readings: Heating systems can dry the air—consider a bedroom humidifier on a low setting.
Maintenance: keep your sensor accurate
- Wipe dust off vents and sensor housing monthly.
- Recalibrate annually if your device supports it.
- Replace sensors older than 3–5 years or if accuracy drifts.
Mini-FAQ (schema-ready)
1. What is the best relative humidity for a home?
Aim for 35–50% RH for general comfort and mold prevention. Adjust within that range for baby comfort (generally 40–50%).
2. How often should I check humidity?
For accurate decisions, monitor continuously if possible. If using a portable sensor, check morning and evening for at least a week to spot trends.
3. Can I trust cheap humidity sensors?
Budget sensors are useful for rough checks, but for baby rooms and problem areas choose a device with specified accuracy (±2–5% RH) and positive user reviews.
4. Where should I place a nursery humidity monitor?
On an interior wall, 3–5 feet above the floor, away from vents, windows, and the crib itself to avoid drafts or direct heat sources affecting the reading.
Final thoughts: practical next steps
How to detect humidity doesn’t need to be complicated: pick a reliable monitor, place it thoughtfully, and use simple actions—humidifier, dehumidifier, or improved ventilation—to keep RH in a healthy range. For families, consistent monitoring reduces worry and prevents costly problems like mold or damaged belongings.
smart humidity sensor + humidity monitors for home — 💡 See it in action
For related parent-focused monitoring solutions and devices to keep your home comfortable and safe, explore Monitoring Devices and Temperature Tools.
Mini-FAQ (short)
- How do I quickly detect if my home is too humid?
- Check a reliable humidity monitor: readings above 60% indicate high humidity and a need for ventilation or dehumidification.
- How long should a sensor stabilize after moving?
- Wait at least 15–30 minutes to allow the sensor to acclimate before recording a spot reading.
- Can humidity affect baby sleep?
- Yes — both very dry air and overly humid air can disturb sleep; aim for 40–50% RH in the nursery.
Related Articles:
- Protect Sensitive Household Items: How to Keep Moisture Damage Away
- Home Smart Sensors: How to Use Them to Fix Daily Climate Problems
- Sensors for Temperature and Humidity: How to Install Them the Right Way
- Monitoring Apps for Android: How to Track Home Climate in Minutes
Pillar Articles:


